Preparing for Tiny House Living: 10-Step Ultimate Guide
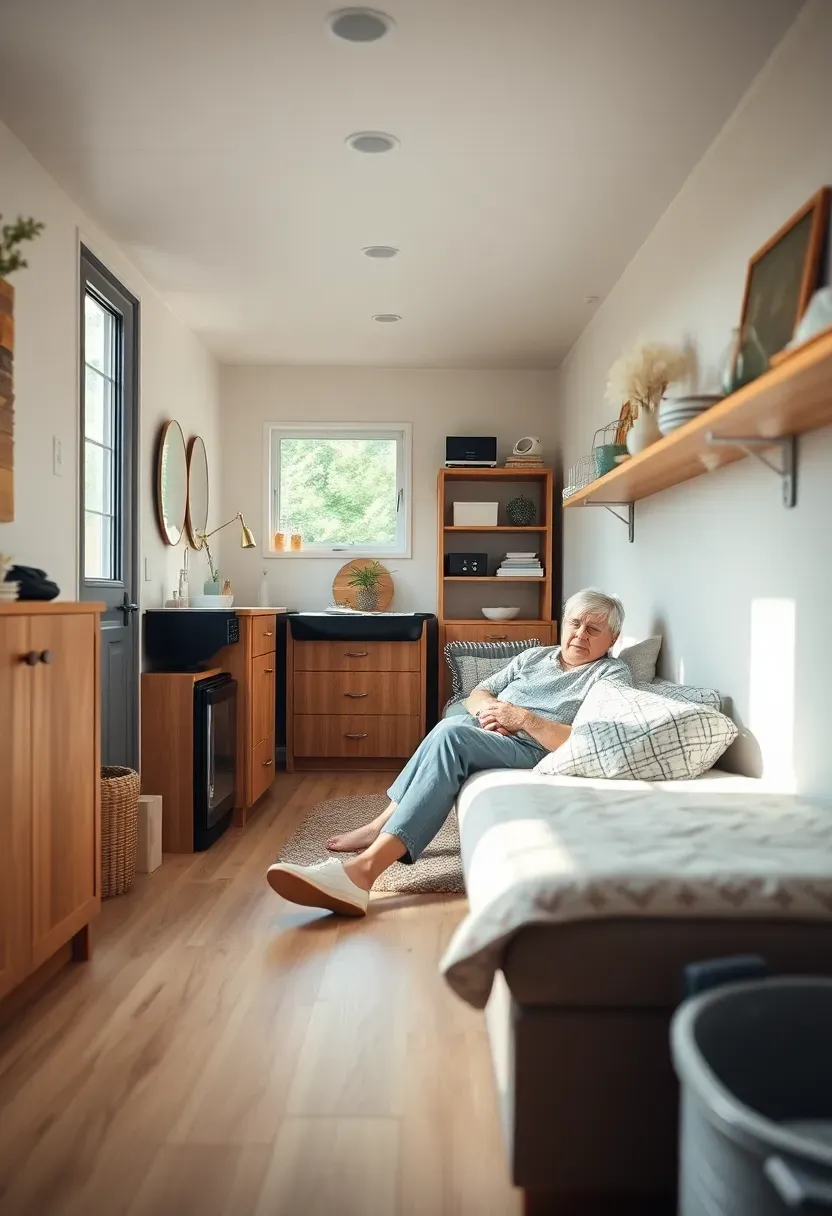
Preparing for tiny house living starts with design decisions that make small spaces feel functional rather than restricted. The right preparation prevents costly mistakes and ensures your small home works from day one.
This 10-step guide covers everything from assessing your true space needs and planning built-in storage to choosing the right layout, setting up utilities, and testing your tolerance with a trial run.
Whether you are downsizing to a tiny house on wheels or designing a permanent micro home, these preparation steps help you build a tiny house that fits your actual life.
Quick FAQ
What is the first step in preparing for tiny house living?
Start with an honest assessment of what you actually need. Track your belongings for a week, identify essentials, and design storage around those items rather than trying to fit everything into a small space.
How much space do I really need for tiny house living?
Most people find 150-300 square feet comfortable for one or two people. The key is ceiling height, light, and storage design rather than just floor area. A well-designed 200-square-foot home feels larger than a poorly planned 400-square-foot space.
Should I build custom or buy a prefab tiny house?
Custom builds allow storage designed for your specific needs, while prefab saves time. If preparing for tiny house living long-term, custom built-ins and intentional layout are worth the extra effort.
How do I prepare for downsizing to a tiny house?
Start decluttering six months before moving. Sell or donate items you haven't used in a year, digitize documents, and choose multi-purpose furniture. Practice living with less to test your tolerance.
What are the zoning considerations when preparing for tiny house living?
Research local minimum square footage requirements, ADU regulations, and RV classifications. Many areas require tiny houses to be on foundations with permitted utilities, while others allow RV parking with restrictions.
As an Amazon Associate I earn from qualifying purchases.
Table of Contents
- 1. Assess Your True Space Needs Before Building
- 2. Design Storage into Every Structural Element
- 3. Plan for Multi-Purpose Zones That Shift
- 4. Choose a Footprint That Matches Your Lifestyle
- 5. Map Your Daily Routines to the Layout
- 6. Prioritize Vertical Space for Sleeping and Storage
- 7. Design for Light and Air to Expand Perception
- 8. Plan Utility Connections and Systems First
- 9. Test Your Tolerance with a Trial Run
- 10. Choose Durable Materials for High-Traffic Wear
1. Assess Your True Space Needs Before Building
Preparing for tiny house living begins with understanding what you actually use daily. Track your activities for one week and note which items you touch and which surfaces you occupy. Most people use 20 percent of their possessions 80 percent of the time. Design your tiny house around that 20 percent and let go of the rest. This assessment prevents building storage for items you won't need.
Tips
- Do: inventory every item you own and categorize by frequency of use.
- Don't: build storage for "just in case" items that haven't been used in a year.
What this gives you: a tiny house designed around your actual life rather than imagined needs.
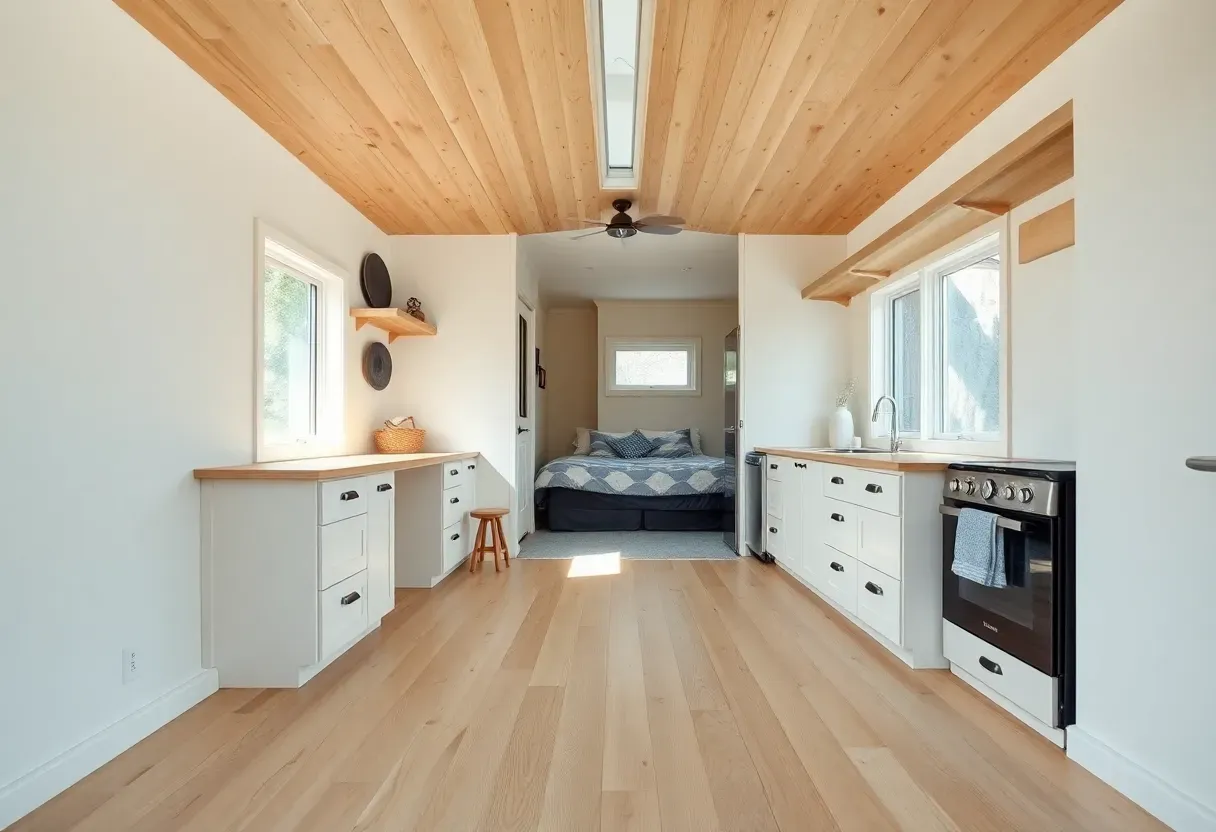
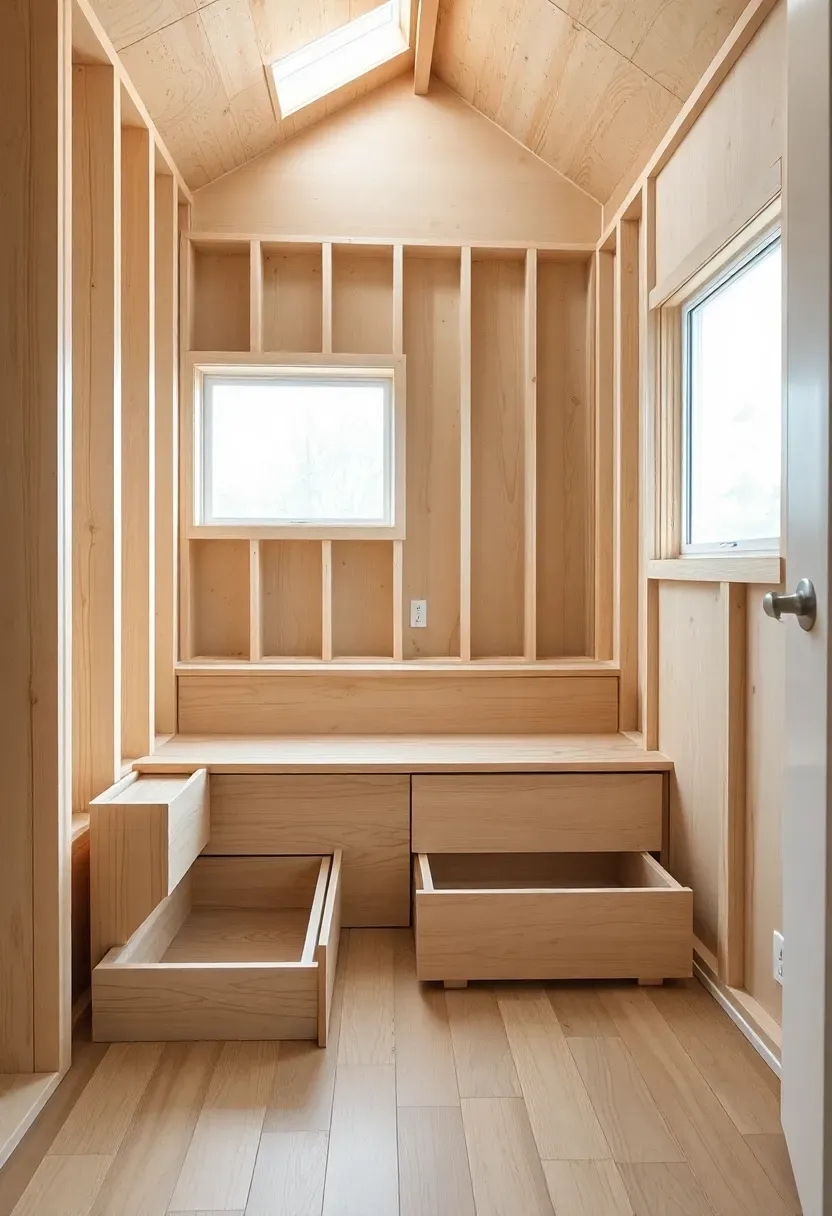
2. Design Storage into Every Structural Element
The most important preparation step is planning storage before building. Every wall becomes an opportunity for built-ins, the floor can hide drawers, and stairs can double as cabinets. Design storage into the structure rather than adding it later. This approach maximizes every inch while keeping the interior feeling open.
Recommended
Items for this idea
Placement note: allocate 30-40 percent of total floor area to storage for comfortable tiny house living.
Plan storage zones by activity—kitchen items near the kitchen, daily items at waist level, seasonal items above. The trade-off is that built-in storage reduces flexibility, so include some adjustable shelving. A well-planned tiny house feels larger because clutter has designated homes.
Tips
- If building custom, then run electrical and plumbing before installing storage units.
- If using a trailer, then maximize under-frame storage with weatherproof compartments.
What this gives you: maximum storage without sacrificing living space.
3. Plan for Multi-Purpose Zones That Shift
Tiny house living requires spaces that transform throughout the day. A living room becomes a bedroom, a dining table turns into a desk, a staircase stores books. Prepare by identifying how each zone will shift and designing furniture that supports multiple functions. This flexibility makes small footprints livable.
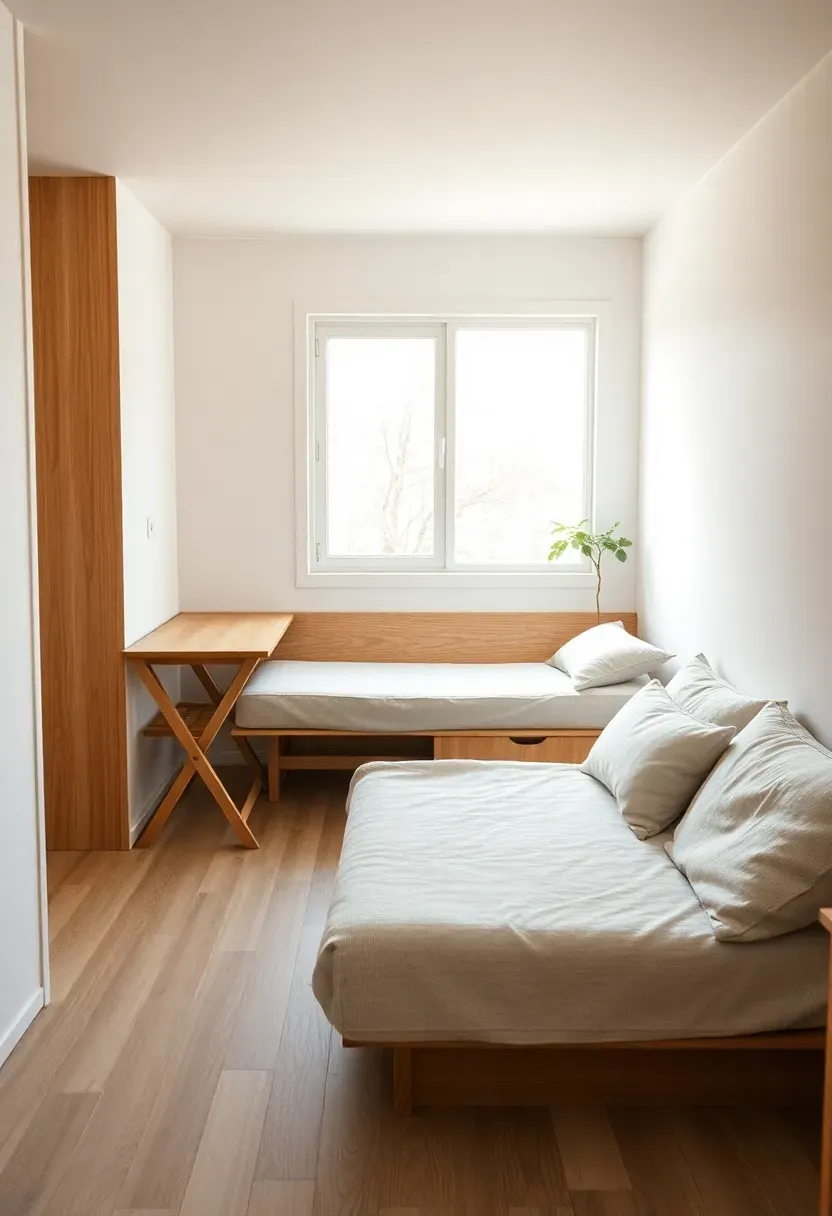
Why it works: multi-purpose zones effectively double the usable space of a tiny house.
Design transitions that take less than 30 seconds. For 27 specific ideas on multi-purpose layouts, see our tiny house living hacks guide. The consequence of complicated convertible furniture is that zones stay in one configuration, wasting the flexibility. Choose murphy beds, fold-down tables, and nesting stools that transform easily.
Tips
- Pro: multi-purpose zones let tiny houses function like much larger homes.
- Con: constant transforming can feel tedious if the mechanisms are awkward.
- Fix: invest in quality hardware that makes transformations smooth.
Budget/Time: quality convertible furniture costs 30-50 percent more but lasts longer.
What this gives you: a tiny house that adapts to different activities throughout the day.
4. Choose a Footprint That Matches Your Lifestyle
Preparing for tiny house living means deciding on a footprint that supports how you actually live. A single person needs less than a couple, someone who works from home requires dedicated desk space, and pet owners need circulation room. Choose 150-200 square feet for one person, 200-300 for two, and add 50-100 square feet if you work from home.
Recommended
Items for this idea
Placement note: consider trailer width limits—8.5 feet is standard, which constrains maximum width.
If you entertain often, prioritize open floor plans over sleeping lofts. The trade-off is that larger footprints cost more to build and heat. A well-designed 200-square-foot home can feel more spacious than a poorly organized 400-square-foot space.
Tips
- Measure your current furniture and test if it fits in the planned footprint.
- Add 20 percent to your estimated size needs—tiny houses always feel smaller once built.
What this gives you: a tiny house sized for your needs rather than arbitrary dimensions.
5. Map Your Daily Routines to the Layout
The best preparation for tiny house living is designing the layout around your daily patterns. Track when you wake, where you work, how you cook, and where you relax. Position the bedroom away from morning light if you sleep late, place the kitchen near the entrance for grocery unloading, and put the desk where you won't be distracted.
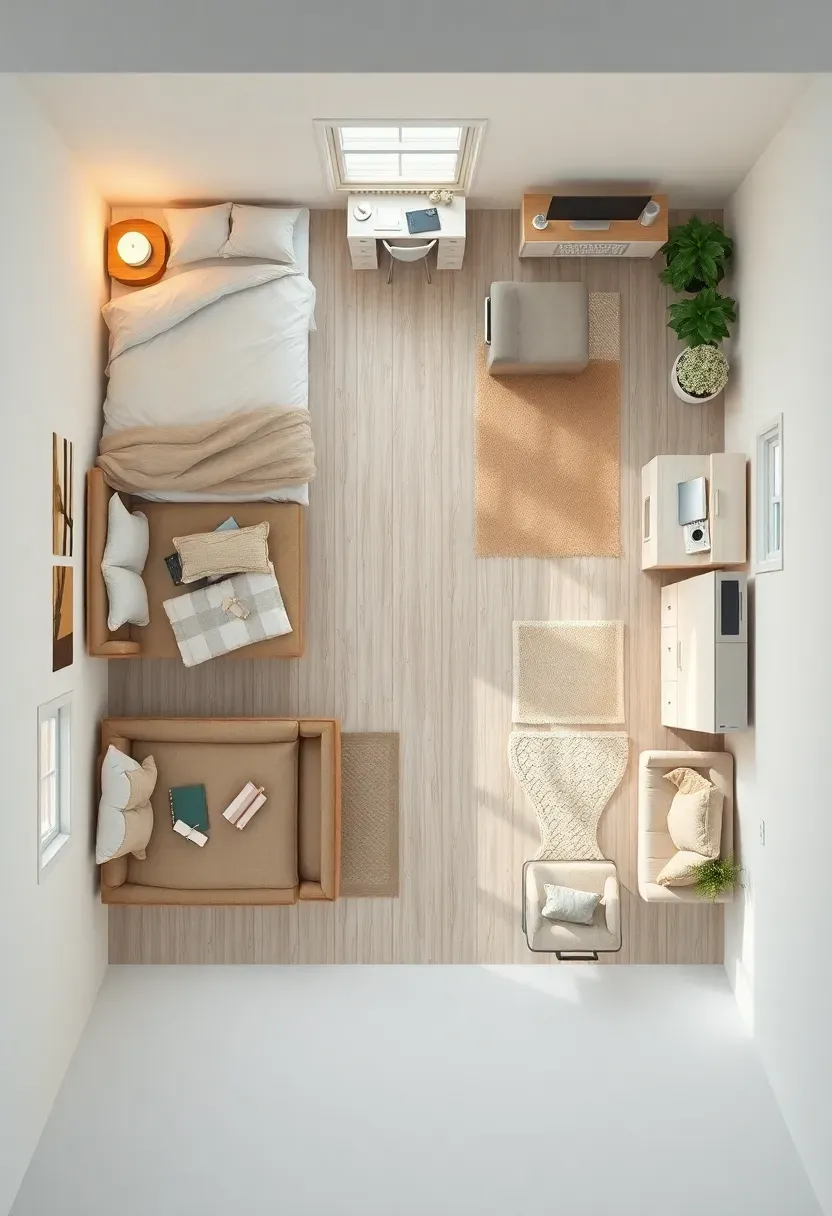
Common mistake: copying standard tiny house layouts without considering personal routines.
If you drink coffee immediately upon waking, put the kitchen near the bedroom. If you work late, place the desk where it won't disturb a partner. The consequence of generic layouts is that daily friction adds up. A customized layout feels effortless because it matches your rhythms.
Tips
- Draw your current floor plan and trace your movement patterns for a week.
- Note which activities happen at the same time and plan for separation.
What this gives you: a tiny house that supports your daily routines without constant adjustment.
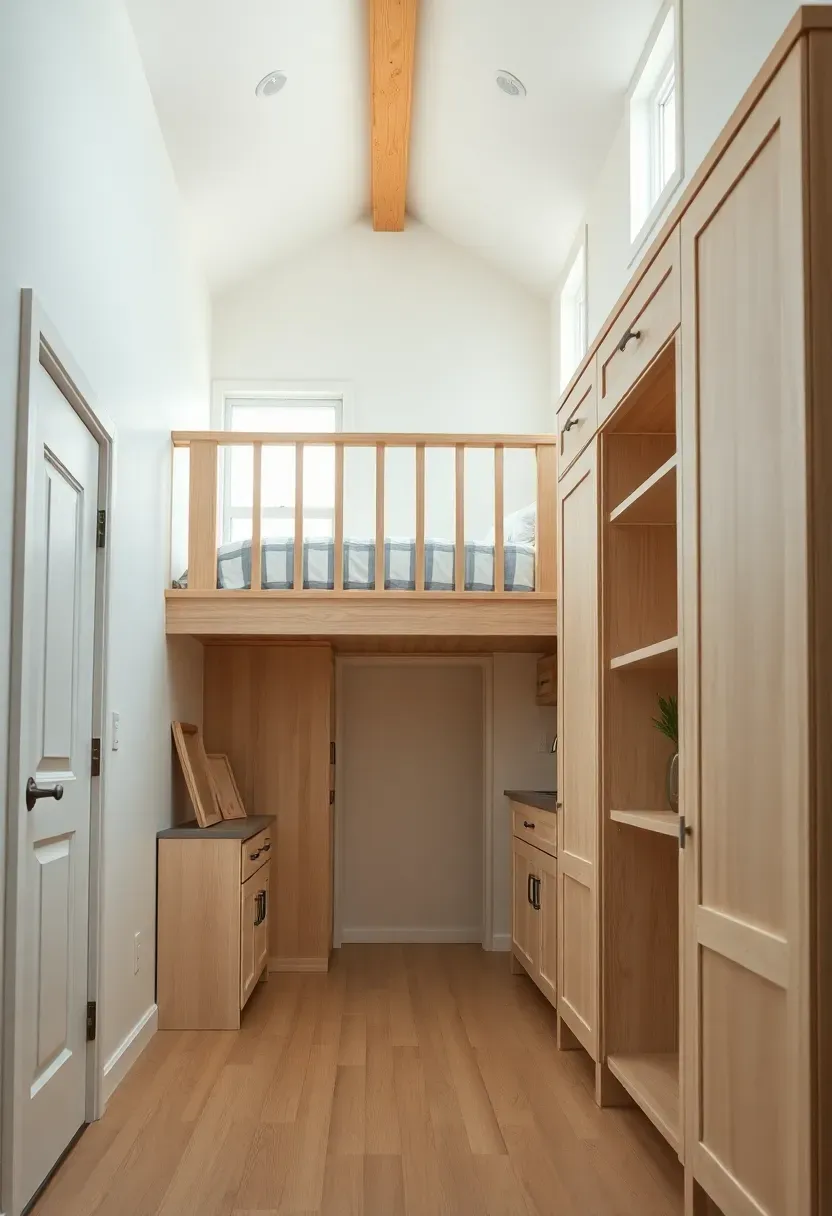
6. Prioritize Vertical Space for Sleeping and Storage
Tiny house living gains valuable square footage by using vertical dimension. Lofts for sleeping free the entire ground floor for living, while tall cabinets use air space rather than floor area. Prepare by ensuring at least 13-14 feet of total height if you plan to include a loft with comfortable headroom.
Recommended
Items for this idea
Why it works: vertical space is free in terms of land footprint but doubles usable area.
Keep 36-42 inches of clearance above the mattress for comfort. The trade-off is that lofts require climbing and can feel warm—add a skylight or window for ventilation. If ceiling height is limited, consider a murphy bed instead of a loft.
Tips
- Install reading lights and outlets in the loft before finishing the ceiling.
- Use the knee wall space in lofts for shallow storage cabinets.
What this gives you: full floor reclaimed for living while maintaining comfortable sleeping space.
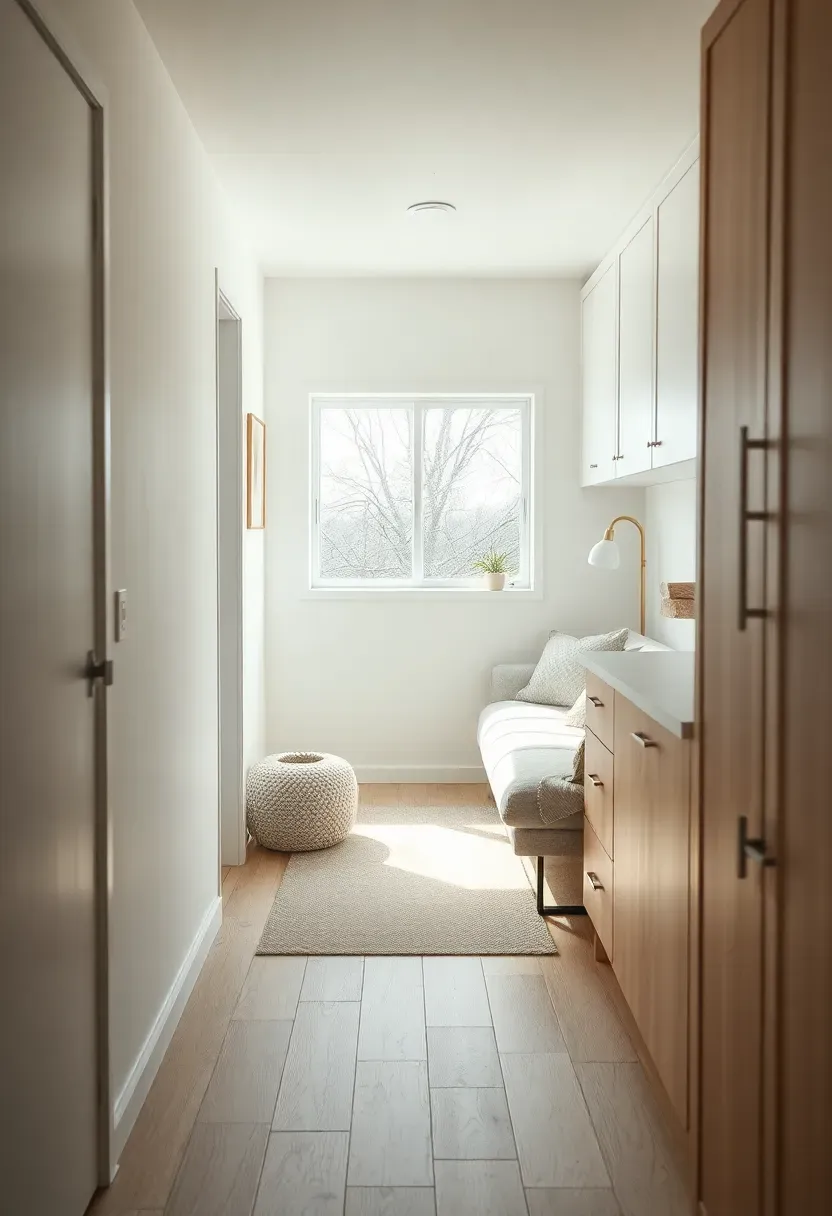
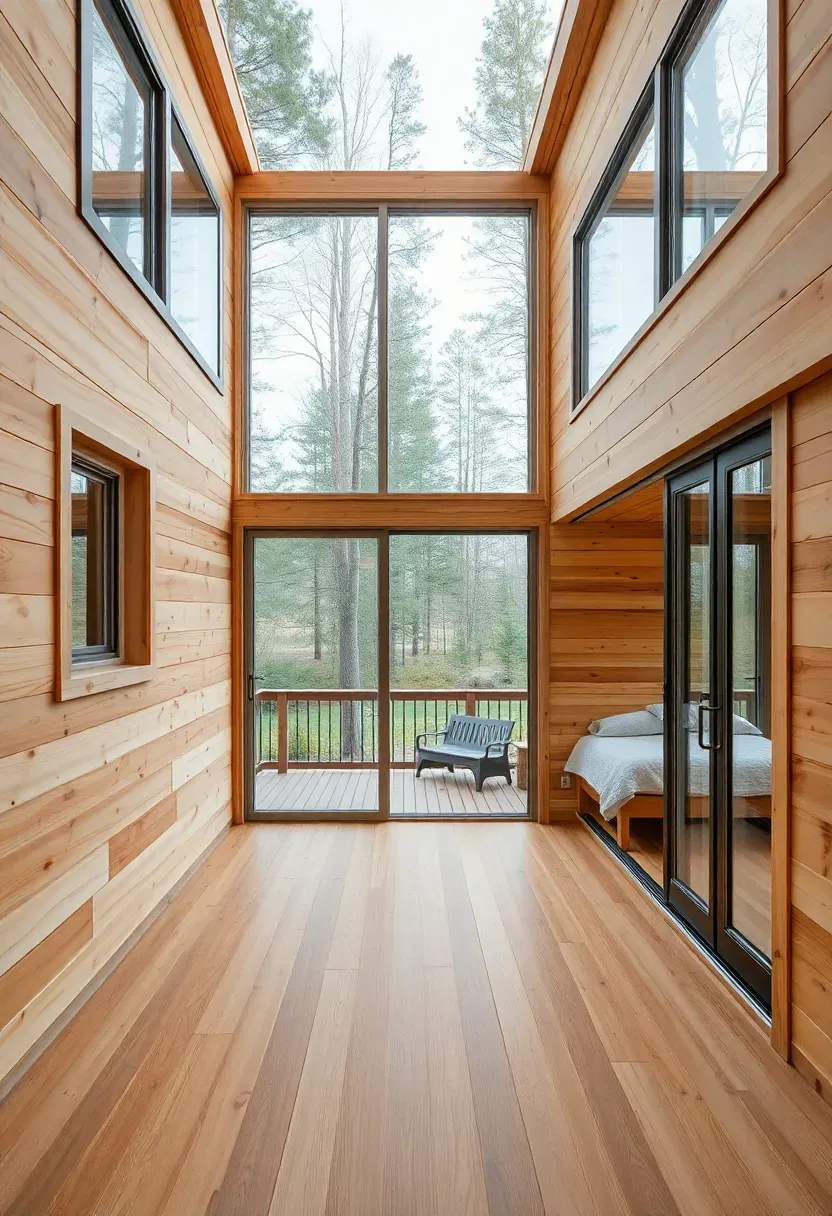
7. Design for Light and Air to Expand Perception
Preparing for tiny house living means planning for abundant natural light and ventilation. Large windows, skylights, and glass doors make small spaces feel expansive. Position windows to capture morning light in the kitchen and evening light in the living area. Cross-ventilation prevents stuffiness and reduces reliance on mechanical cooling.

Placement note: orient windows to capture light from at least two directions for balanced illumination.
Use low-E glass to manage heat gain while keeping views open. Our guide on how to make a tiny house feel bigger covers more light and color strategies. The consequence of insufficient windows is claustrophobia, especially in winter. A well-lit tiny house feels double the size of a dark one.
Tips
- Install operable windows on opposite walls for cross-breeze.
- Use light-colored walls to reflect daylight deeper into the space.
What this gives you: a tiny house that feels open rather than confining.
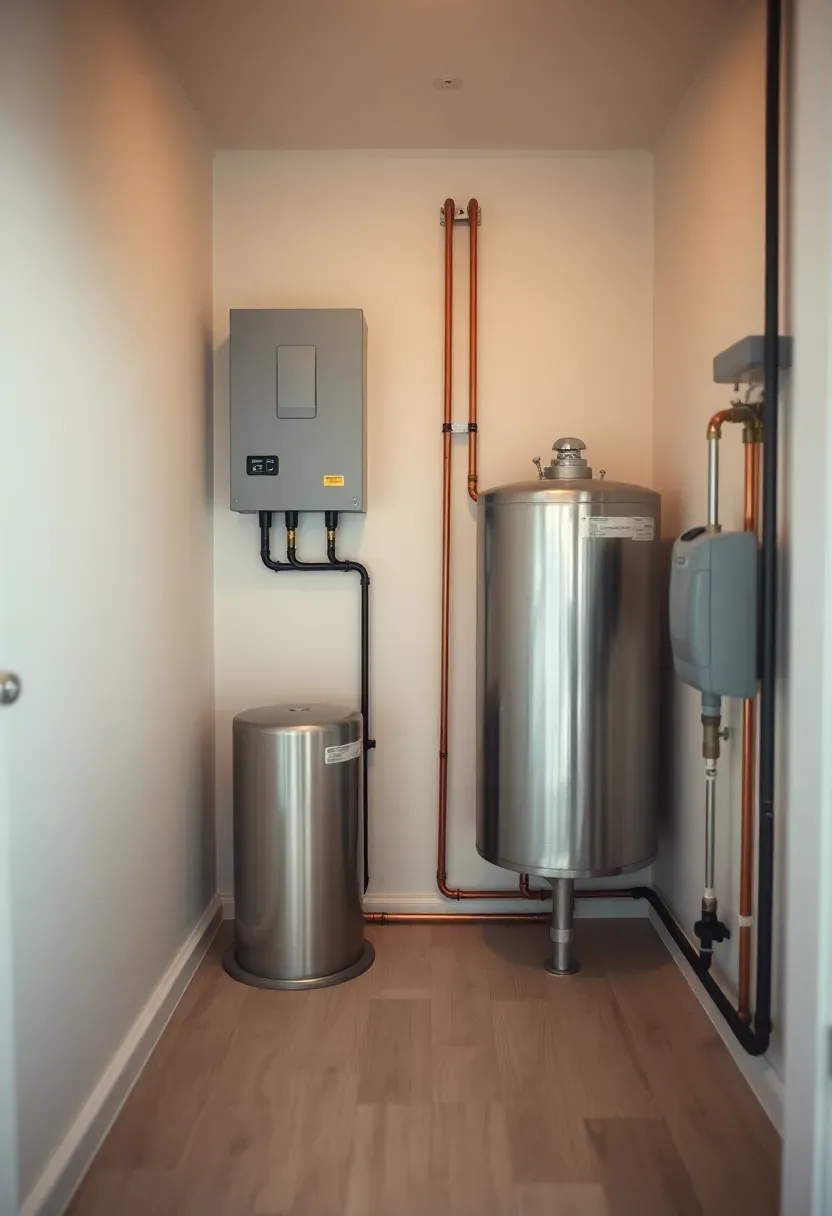
8. Plan Utility Connections and Systems First
The least glamorous but most critical preparation step is planning utilities. Water, electrical, waste, and propane systems need to be designed before building begins. Decide whether you will connect to grid power, use solar, or rely on propane. Plan water storage, graywater management, and composting or conventional toilet placement. These systems constrain where fixtures can go.
Recommended
Items for this idea
Common mistake: designing the layout first and trying to fit utilities in leftover space.
Locate the kitchen near water lines and the bathroom near waste outlets. The trade-off is that utility placement may compromise ideal layout. A good approach is to design the wet wall first—placing kitchen and bath back-to-back shares plumbing runs.
Tips
- Do: consult a tiny house systems specialist early in planning.
- Don't: attempt DIY electrical or propane without professional guidance.
Rental note: if parking on existing property, plan for access to utilities and hookups.
What this gives you: systems that work reliably rather than constant retrofitting.
9. Test Your Tolerance with a Trial Run
The best preparation for tiny house living is testing it before committing. Stay in a small space for a weekend, live in an RV for a week, or practice living in one room of your current home. This trial reveals tolerance levels for closeness, noise, and clutter that planning alone cannot predict.
Why it works: a trial run reveals issues before you are committed to a build.
Use the trial to test your tolerance for storage limits, cooking in a small kitchen, and sleeping in a loft or murphy bed. The consequence of skipping this step is discovering too late that you need more space than planned. Even a weekend in an AirBnB tiny house can be eye-opening.
Tips
- Rent a tiny house on Airbnb or Hipcamp for an authentic experience.
- Pack only what fits in a suitcase to simulate storage limits.
Best for: anyone considering tiny house living who has not experienced small spaces.
What this gives you: realistic expectations before investing in a build.
10. Choose Durable Materials for High-Traffic Wear
Tiny house living concentrates wear in small areas, so material choices matter more than in large homes. Choose durable flooring like white oak or luxury vinyl plank that can handle heavy traffic. Use semi-gloss or washable paint on walls. Select performance fabrics for upholstery that resist stains and withstand daily use.
Recommended
Items for this idea
Placement note: use the most durable materials in high-traffic zones like entry and kitchen.
If you prefer a warm, reclaimed aesthetic, explore our rustic tiny house ideas for material inspiration. The trade-off is that durable materials sometimes feel less luxurious, but modern options like engineered hardwood and performance fabrics offer both durability and comfort. A tiny house with quality materials feels better built and lasts longer.
Tips
- Test paint samples to ensure washability does not leave shiny marks.
- Choose medium-tone flooring that hides dirt between cleanings.
What this gives you: a tiny house that wears well and maintains its appearance.
Preparing for tiny house living means thinking ahead about storage, layout, utilities, and daily routines before you build or move in. By assessing true space needs, designing storage into every structural element, planning multi-purpose zones, and choosing the right footprint, you create a home that feels intentional rather than restricted. Mapping routines to layout, prioritizing vertical space, designing for natural light, planning utilities first, testing with a trial run, and selecting durable materials ensures the transition to tiny house living is smooth and sustainable. A well-prepared tiny house is not just small -- it is precisely sized for the life you want to live.
About the author
OBCD
CGI visualization and interior design content. We create detailed 3D renders and curate practical design ideas for every room in your home.