21 Apartment Bathroom Ideas on a Budget for Renters
Living in a rental apartment doesn't mean resigning yourself to a dated, builder-grade bathroom. These apartment bathroom ideas on a budget prove that you can transform your space dramatically without permanent renovations or contractor-level spending. Whether you're working with a tiny powder room or a cramped full bathroom, strategic no-drill upgrades can create a space that feels personalized, functional, and refreshingly modern.
The key to successful budget bathroom decor for renters lies in working with what you have while making smart, reversible changes that deliver maximum visual impact. From peel-and-stick backsplashes that mimic expensive tile to creative storage solutions that eliminate clutter, these ideas focus on renter-friendly improvements any apartment dweller can implement. Most importantly, every suggestion prioritizes installation methods that won't jeopardize your security deposit.
What sets these small apartment bathroom ideas apart is their emphasis on high-impact, low-commitment transformations. You'll discover no-drill storage solutions that utilize overlooked vertical space, lighting upgrades that change the entire room's ambiance, and decorative touches that add personality without permanence. Many of these projects cost under $50 yet deliver results that feel significantly more expensive — proving that a stunning bathroom transformation doesn't require deep pockets or ownership.
Quick FAQ
Can I really transform my apartment bathroom without permanent changes?
Absolutely. These apartment bathroom ideas on a budget focus exclusively on reversible solutions like peel-and-stick products, freestanding storage, tension rods, and plug-in lighting that deliver dramatic impact without permanent installation.
What's the most budget-friendly apartment bathroom upgrade?
A statement shower curtain costs under $30 but transforms the entire room's aesthetic. For storage, over-the-toilet units and tension rod organizers provide maximum functionality at minimal cost.
Are peel-and-stick products really removable without damage?
Quality peel-and-stick tiles and wallpaper are designed for easy removal. Gentle heat from a hair dryer softens adhesive, allowing clean removal that won't damage walls or leave residue behind.
How can I add storage without drilling holes?
Over-the-door organizers, tension rod systems, Command hooks, freestanding carts, and over-the-toilet storage units all provide excellent storage without requiring any drilling or permanent installation.
As an Amazon Associate I earn from qualifying purchases.
Table of Contents
- 1. Peel-and-Stick Backsplash Tiles
- 2. Over-the-Toilet Storage Unit
- 3. Floating Wall Shelves
- 4. Tension Rod Shower Caddy
- 5. LED Mirror Upgrade
- 6. Removable Wallpaper Accent
- 7. Under-Sink Rolling Cart
- 8. Mason Jar Storage Organizers
- 9. Statement Shower Curtain
- 10. Dollar Store Basket Organization
- 11. Command Hook Wall Storage
- 12. Renter-Friendly Faucet Upgrade
- 13. DIY Wooden Ladder Shelf
- 14. Under-Cabinet Tension Rod Organizer
- 15. Mirrored Tile Accent Wall
- 16. Small Potted Plant
- 17. Decorative Tray Organization
- 18. Over-the-Door Organizer
- 19. Peel-and-Stick Floor Tiles
- 20. Thrifted Mirror Upcycle
- 21. Plug-in Wall Sconce Lighting
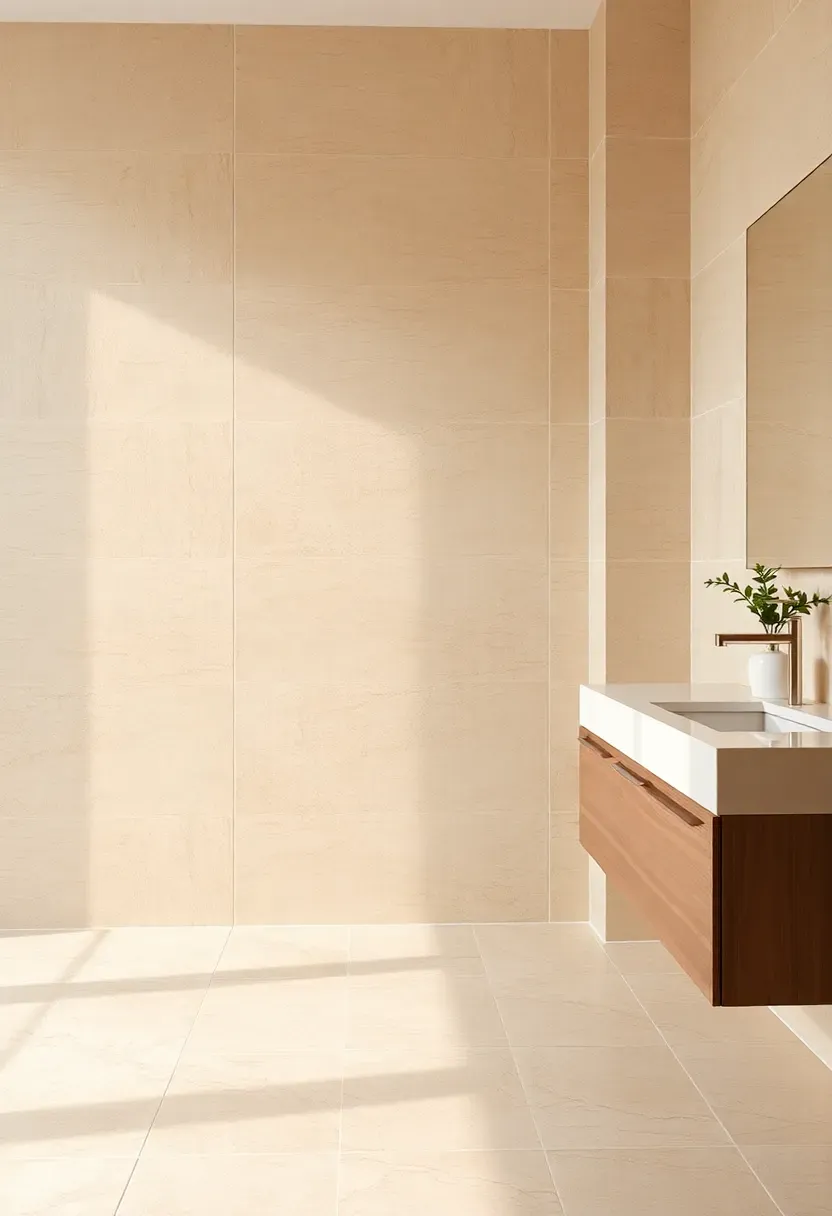
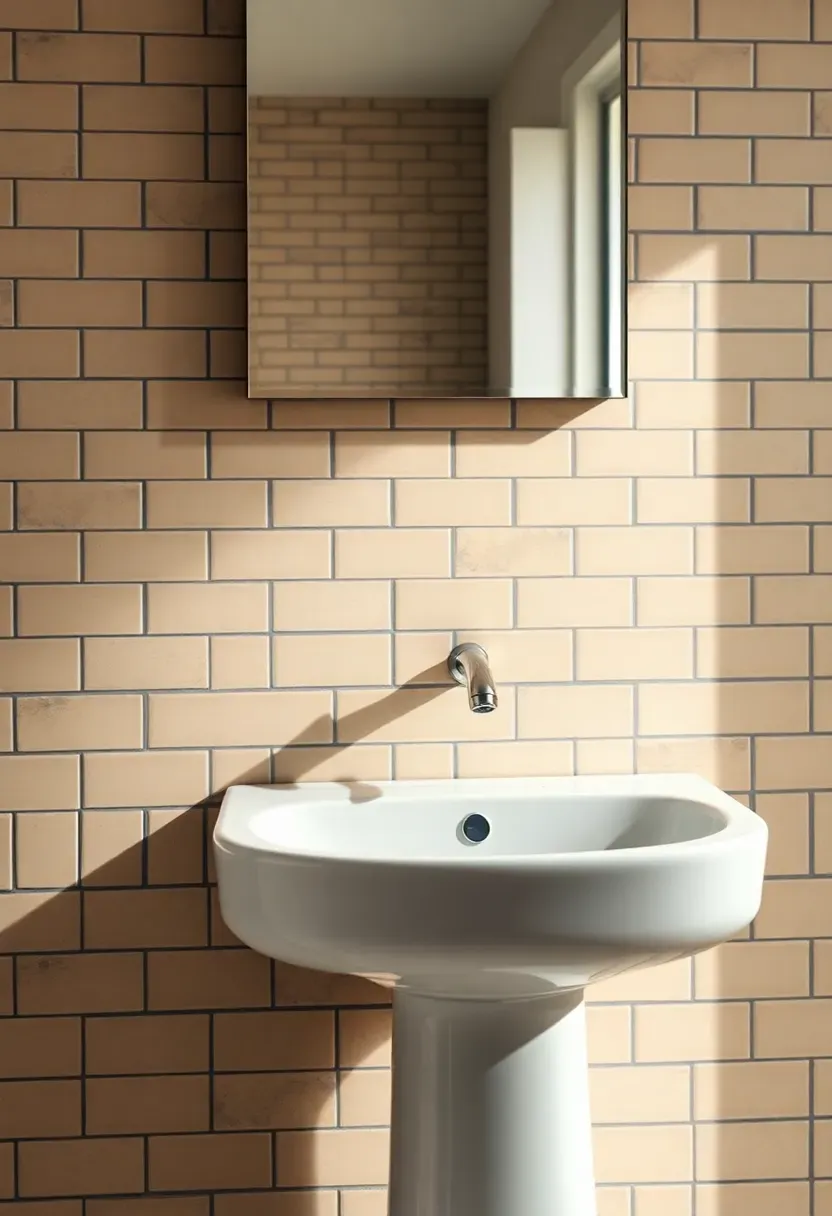
1. Peel-and-Stick Backsplash Tiles
Transform your apartment bathroom's backsplash instantly with peel-and-stick tiles that deliver the dramatic impact of real ceramic tile without the grout, adhesive, or permanent installation. These self-adhesive tiles come in various materials from realistic ceramic-look finishes to metallic geometric patterns, allowing you to completely refresh your bathroom's aesthetic in a single afternoon for under $50. The installation process requires minimal tools—simply clean the wall surface thoroughly, measure and cut tiles to fit, peel off the backing, and press firmly into place.
Peel-and-stick backsplashes work particularly well behind vanities and around mirrors, creating a focal point that draws the eye away from modest bathroom dimensions. Choose classic white subway tile for brightening effect, hexagonal patterns for modern geometric interest, or mirrored tiles that bounce light around the room and create the illusion of additional space. Unlike traditional tile installation, these removable panels can be taken down when you move using gentle heat from a hair dryer to loosen the adhesive.
Do/Don't
Do clean the wall surface thoroughly with isopropyl alcohol before installation for optimal adhesion.
Don't apply peel-and-stick tiles over textured wallpaper or uneven surfaces without proper smoothing first.
Budget & time: Quality peel-and-stick tiles cost $2-8 per square foot, and a typical vanity backsplash can be completed in 2-3 hours.
What this gives you: An instant tile transformation that looks permanently installed but remains completely removable and renter-friendly.
2. Over-the-Toilet Storage Unit
The wall space above your toilet represents valuable storage real estate in small apartment bathrooms, and a freestanding over-the-toilet storage unit maximizes this vertical area while keeping essentials organized and accessible. These space-saving shelving units typically feature 2-4 adjustable shelves that rise above the toilet tank, creating dedicated storage for towels, toiletries, and decorative items without consuming additional floor space. Freestanding designs require no mounting hardware, making them perfect for renters who want significant storage without permanent installation.
Recommended
Items for this idea
Why it works: Over-the-toilet units utilize dead space that would otherwise go wasted, adding storage capacity without making the bathroom feel cramped. Choose units with adjustable shelves to accommodate items of varying heights, from tall shampoo bottles to folded washcloths and decorative jars. White laminated finishes blend seamlessly with most apartment bathrooms, while natural wood or bamboo options add warmth and texture. Some models include integrated towel bars or cabinet doors for concealed storage.
Pro/Con/Fix
Pro: Provides substantial storage without permanent installation, and the unit can be taken with you when you move.
Con: Can feel visually heavy above the toilet, especially in already-small bathrooms.
Fix: Choose open-back designs or units with glass shelves to maintain visual lightness, and avoid overloading shelves with too many items.
What this gives you: Vertical storage that transforms wasted space above the toilet into functional storage without any mounting or installation.
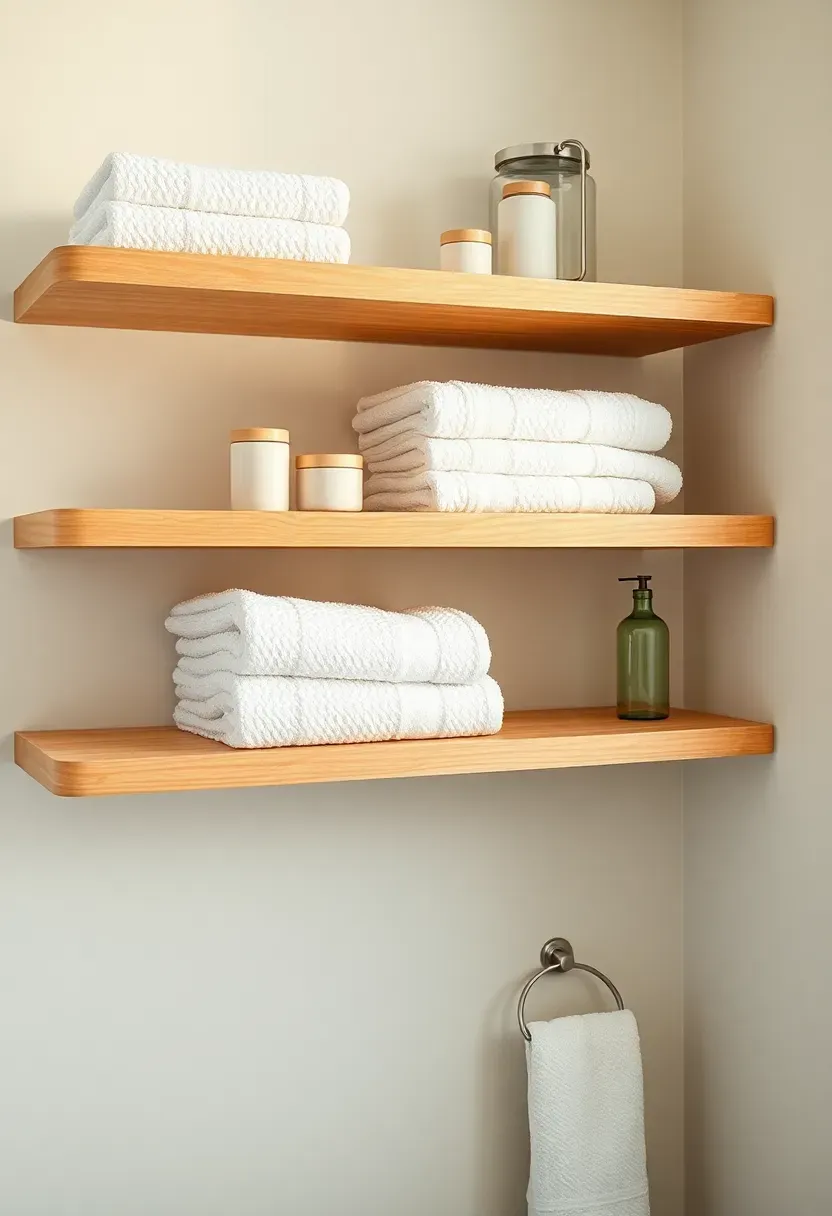
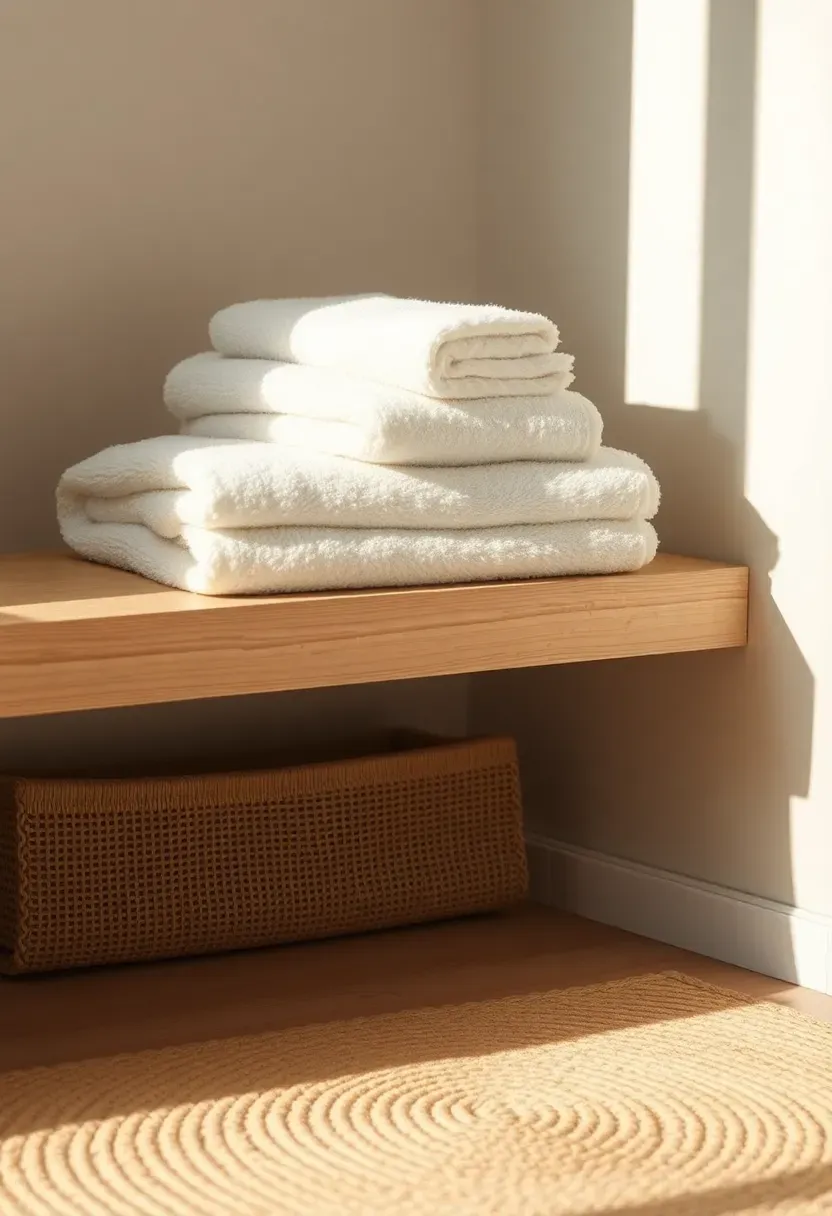
3. Floating Wall Shelves
Install floating wall shelves to display decorative items, hold frequently used toiletries, or store folded towels, adding both functional storage and visual interest to your apartment bathroom. These minimalist shelves appear to float against the wall without visible brackets, creating a clean, streamlined look that maximizes perceived space while providing valuable surface area above the toilet, vanity, or along empty wall stretches. Floating shelves work beautifully at varying heights, creating visual interest and drawing the eye upward to make ceilings feel higher.
Choose shallow depths of 4-6 inches for most bathroom applications—deep enough to hold items without protruding too far into limited floor space. Natural wood finishes add organic warmth to white bathrooms, while white or light-colored shelves maintain visual airiness. Arrange items thoughtfully rather than filling every inch—leave negative space to maintain the airy feel, and group similar items like rolled towels, small plants, or decorative jars for a curated, intentional look.
If/Then
If drilling isn't an option, then consider lightweight floating shelves attached with strong adhesive strips designed for bathroom use.
If you can drill, then locate wall studs for secure mounting, especially for shelves that will hold heavier items like multiple towels or large bottles.
Rental note: Adhesive-mounted floating shelves remove cleanly with gentle heat, making them ideal for renters who want the floating shelf look without drilling.
What this gives you: Stylish wall-mounted storage that displays items beautifully while keeping countertops clutter-free and surfaces accessible.
4. Tension Rod Shower Caddy
A tension rod shower caddy system maximizes vertical space in your shower or bathtub area by creating multiple levels of storage without any drilling or permanent installation. Simply extend the tension rod between shower walls or from ceiling to tub edge, then hang wire baskets, shelves, and hooks from the rod to organize shampoos, conditioners, soaps, and shower accessories at various heights. This adaptable system works in virtually any shower configuration and removes completely when you move, leaving no damage behind.
Recommended
Items for this idea
The beauty of this system lies in its flexibility and customizability—you can adjust rod length to fit your space, add or remove hanging baskets as needed, and reposition everything as your storage requirements change. Chrome tension rods with non-slip rubber ends provide stability in wet environments, while rust-resistant materials ensure longevity. For maximum storage, install multiple tension rods at different heights, creating a tiered system that separates different product types by category.
3 micro-hacks
Use small carabiners to attach bottles directly to the tension rod for a cleaner look that saves basket space.
Add silicone hooks to hold razors, washcloths, or loofahs without requiring additional containers.
Position the tension rod at a slight angle if needed for showerhead clearance, but ensure it's securely anchored at both ends.
What this gives you: Customizable vertical shower storage that requires no installation, adapts to your needs, and removes completely when moving.
5. LED Mirror Upgrade
Upgrade your standard bathroom mirror with an LED-backlit mirror featuring touch dimmer controls, transforming your morning routine while adding modern sophistication and task lighting that eliminates unflattering shadows. These mirrors provide bright, even illumination that mimics natural daylight, making makeup application, shaving, and skincare routines significantly easier and more accurate. The integrated LED lighting creates a spa-like atmosphere while providing functional illumination that traditional overhead fixtures simply can't match.
Placement matters: Install the mirror at eye level for the primary user—typically the bottom edge should be approximately 4 feet from the floor for most adults, with the mirror centered horizontally over the vanity. The touch dimmer feature allows you to adjust brightness levels to match time of day and task needs—bright for detailed work in the morning, soft and ambient for relaxing evening routines. Many LED mirrors also offer color temperature adjustment, switching between cool white light for invigorating morning energy and warm white light for wind-down routines.
Do/Don't
Do choose a mirror with anti-fog heating element if your bathroom gets steamy—this keeps the mirror clear after hot showers.
Don't select a mirror that's proportionally too large for your vanity, as this can overwhelm small apartment bathrooms.
Budget & time: LED mirrors range from $80-200 depending on size and features, with installation taking 30-60 minutes for plug-in models.
What this gives you: Professional-grade lighting that enhances both function and form, with customizable brightness that adapts to your daily routine.
6. Removable Wallpaper Accent
Create an accent wall with removable wallpaper that adds pattern, color, and personality to your apartment bathroom without permanent commitment. Unlike traditional wallpaper that requires paste and professional installation, modern removable wallpaper features a peel-and-stick backing that applies directly to clean, dry walls and removes cleanly when you're ready for a change or when you move. This budget-friendly apartment bathroom idea allows you to experiment with bold patterns or subtle textures that would feel overwhelming applied to all four walls.
Recommended
Items for this idea
An accent wall behind the vanity or toilet creates a focal point that anchors the room's design and draws attention away from modest dimensions. Choose botanical prints for organic freshness, geometric patterns for modern edge, subtle texture for sophisticated depth, or metallic accents for light-reflecting glamour. The key to successful removable wallpaper application is thorough surface preparation—walls must be clean, dry, and smooth for optimal adhesion. Many renters successfully use removable wallpaper in bathrooms thanks to improved moisture resistance in quality products.
If/Then
If your bathroom has high humidity, then opt for vinyl-coated removable wallpaper specifically designed for bathroom use.
If you're nervous about application, then start with a small wall first to gain confidence before tackling larger areas.
Rental note: Quality removable wallpaper leaves no residue when removed properly, making it ideal for renters who want bold walls without losing their security deposit.
What this gives you: A dramatic accent wall that transforms the entire bathroom aesthetic with minimal cost and complete reversibility.
7. Under-Sink Rolling Cart
A narrow under-sink rolling cart tucks into the unused space beneath your bathroom vanity or sink cabinet, providing mobile storage for extra toiletries, cleaning supplies, and backup items that don't fit in your main storage areas. These slim carts typically measure 12-15 inches wide, fitting perfectly between vanity legs or inside cabinet doors while offering multiple tiers of easily accessible storage. The rolling feature means you can pull the cart out for full access to contents rather than awkward reaching into dark cabinet spaces.
Why it works: The vertical design uses space that would otherwise be wasted, and wire or mesh construction allows for ventilation and visibility—being able to see what's stored on each level prevents the forgotten items problem. Organize each tier by category or frequency of use—reserve the top shelf for everyday essentials, middle shelves for backup products, and the bottom for heavier or less-frequently used items. Many carts include side hooks or additional holders for hanging items like loofahs, brushes, or small bags.
3 micro-hacks
Use small bins or baskets on cart shelves to corral small items and prevent everything from sliding into one jumbled pile.
Label bins or shelves with small tags if multiple people share the bathroom, creating designated spots for each person's items.
Choose a cart with locking wheels if you want it to stay in place, or regular wheels if you value mobility for cleaning.
What this gives you: Flexible, accessible storage that utilizes under-sink dead space without permanent installation, keeping frequently used backups within easy reach.
8. Mason Jar Storage Organizers
Repurpose mason jars as stylish bathroom storage organizers that combine rustic charm with practical functionality, keeping small items like cotton balls, Q-tips, bath salts, and makeup brushes visible and accessible. Clear glass jars allow you to see contents at a glance while creating a curated, intentional look that transforms cluttered shelves into organized displays. Group multiple jars on floating shelves, vanity countertops, or arranged in a small tray for a cohesive vignette that feels both decorative and functional.
Recommended
Items for this idea
Mason jars work exceptionally well in bathroom environments because glass is moisture-resistant and easy to clean. The transparent nature creates visual lightness that doesn't overwhelm small spaces, while contents add color, texture, and personality. Choose matching jars for a uniform, polished appearance or mix sizes and styles for an eclectic, collected-over-time aesthetic. Look for jars with airtight lids for items that need protection from humidity, like cotton pads or bath salts, and consider adding small labels for quick identification.
Do/Don't
Do use mason jars to elevate everyday items from cluttered to curated—their presence makes even mundane bathroom essentials look intentional and decorative.
Don't overfill jars until they look cramped—leave some breathing room and negative space for a more sophisticated appearance.
Budget & time: Mason jars cost $1-3 each, and organizing a small collection takes under 30 minutes with zero installation required.
What this gives you: Affordable storage that doubles as decorative display, keeping everyday items accessible while creating a polished, intentional aesthetic.
9. Statement Shower Curtain
Choose a statement shower curtain to serve as the primary design element in your apartment bathroom, using this large vertical surface to inject color, pattern, and personality without overwhelming the limited space. In a small bathroom, the shower curtain becomes a focal wall equivalent—making it the perfect canvas for bold design choices that would feel excessive in larger rooms but create dramatic impact in compact spaces. This budget-friendly update costs under $30 yet transforms the entire room's aesthetic.
A dramatic shower curtain can distract from modest dimensions while establishing your bathroom's design direction. Opt for oversized botanical prints for organic freshness, bold geometric patterns for modern edge, watercolor effects for soft artistic appeal, or high-contrast black and white for graphic sophistication. If your bathroom lacks windows or natural light, a curtain with subtle reflective elements or light-colored background can help brighten the space and create the illusion of additional light.
Pro/Con/Fix
Pro: Creates maximum visual impact with minimal investment and complete reversibility—simply swap curtains when you want a new look.
Con: Cheap, lightweight curtains can wrinkle easily and feel insubstantial, diminishing the overall effect.
Fix: Invest in a quality fabric curtain with weighted hem that hangs smoothly, and coordinate your curtain rings and liner for a polished appearance.
What this gives you: A dramatic design element that transforms the entire bathroom aesthetic with minimal cost, effort, and complete reversibility.
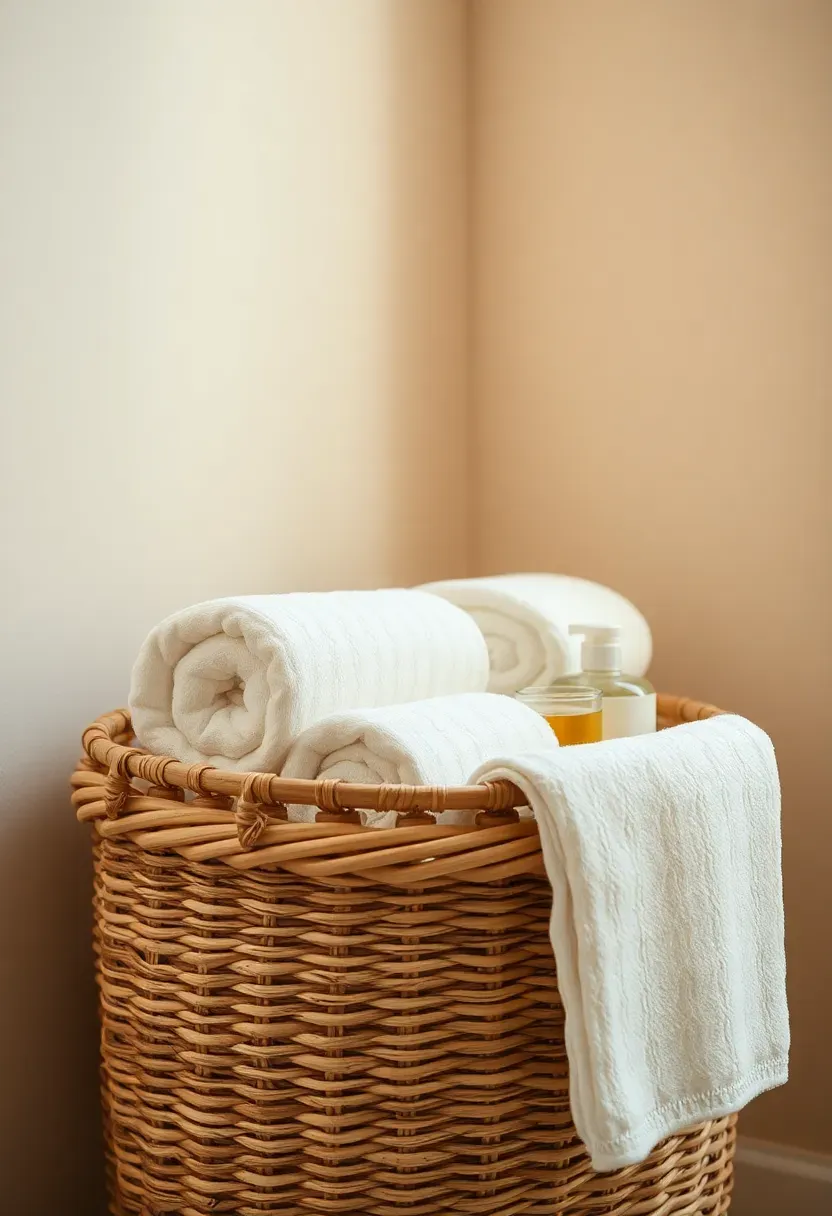
10. Dollar Store Basket Organization
Elevate your bathroom organization with matching woven baskets from dollar stores that provide sophisticated storage for a fraction of the cost of high-end organizers. These affordable baskets create a cohesive, intentional look while corralling everything from towels and toiletries to toilet paper and cleaning supplies. Grouping matching baskets on floating shelves, under the sink, or on vanity tops transforms visual clutter into organized displays that feel curated rather than haphazard.

Recommended
Items for this idea
The key to making dollar store baskets look expensive lies in consistency—choose matching or coordinating baskets in the same material and color family for a unified appearance. Natural seagrass, hyacinth, or water hyacinth baskets add organic warmth and texture, while white or neutral woven options maintain visual lightness in small spaces. Assign each basket a specific category—towels, toiletries, cleaning supplies, backup items—and label them if needed for quick identification. The natural texture of woven baskets adds visual interest that prevents the bathroom from feeling sterile.
If/Then
If you're concerned about moisture in the bathroom, then choose baskets with plastic liners or place items in waterproof containers inside the baskets.
If you want a more polished look, then remove any original tags and consider adding simple fabric or leather labels for a custom appearance.
What this gives you: Affordable organization that looks significantly more expensive than it costs, creating cohesion while controlling bathroom clutter.
11. Command Hook Wall Storage
Utilize Command hooks and similar removable adhesive hooks to create versatile wall storage that holds everything from towels and robes to accessories and bags without drilling holes or damaging walls. These renter-friendly hooks come in various sizes and styles, from small hooks for keys and headbands to larger hooks for towels and bags, allowing you to customize storage solutions to your specific needs. The adhesive backing removes cleanly with gentle heat, making them perfect for apartment bathrooms.
Command hooks work beautifully on bathroom walls, inside cabinet doors, or even on tile surfaces, creating storage where none existed without permanent installation. Position hooks at varying heights to accommodate different items—higher hooks for robes and bags, lower hooks for frequently used towels and accessories. Group multiple hooks together for a dedicated storage zone, or scatter them strategically where needed most. White hooks blend seamlessly with most bathrooms, while metallic finishes can add intentional style.
3 micro-hacks
Clean the mounting surface thoroughly with rubbing alcohol before applying hooks for optimal adhesion in humid bathroom environments.
Wait one hour after application before hanging items to allow the adhesive to reach maximum strength.
Use clear hooks on glass or mirrored surfaces for a nearly invisible storage solution.
Rental note: Command hooks remove cleanly by pulling the tab straight down slowly, stretching the adhesive without damaging walls or leaving residue.
What this gives you: Versatile wall storage that requires no drilling, removes without damage, and adapts to whatever you need to hang.
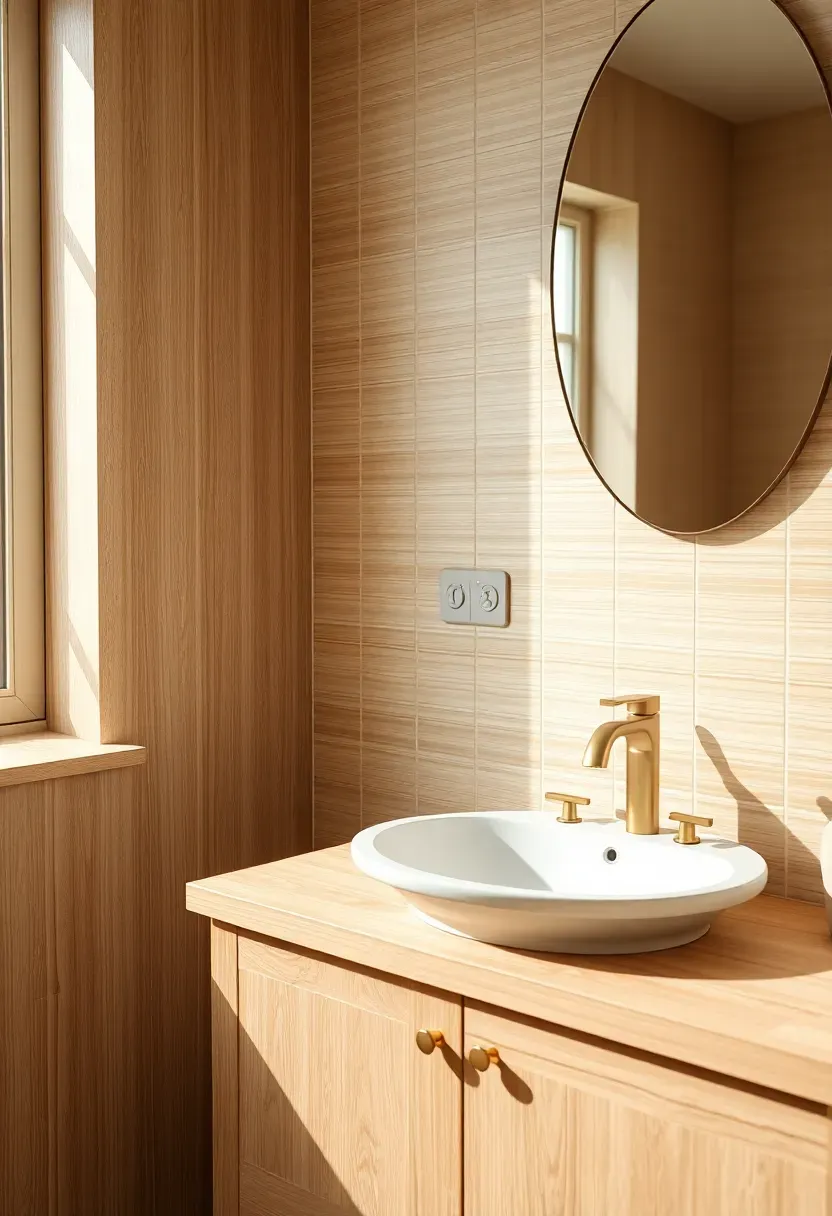
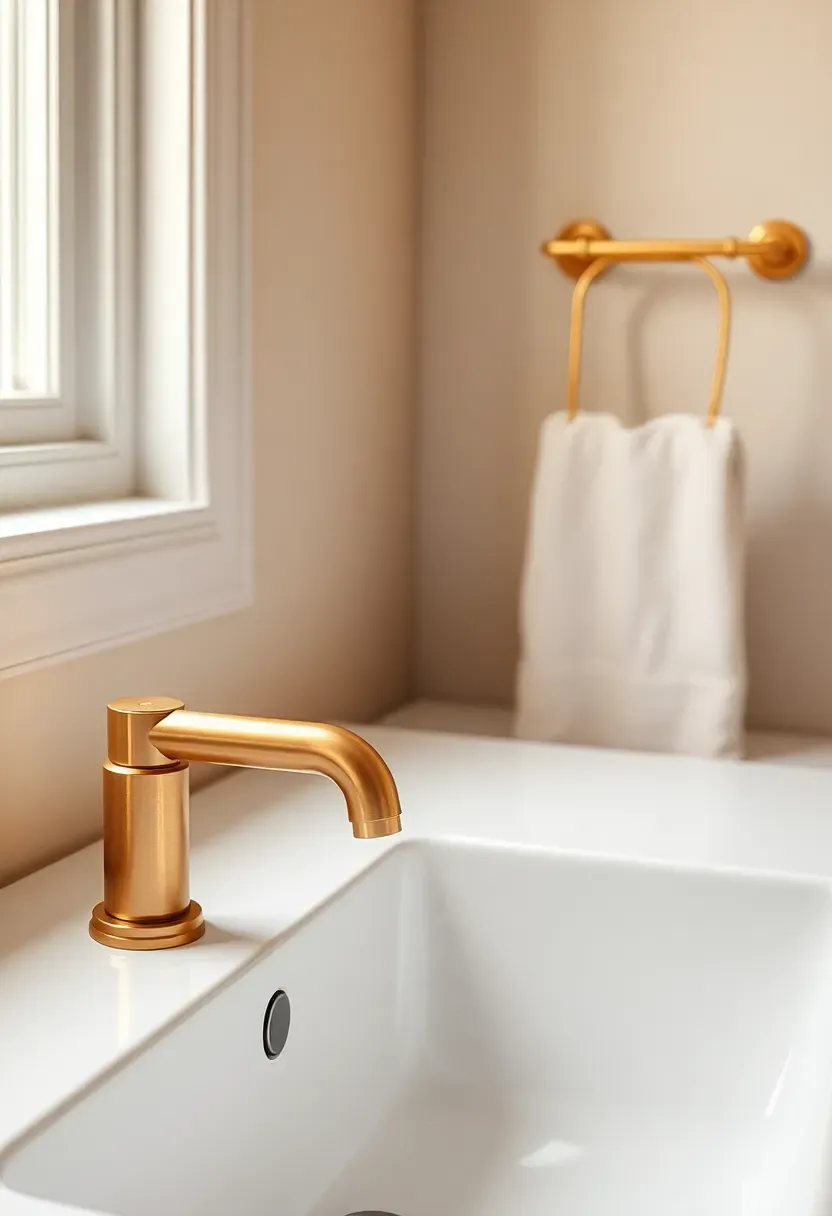
12. Renter-Friendly Faucet Upgrade
Update your apartment bathroom's aesthetic dramatically with a new faucet that you can take with you when you move. While standard apartment faucets feel generic and dated, swapping in a stylish new fixture transforms the entire vanity area and elevates the bathroom's design. Many faucets can be installed by renters with basic tools and DIY skills, then reversed when you move out, restoring the original fixture.
Recommended
Items for this idea
Why it works: The faucet serves as the vanity's focal point, and upgrading from builder-grade chrome to brushed gold, matte black, or brushed nickel instantly makes the entire bathroom feel more customized and intentional. Before purchasing, verify that your chosen faucet will work with your existing sink's faucet holes—most standard bathroom sinks accommodate widespread or centerset configurations. Keep your original faucet packed safely to reinstall when moving, ensuring you get your security deposit back while enjoying a personalized fixture in the meantime.
Do/Don't
Do turn off water supply lines before beginning installation and keep a bucket and towel handy for minor water spills.
Don't attempt this upgrade if you're not comfortable with basic plumbing—consider hiring a handyman for professional installation.
Budget & time: Quality faucets range from $80-250, with DIY installation taking 1-2 hours for those comfortable with basic plumbing tasks.
What this gives you: A dramatic vanity upgrade that transforms the entire bathroom aesthetic while remaining reversible for renters.
13. DIY Wooden Ladder Shelf
Create a charming wooden ladder shelf that leans against your bathroom wall, providing stylish storage for towels, plants, and accessories without requiring any mounting hardware. This freestanding storage solution adds architectural interest while utilizing vertical space that would otherwise go empty. A ladder shelf works perfectly beside the vanity, beside the tub, or even in tight corners where traditional shelving wouldn't fit.
Building a simple ladder shelf requires basic DIY tools and minimal carpentry skills—or purchase an affordable pre-made option if you prefer. Natural wood finishes add organic warmth to white bathrooms, while painted options can match existing decor. The leaning design creates visual interest and feels less permanent than mounted shelving, making it perfect for renters who want style without commitment. Style the shelves with rolled towels, small plants, decorative jars, and baskets for a collected-over-time appearance.
If/Then
If you're building your own ladder shelf, then use pine or poplar boards for affordability, and finish with water-resistant polyurethane for bathroom durability.
If you purchase a ladder shelf, then look for one with rubber feet or add non-slip pads to protect floors and prevent sliding.
What this gives you: Architectural storage that adds character while providing functional space for towels and accessories without any mounting.
14. Under-Cabinet Tension Rod Organizer
Install a small tension rod inside your bathroom cabinet to create additional storage space for cleaning supplies, spray bottles, or small items that would otherwise clutter cabinet shelves. This clever organizer uses otherwise wasted vertical space beneath bathroom sinks or vanity cabinets, turning empty air into functional storage. The tension rod extends between cabinet sides, creating a hanging rod perfect for bottles with spray triggers or small hooks.
Recommended
Items for this idea
This under-cabinet solution works particularly well in apartment bathrooms where storage space is at a premium. Mount the tension rod near the cabinet top to hang spray bottles by their triggers, keeping them accessible but off cabinet floors. Small S-hooks can convert the tension rod into a hanging rail for brushes, cloths, or small baskets containing items like cotton balls or makeup remover pads. The entire system removes in seconds when you move, leaving no evidence behind.
Pro/Con/Fix
Pro: Creates storage from empty space, requires no mounting, and removes completely without damage.
Con: Limited weight capacity—tension rods can slip if overloaded with heavy items.
Fix: Choose tension rods with rubber-coated ends for better grip, and distribute weight evenly rather than concentrating heavy items on one side.
What this gives you: Clever under-cabinet storage that utilizes dead vertical space without any installation or mounting.
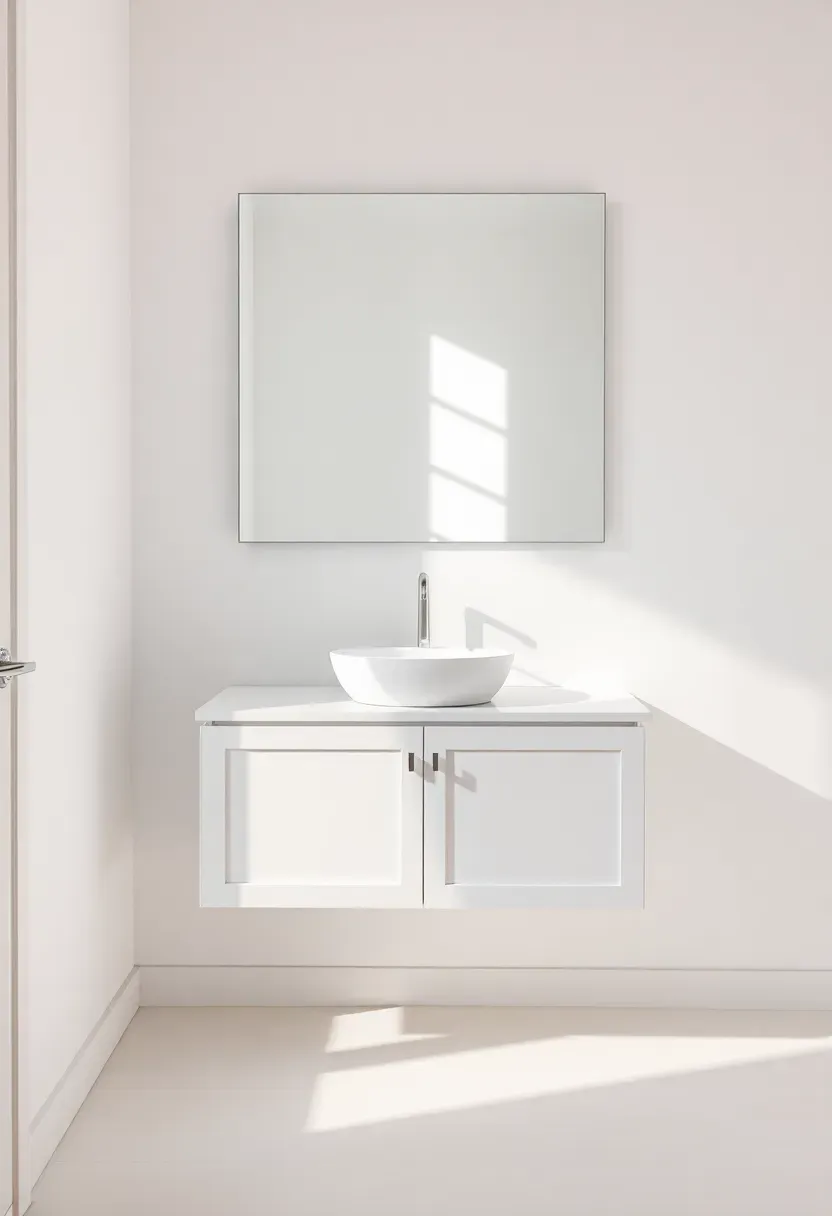
15. Mirrored Tile Accent Wall
Create a dramatic mirrored tile accent wall behind your vanity or toilet that visually doubles your bathroom's perceived size while adding glamour and light-reflecting brightness. Unlike traditional mirrors that come in single pieces, mirrored tile arrangements create architectural interest through grid patterns while multiplying reflections and making small spaces feel significantly larger. This budget-friendly apartment bathroom idea uses adhesive-backed mirror tiles that install without professional help.
Mirrored tiles work exceptionally well in small apartment bathrooms because they bounce light around the room and create the illusion of additional depth. Arrange tiles in a classic grid pattern for traditional elegance, or create interesting patterns with varying tile sizes for modern edge. The reflective surface makes the bathroom feel brighter and more spacious while adding a touch of luxury that belies the budget-friendly price point. Position mirrored tiles strategically to reflect the best features of your bathroom—whether that's a window, attractive fixtures, or decorative elements.
Do/Don't
Do clean the wall surface thoroughly before installation and use a level to ensure your first row of tiles is straight—this provides the foundation for the entire wall.
Don't install mirrored tiles where they'll get excessive water spray directly—choose areas protected from direct shower or faucet spray.
What this gives you: A space-multiplying accent wall that makes your bathroom feel significantly larger while adding glamour and brightness.
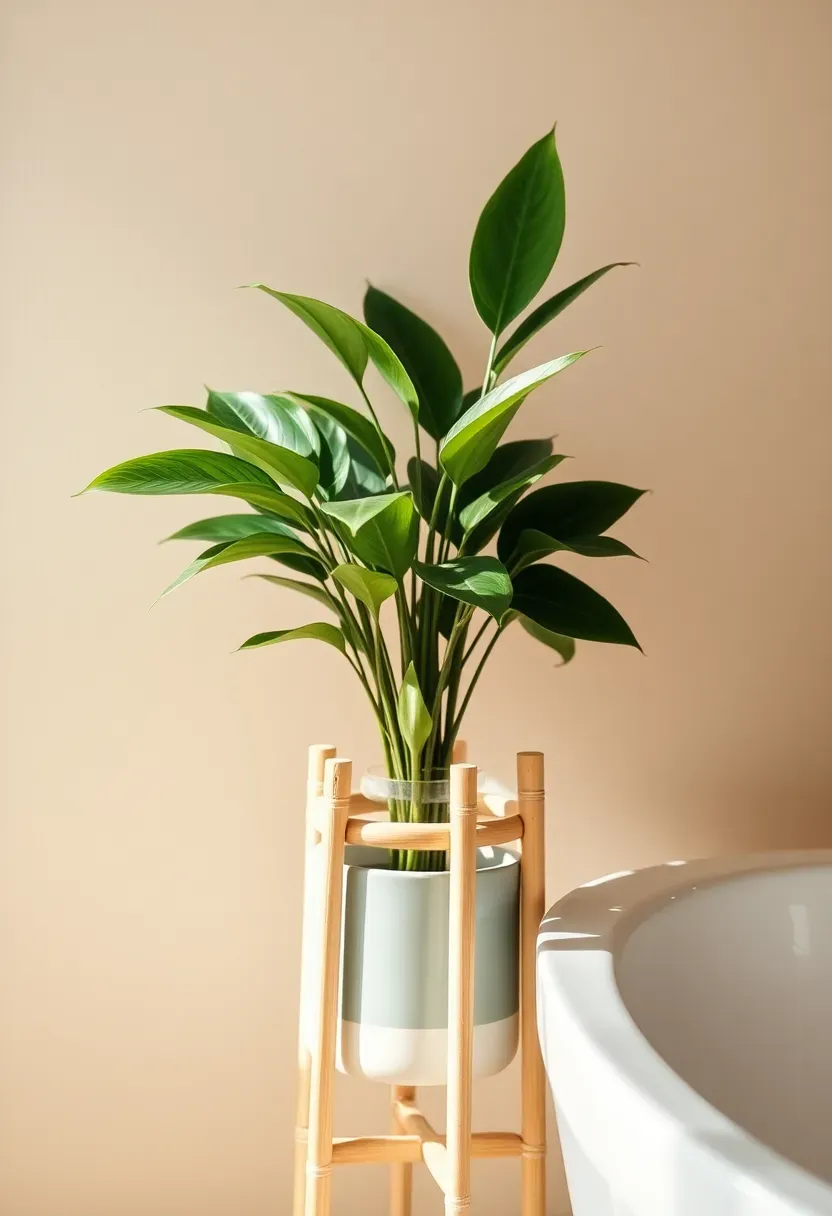
16. Small Potted Plant
Introduce a small potted plant to bring life, freshness, and organic warmth to your apartment bathroom, creating a calming spa-like atmosphere while adding natural color and texture that softens hard surfaces. Even the tiniest bathroom benefits from greenery, which improves air quality, adds visual interest, and creates a sense of tranquility that elevates the entire space. Plants provide living contrast to sterile bathroom fixtures and tiles, while their natural forms create visual interest that draws the eye around the room.
Recommended
Items for this idea
Choose bathroom-appropriate varieties that tolerate humidity and lower light conditions—snake plants, pothos, peace lilies, ferns, and ZZ plants thrive in typical apartment bathroom environments. Small plants in compact pots take up minimal space while delivering maximum visual impact. Position your plant where it receives appropriate light—near windows for sun-loving varieties or on higher shelves away from direct light for shade-tolerant species. Consider hanging plants in macramé holders to add vertical interest without consuming counter space, or place plants on floating shelves above the toilet for a nature-inspired focal point.
If/Then
If your bathroom has very low light, then choose snake plants or ZZ plants, which tolerate low-light conditions better than most varieties.
If you're concerned about humidity affecting your plant, then choose varieties that naturally thrive in moist environments like ferns and peace lilies.
What this gives you: Living organic presence that adds warmth, texture, and air-purifying benefits while creating a calming, spa-like atmosphere.
17. Decorative Tray Organization
Use a decorative tray to corral countertop items like hand soap, lotion, toothbrush holders, and small accessories, transforming scattered clutter into an organized, intentional display that adds polish and sophistication to your apartment bathroom. A well-chosen tray groups similar items together, creating visual cohesion while protecting surfaces from water damage and making cleaning significantly easier. When everything has its place within the tray boundaries, the entire bathroom feels more organized and intentional.

Why it works: Trays create designated zones for frequently used items, preventing the scattered mess that occurs when products sit directly on counters. Choose trays that complement your bathroom aesthetic—natural materials like wood or rattan for warmth, metal finishes like brass or copper for luxury, or sleek ceramic or glass for minimalist sophistication. Common mistake: overfilling trays until they appear cluttered rather than curated. Leave some negative space and arrange items thoughtfully—group similar items together, vary heights for visual interest, and keep the arrangement feeling intentional rather than haphazard.
3 micro-hacks
Use a tray with raised edges to contain spills and protect your vanity surface from water damage and product residue.
Place a small decorative element like a plant, candle, or decorative object on the tray to elevate it from purely functional to intentionally stylish.
Choose a tray size proportional to your counter space—oversized trays overwhelm small vanities, while tiny trays get lost on large counters.
What this gives you: Organized containment that transforms clutter into intentional display while protecting surfaces and making cleaning significantly easier.
18. Over-the-Door Organizer
An over-the-door bathroom organizer maximizes storage space that would otherwise go completely unused, using the back of your bathroom or closet door to hold everything from cleaning supplies and toiletries to towels and hair accessories. These organizers come in various configurations—over-the-door hook racks, pocket organizers with clear compartments, and multi-rack systems—that attach without drilling or permanent installation, making them perfect for renters who need maximum storage without commitment.
Recommended
Items for this idea
Over-the-door hook racks typically feature 6-8 sturdy hooks that hold robes, towels, loofahs, or bags, while pocket organizers with transparent or mesh compartments provide categorized storage for small items like makeup, travel-sized products, or cleaning supplies. The beauty of door-mounted storage is that it doesn't interfere with floor space or wall surfaces, and it keeps items organized yet visible. Choose organizers based on your specific storage needs—hooks for hanging items, pockets for small products, or combination units that offer both functionality.
Do/Don't
Do measure your door's thickness before purchasing to ensure the organizer will fit properly—some doors are thicker than standard residential doors.
Don't overload the organizer with excessive weight, which can strain the door and affect closing—distribute weight evenly and use hooks for lighter items.
What this gives you: Maximum storage utilization of previously wasted door space, keeping items organized and accessible without consuming floor or counter areas.
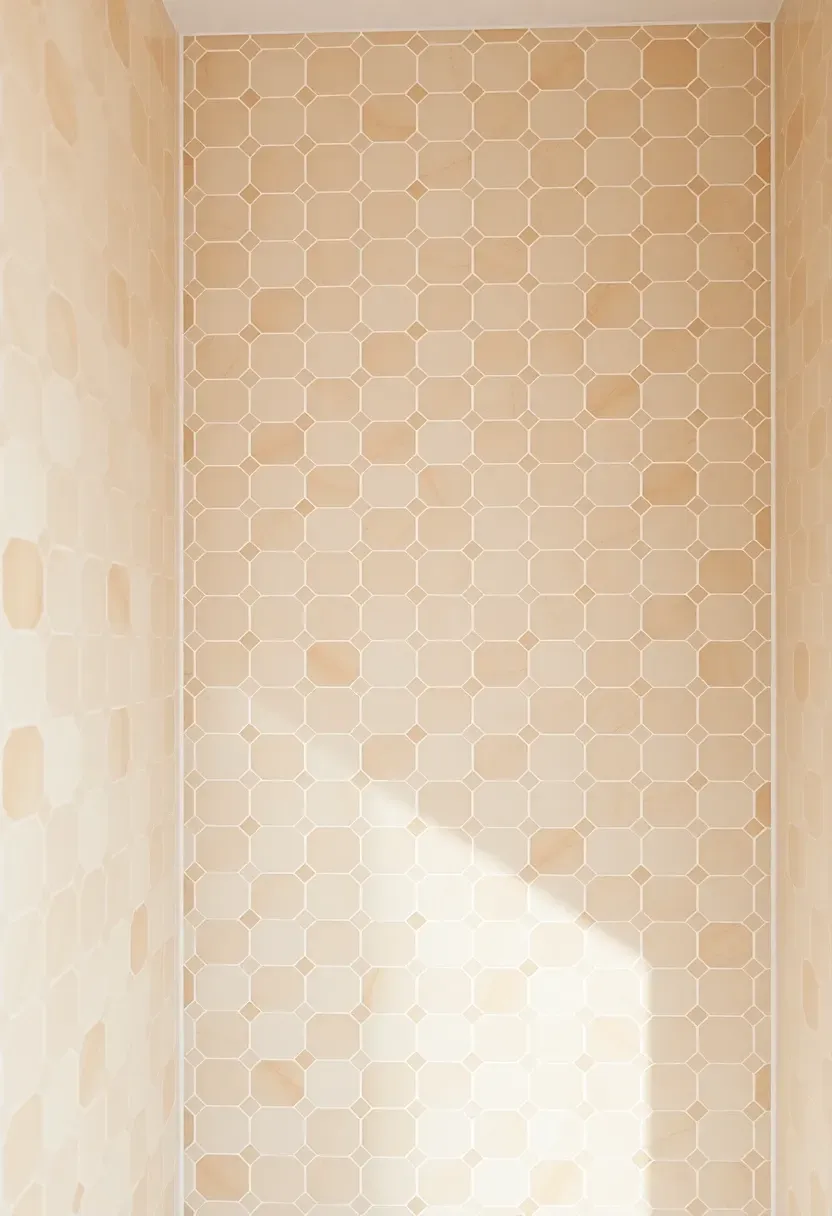
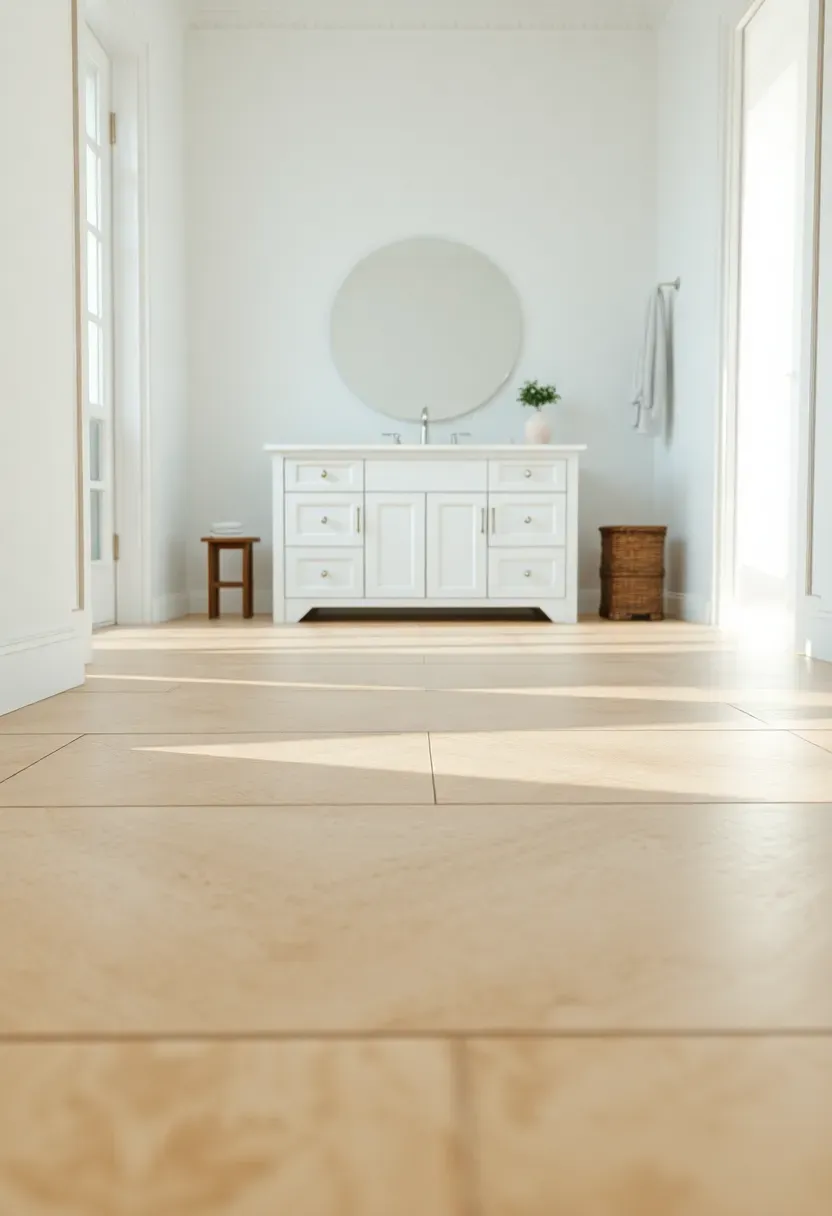
19. Peel-and-Stick Floor Tiles
Transform dated apartment bathroom flooring with peel-and-stick vinyl tiles that create the look of expensive ceramic, stone, or patterned tile at a fraction of the cost and with zero permanent installation. Modern peel-and-stick floor tiles feature realistic textures and patterns that convincingly mimic higher-end materials, allowing you to completely refresh your bathroom's foundation in a single weekend. This budget-friendly apartment bathroom idea delivers dramatic impact while remaining completely reversible.
Flooring sets the foundation for the entire room's aesthetic, and updating dated linoleum or worn vinyl with fresh peel-and-stick tiles creates an immediate visual transformation. Choose classic white hexagonal tiles for vintage charm, large-format marble-look tiles for luxury, wood-look planks for warmth, or geometric patterns for modern edge. Installation is straightforward—clean the existing floor thoroughly, measure and plan your layout, peel off the backing, and press tiles firmly into place. When it's time to move, quality peel-and-stick tiles can often be removed without damaging the original flooring beneath.
If/Then
If your existing floor has significant texture or damage, then apply a floor-leveling primer first to create a smooth surface for optimal tile adhesion.
If you're concerned about moisture resistance, then choose peel-and-stick tiles specifically designed for bathroom use with water-resistant warranties.
Budget & time: Peel-and-stick floor tiles cost $1-4 per square foot, and a typical small bathroom can be completed in 3-5 hours.
What this gives you: A complete floor transformation that refreshes the entire bathroom aesthetic while remaining budget-friendly and reversible.
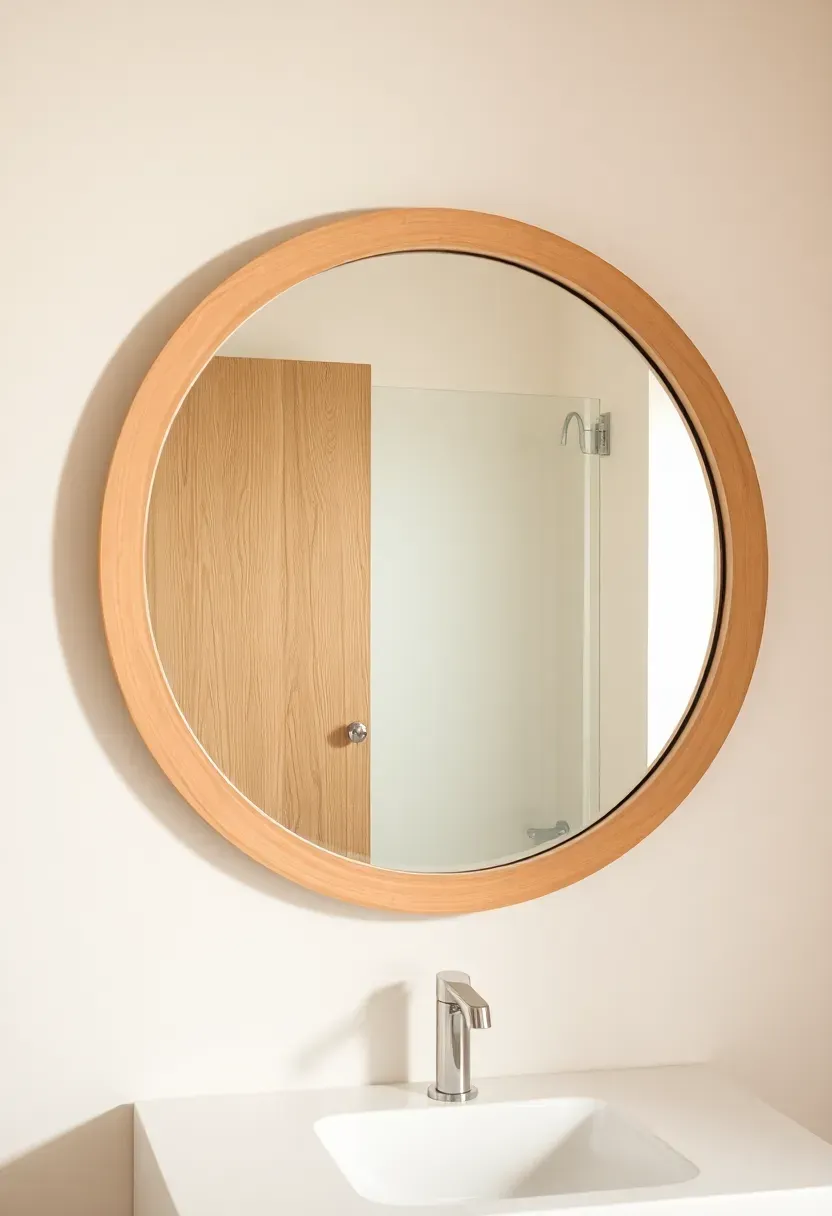
20. Thrifted Mirror Upcycle
Elevate your apartment bathroom with a unique thrifted mirror that adds character, style, and visual interest while costing significantly less than new mirrors. Thrift stores, estate sales, and online marketplaces offer distinctive mirrors in various shapes, sizes, and finishes that can transform your bathroom's aesthetic. A thrifted mirror with an interesting frame becomes art while serving its practical function, adding personality that mass-produced mirrors simply can't match.
Recommended
Items for this idea
Why it works: A distinctive mirror creates a focal point that elevates the entire bathroom design, and the unique character of thrifted pieces adds personality that makes the space feel curated rather than generic. Look for mirrors with interesting frames—gold sunburst frames for glamour, natural wood frames for organic warmth, ornate vintage frames for eclectic charm, or round mirrors for softening angular bathrooms. Clean thrifted mirrors thoroughly with glass cleaner, and consider updating the frame with paint if it doesn't match your aesthetic—spray paint works beautifully on most frame materials.
3 micro-hacks
Check mirror hanging hardware before purchasing and factor any needed replacement hardware into your budget and installation plan.
Clean both sides of the mirror thoroughly—thrifted mirrors often have years of dust and residue that affect clarity and reflectivity.
Consider the mirror's scale relative to your bathroom—oversized mirrors make small spaces feel larger, while undersized mirrors can feel awkwardly proportioned.
What this gives you: Unique character and style at a fraction of the cost of new mirrors, creating a focal point that personalizes your apartment bathroom.
21. Plug-in Wall Sconce Lighting
Add sophisticated wall sconces beside your mirror without any electrical work by choosing plug-in models that simply connect to existing outlets. These renter-friendly lighting solutions provide the elegant look of hardwired sconces with none of the permanent installation, allowing you to add ambient and task lighting that transforms your bathroom's atmosphere. Plug-in sconces come in various styles from modern minimalist to traditional, ensuring options that complement any bathroom aesthetic.
Wall sconces positioned on either side of the mirror provide balanced, flattering illumination that eliminates harsh shadows and creates a spa-like atmosphere. Plug-in models typically include mounting brackets that attach to the wall with screws or strong adhesive, while the cord plugs into a nearby outlet—often with clever cord concealment options that maintain a polished appearance. Look for sconces with adjustable arms, dimmable bulbs, or integrated LED lighting for maximum functionality and ambiance control.
If/Then
If drilling isn't an option, then choose adhesive-mounted sconces or lightweight options that attach with strong removable strips.
If you're concerned about visible cords, then look for models with cord covers or position sconces near existing outlets to minimize cord length and visibility.
Rental note: Plug-in sconces remove completely when moving, and small mounting holes can be easily filled with spackle for a security deposit-friendly lighting upgrade.
What this gives you: Sophisticated wall lighting that elevates your bathroom's aesthetic while remaining completely reversible for renters.
Transforming your apartment bathroom on a budget doesn't require permanent renovations or deep pockets—these 21 apartment bathroom ideas on a budget demonstrate that strategic, thoughtful changes can create dramatic impact. Start with a few key upgrades that address your biggest challenges, whether that's cluttered counters, poor lighting, or dated finishes, and watch how these changes ripple through to transform the entire bathroom experience. Your rental bathroom can become a space that feels organized, stylish, and surprisingly personalized—one budget-friendly improvement at a time.
About the author
OBCD
CGI visualization and interior design content. We create detailed 3D renders and curate practical design ideas for every room in your home.