How to Decorate Your Room from Scratch: 6 Steps to a Dream Space
Decorating your room from scratch can feel overwhelming — blank walls, mismatched furniture, no idea where to start. The good news is that with a clear sequence, even a completely empty room transforms into a cohesive, personal space faster than you think. These six steps take you from intention all the way to the final accessory, so nothing gets skipped and nothing gets wasted.
Whether you're moving into a new place, starting over after a big change, or finally tackling that room you've been avoiding, this guide gives you a practical, order-of-operations approach that professionals use — adapted for real budgets, real timelines, and rooms of any size.
As an Amazon Associate I earn from qualifying purchases.
Table of Contents
What You'll Need
- Measuring tape and graph paper (or a free floor-plan app like Planner 5D)
- Mood board — a physical pinboard or a free Pinterest/Canva board
- Paint swatches or a color-palette tool (Coolors, Adobe Color)
- Budget spreadsheet to track every purchase
- Basic toolkit: level, stud finder, picture-hanging hardware
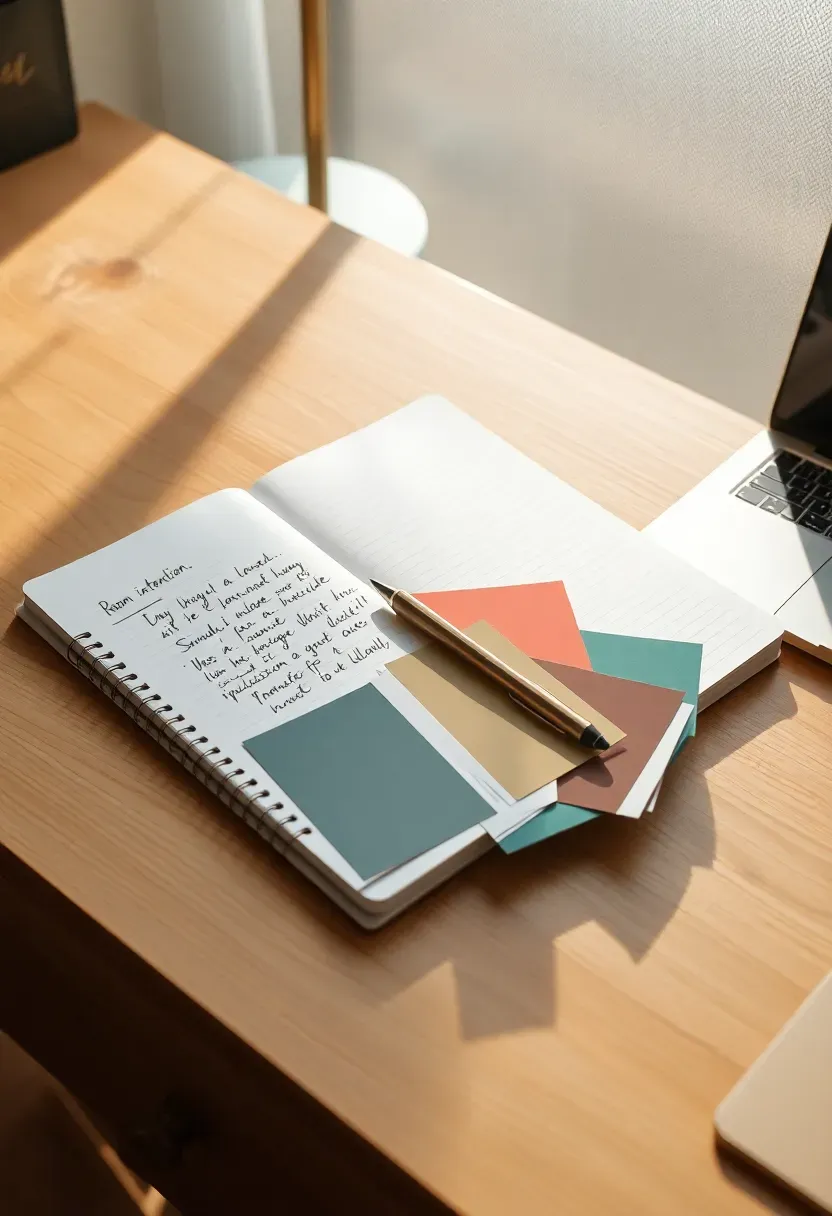
Step 1: Set Your Intention and Budget
Before you touch a single wall or browse a single store, ask yourself one question: how do you want this room to feel? Every good room decoration project starts not with aesthetics but with intention — calm and restorative, energizing and creative, warm and social. Writing that feeling down in one or two words becomes your filter for every decision that follows. Without it, you'll end up with a cart full of things that look nice individually but create visual noise together.
Once you have your intention, build a realistic budget around it. Divide your total into rough allocations: typically 40–50% for large furniture, 20–25% for lighting and window treatments, and the remaining 30% for accessories, art, and finishing touches. This prevents the common mistake of blowing the budget on a statement sofa and having nothing left for the layers that make a room feel complete. If your budget is tight, prioritize purchases that are expensive to replace later — flooring and large upholstered pieces — and save decorative items for when funds allow.
Why it works: pairing a clear emotional goal with a category budget turns vague inspiration into an actionable plan, which means fewer impulse buys and far less regret.
- Do: Write your intention word (e.g., "serene," "bold," "cozy") at the top of every shopping list to filter purchases in real time.
- Don't: Set a total number without breaking it into categories — you'll almost always overspend on one area and shortchange another.
- Pro tip: Add a 10% buffer line to your budget for unexpected costs like extra paint, replacement hardware, or shipping fees.
What this gives you: a guiding principle and a spending framework that keep every subsequent decision focused and on track.
Step 2: Choose a Color Palette and Style Direction
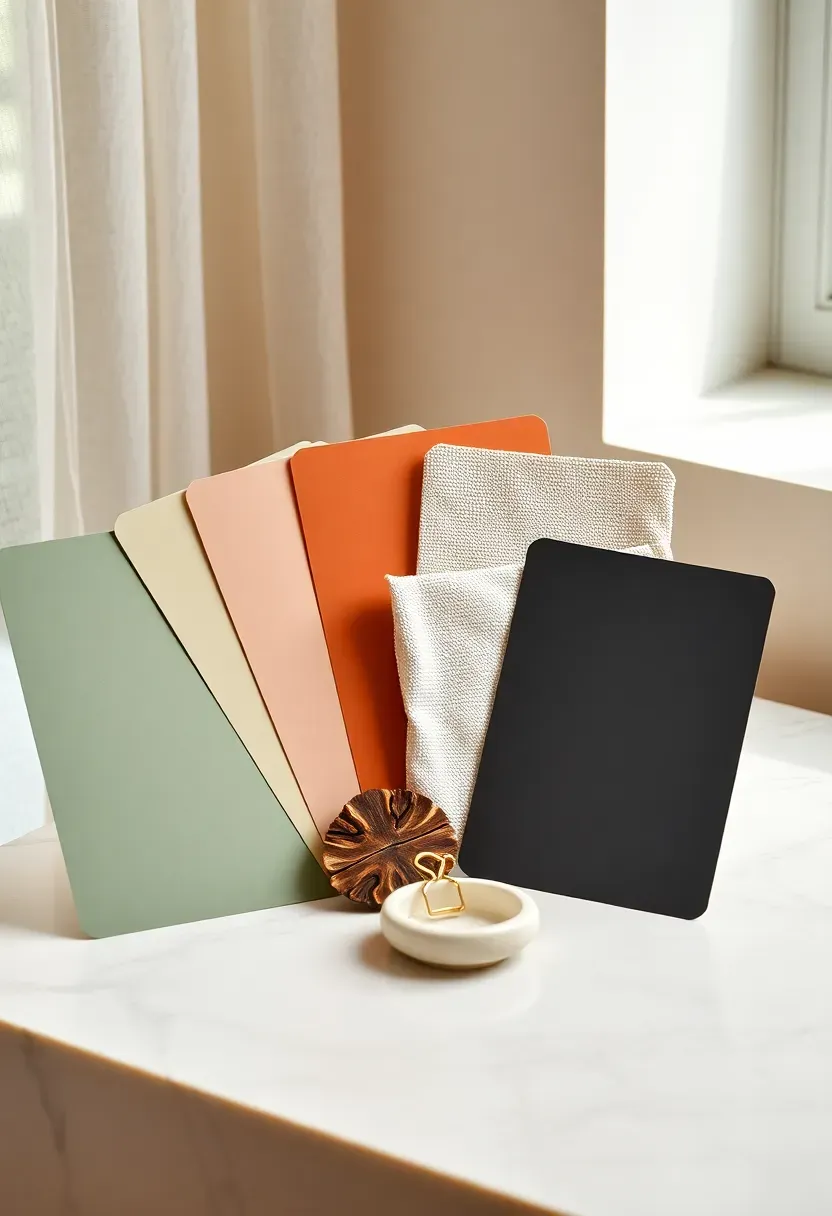
Color and style are the two decisions that unify every object in a room into a coherent whole. A practical palette for decorating a room from scratch follows the 60-30-10 rule: 60% dominant neutral (walls, large rug, main sofa), 30% secondary tone (curtains, accent chair, bedding), and 10% pop color (throw pillows, art, small accessories). Limiting yourself to two or three core colors prevents the "sample-sale" look where every piece competes for attention. Choose your accent color last — it's the easiest thing to swap if you want to refresh the room in a year.
Recommended
Items for this idea
Style note: pick one primary aesthetic — Scandinavian, mid-century modern, coastal, industrial, maximalist — and allow only supporting styles that share at least two characteristics (material, proportion, or finish) with the primary. This prevents the "every style at once" trap that makes rooms feel busy rather than layered.
Test paint colors on a large patch (at least 12 × 12 inches) and observe them at morning, midday, and evening light before committing. What looks like a warm greige on a sample card can read as lavender-grey on a north-facing wall. The same principle applies to fabric swatches: hold them against your flooring and against your largest existing piece before purchasing.
- If your room gets little natural light, then lean toward warmer undertones in your neutrals — cool whites will feel clinical rather than crisp.
- If you're renting and can't paint, then use your largest textile (rug or curtains) to introduce your dominant color instead.
- If you're drawn to multiple styles, then identify the single overlapping feature — say, natural wood tones in both Japandi and farmhouse — and make that the bridge element.
What this gives you: a visual grammar that makes every future purchase easy to evaluate — it either fits the palette and style, or it doesn't.
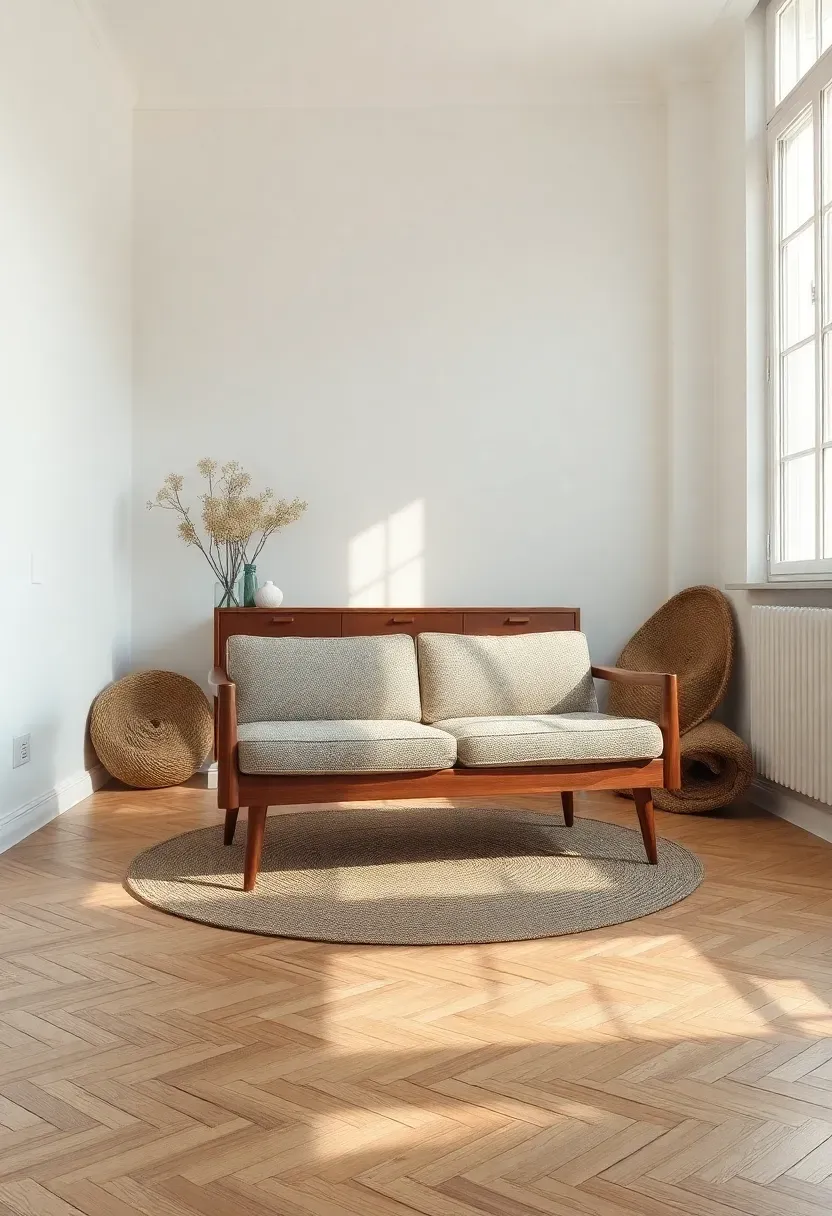
Step 3: Plan Your Furniture Layout
Planning your furniture layout on paper — before you move or buy a single piece — is the single highest-leverage step in the entire process of decorating a room from scratch. Start with a scaled floor plan: measure every wall, window, and door, then draw it on graph paper at 1 square = 1 foot. Mark traffic paths (you need at least 30–36 inches of clear walkway through any high-use route) and identify the natural focal point — a fireplace, a large window, or the wall you see first when you enter. Every seating grouping should orient toward that focal point.
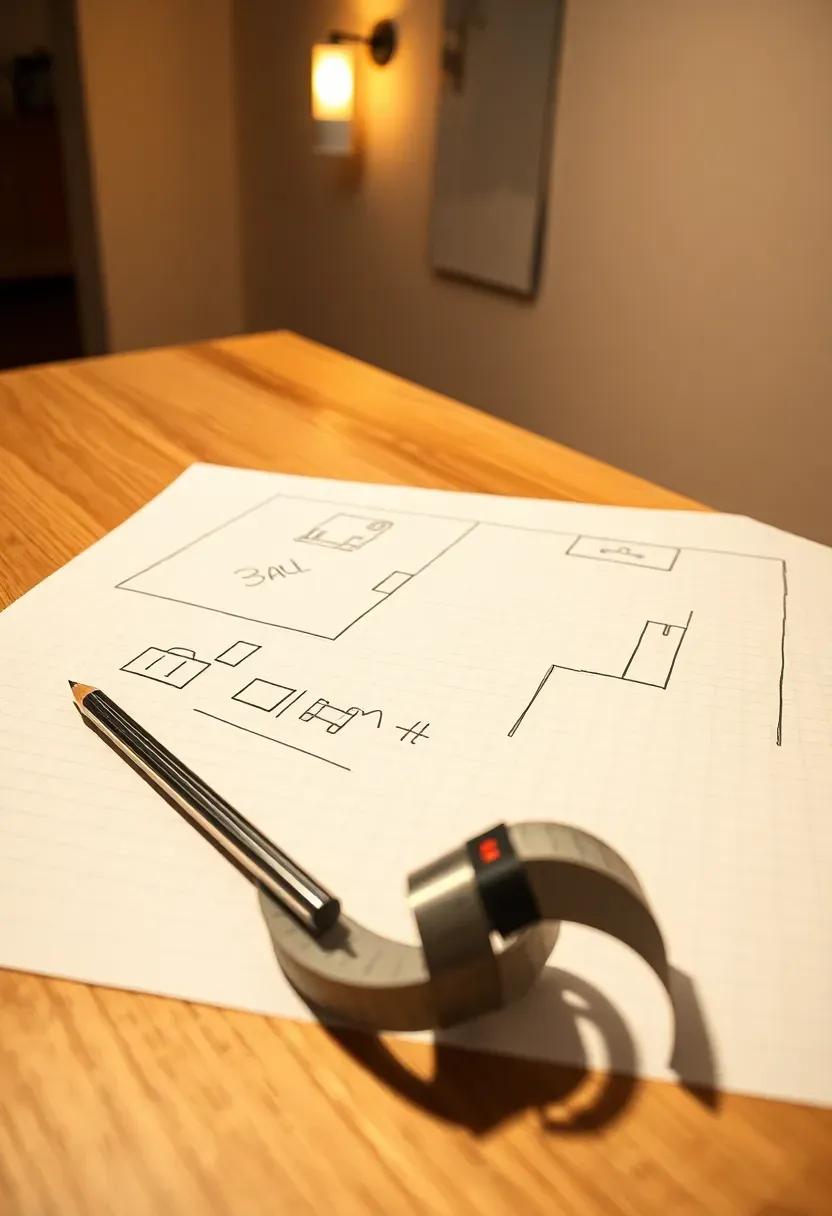
Why it works: a scaled plan reveals scale mismatches that are invisible in a store showroom. A sofa that looks normal-sized in a 5,000-square-foot floor display can dwarf a 12 × 14 bedroom. Cut out scaled paper shapes for each piece you're considering and slide them around the plan before spending any money — you'll immediately see whether two nightstands will fit, whether the desk blocks a window, or whether there's room to open a wardrobe door without hitting the bed.
Common mistake: pushing all furniture against the walls to "make the room feel bigger." It actually does the opposite — it creates a wide, dead center and makes conversation groupings feel disconnected. Float your sofa and chairs 18–24 inches off the wall, anchor the group with a rug, and the room will feel intentional and spacious rather than sparse.
If you're working on a bedroom specifically, the same layout logic applies — see How to Decorate a Master Bedroom for bed-placement rules that maximize both flow and proportion.
- Pro: sketching on paper costs nothing and lets you test 10 arrangements in 10 minutes.
- Con: it can be hard to visualize depth and height from a 2D plan alone.
- Fix: use blue painter's tape on the floor to mark the footprint of each piece — you can walk around it and feel the actual clearances before committing.
What this gives you: a furniture plan that maximizes flow, defines functional zones, and prevents costly returns from pieces that simply don't fit.
Step 4: Source and Arrange Your Furniture
With your layout plan confirmed, you're ready to source the actual pieces — and the order matters. Start with the largest, most expensive item (usually a sofa, bed, or dining table), because every other piece in the room should complement it, not compete with it. Check the measurements obsessively: seat height, depth, leg clearance under a console, wardrobe door swing radius. A beautiful piece that's 3 inches too wide or 2 inches too tall will frustrate you every day.
Recommended
Items for this idea
Common mistake: sourcing all furniture new when a single vintage or secondhand anchor piece — a credenza, a side table, a wooden chair — is what gives a room its soul. All-new rooms can feel like a showroom display, polished but impersonal. Mix at least one found or inherited piece with newer items to create the sense that the space has been lived in and curated over time rather than purchased in a single afternoon.
Once everything arrives, resist the urge to leave pieces exactly where the movers put them. Go back to your scaled plan, place each item according to your layout, then live with it for 48 hours before making final adjustments. Your eye needs time with the actual proportions and natural light to reveal what the plan couldn't show.
- Always confirm delivery dimensions (not just product dimensions) — some sofas won't fit through a standard doorway without removing legs or a door from its frame.
- For upholstered pieces, order fabric samples and place them on your floor next to your rug before purchasing — photographs lie about how colors relate in real light.
- Use furniture sliders under heavy pieces so you can fine-tune position without scratching floors or straining your back.
What this gives you: correctly scaled, well-positioned furniture that defines the room's zones and makes every subsequent layer of decor easier to place.
Step 5: Layer Your Lighting
Lighting is the most underestimated variable in room decoration — it can make the same furniture arrangement feel cold and clinical or warm and inviting. When decorating a room from scratch, plan for three layers: ambient (the general fill light from a ceiling fixture or recessed lights), task (directed light for reading, working, or grooming at a vanity), and accent (a picture light, LED strip behind shelving, or a backlit niche that adds depth and highlights a feature). Most rooms need at least four to six light sources to feel dimensional and flexible throughout the day.

Height variation is as important as quantity. A single overhead fixture creates flat, shadowless light that flattens textures and makes faces look harsh. Floor lamps and table lamps bring light down to eye level and create warm pools that draw people into a seating area. Aim to have at least one light source at each height: ceiling, midpoint (table lamp height, roughly 48–56 inches), and low (floor lamp base, candle, or shelf lighting). All fixtures in a room should share a color temperature — stick to 2700–3000K for residential warmth, or 3500K if you want a brighter, more alert feel.
- Do: put every ambient fixture on a dimmer — it's a $15–20 upgrade that multiplies the mood range of a room tenfold.
- Don't: rely on a single overhead light as your only source; it's the lighting equivalent of painting everything one flat color.
- Pro tip: before committing to a pendant or chandelier, hang a balloon at the proposed height for a day to check scale and clearance in real space.
What this gives you: a room that shifts from bright and functional during the day to warm and atmospheric in the evening, without adding a single new piece of furniture.
Step 6: Finish with Accessories and Personal Touches
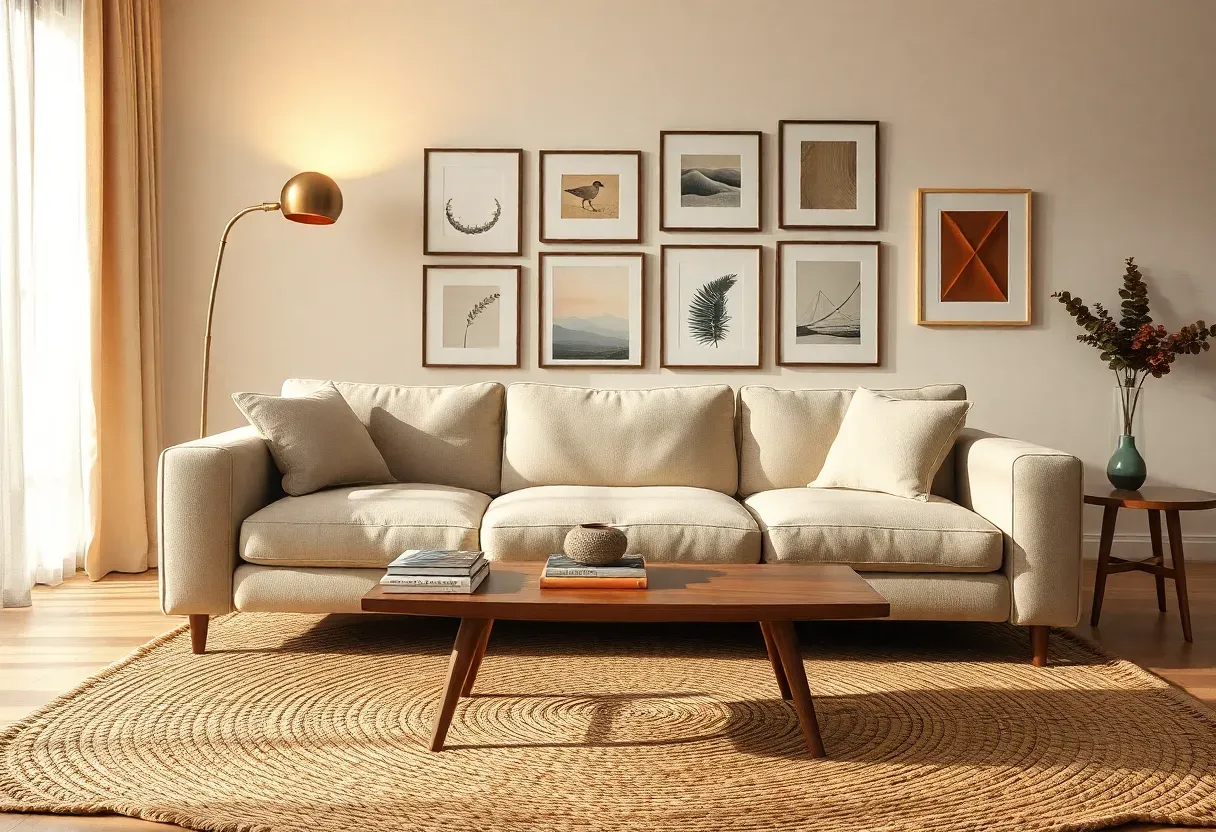
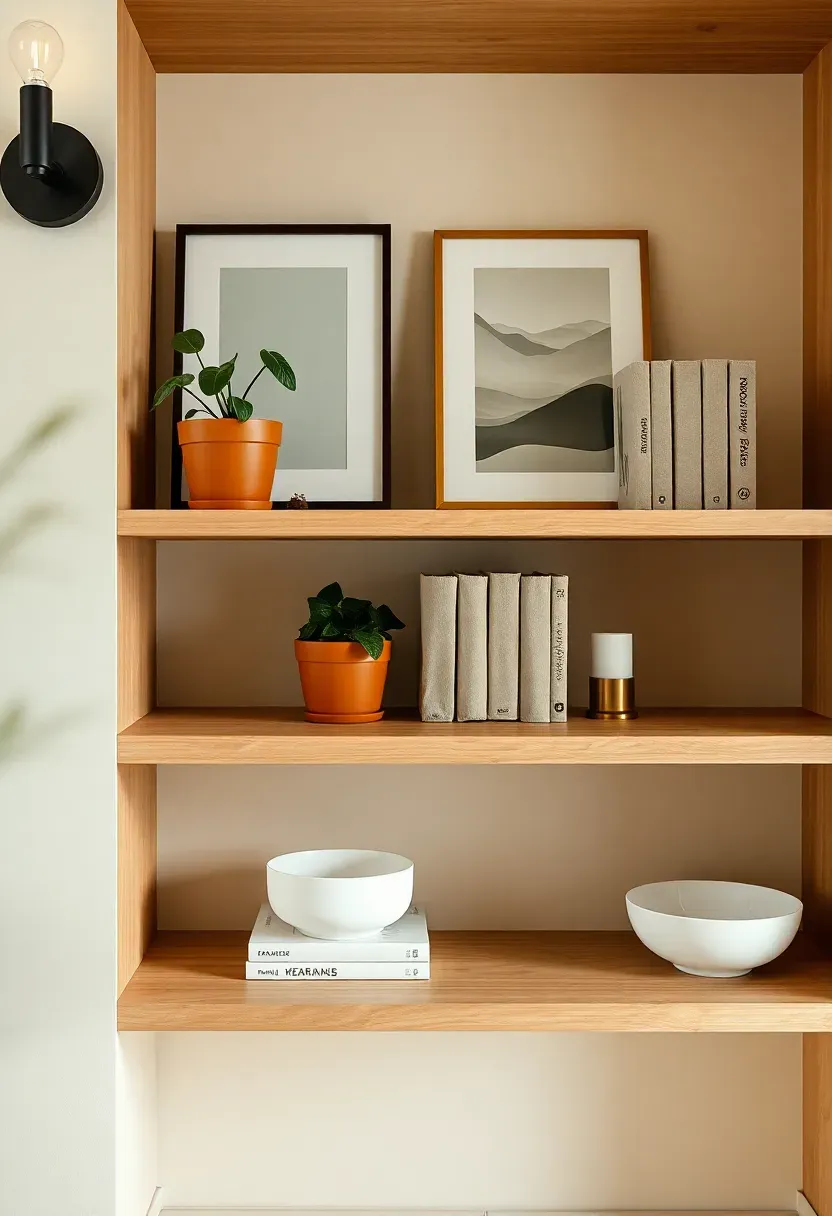
Accessories are where the room stops looking like a decorator did it and starts looking like you live there — but they're also where most rooms go wrong. The key principle is deliberate grouping: objects arranged in odd numbers (3 or 5), with variation in height, material, and visual weight, read as a curated collection rather than clutter. Every surface — a console, a bookshelf, a windowsill — benefits from one tall element, one medium, and one low, with something organic (a plant, a branch, a stone) to break up the hard lines of furniture and frames.
Recommended
Items for this idea
Styling note: start with the rug (it anchors everything and defines the zone), then add textiles (throw, cushions), then art and mirrors, and finish with small objects last. This order means each layer responds to what's already in place, which is why professionally styled rooms feel intentional — the stylist works in sequence, not all at once.
Edit ruthlessly: bring everything you're considering into the room, place it all, then remove one item at a time until removing the next piece would feel like a loss. Whatever remains is the right amount. The contrast between a room where everything stays and one where 30% gets edited out is dramatic — the edited room feels calm, confident, and finished rather than cluttered and uncertain.
For specific ideas on how to style individual surfaces and pull a room's personality together, see How to Decorate a Room Like a Pro for a deeper dive into the professional styling process.
- If a shelf or surface looks cluttered, then remove half the objects — you'll almost always find it looks better, not worse.
- If the room feels finished but cold, then add one live plant and one textile in a warm texture (boucle, linen, jute) — organic elements add life no object can replicate.
- If you're unsure about art placement, then hang the center of the piece at 57 inches from the floor — that's average eye level and the standard used by most galleries and professional installers.
Budget note: accessories are where you can recoup money spent earlier — secondhand shops, thrift stores, and your own home (repurposed items from other rooms) often yield the most interesting, personal pieces at near-zero cost.
What this gives you: a room that feels genuinely finished, personally yours, and visually calm — where every object has a reason to be exactly where it is.
Frequently Asked Questions
What is the right order to decorate a room from scratch?
Start with intention and budget, then choose your color palette and style direction. Next, plan your furniture layout on paper, source and arrange the furniture, layer your lighting, and finish with accessories. Following this sequence prevents the most common and costly mistakes — such as buying furniture that doesn't fit or adding accessories before the room has a clear visual foundation.
How much does it cost to decorate a room from scratch?
A basic but cohesive room can be achieved for $500–$1,500 if you prioritize secondhand furniture and DIY accessories. A mid-range room with new key pieces typically runs $2,000–$5,000. The most important cost control is setting category budgets before you shop — furniture, lighting, and accessories — so no single category drains the whole amount.
About the author
OBCD
CGI visualization and interior design content. We create detailed 3D renders and curate practical design ideas for every room in your home.