How to Decorate My Room in a Weekend: 7 Quick and Easy Steps
A weekend is exactly enough time to transform a room — if you follow the right sequence. Most people stall because they start at the wrong end: shopping for accessories before fixing the layout, or hanging art before choosing a color direction. When you work in the right order, each step builds on the last and the room comes together in a single focused push.
These seven steps move from clearing and planning through to the final styling layer. They're designed to be completed over a Saturday and Sunday without any professional help, specialist tools, or a large budget. The result is a room that looks genuinely considered — not just rearranged.
As an Amazon Associate I earn from qualifying purchases.
Table of Contents
- Step 1: Assess and Declutter Your Room in One Hour
- Step 2: Choose a Color Direction and Mood Board
- Step 3: Rearrange Furniture for Better Flow and Purpose
- Step 4: Refresh the Walls With a Quick, High-Impact Change
- Step 5: Add a Rug to Anchor the Space
- Step 6: Layer Textiles and Swap Out Lighting
- Step 7: Style With Accessories, Art, and Plants
What You'll Need
- Measuring tape and a notepad for layout sketches
- Three to five saved room photos to establish your color and style direction
- Paint samples or peel-and-stick wallpaper swatches for a wall test panel
- A correctly sized area rug for the main furniture zone
- At least one warm-toned lamp (table or floor style, 2700K bulb)
- A small selection of cushion covers, a throw, floor-length curtains, and one plant
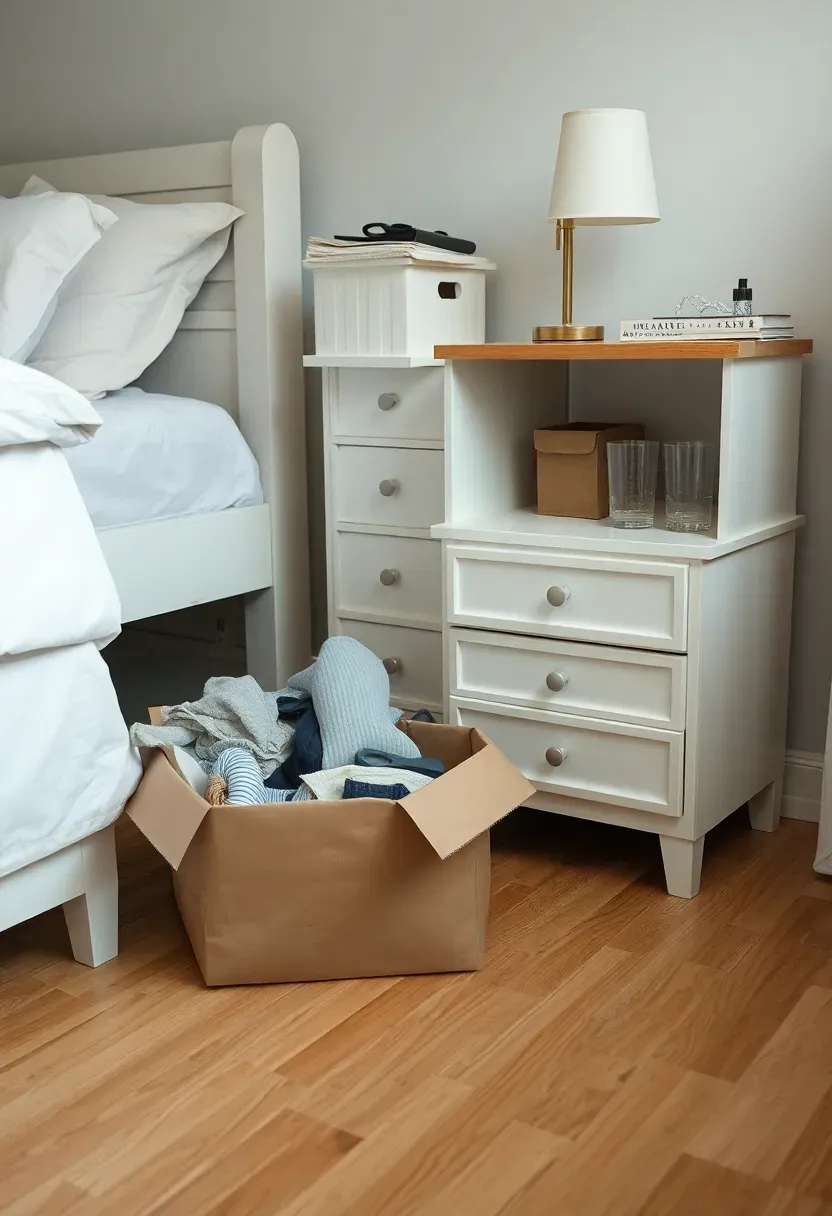
Step 1: Assess and Declutter Your Room in One Hour
The first move when you decide to decorate your room in a weekend is not to buy anything — it's to remove everything that doesn't belong. Give yourself a strict one-hour window: take every surface item off shelves and tables, pull unnecessary furniture into the hallway, and box up objects you're keeping but don't need displayed. The goal is to see the bare bones of the room — floor, walls, and fixed furniture — so you can evaluate what you're actually working with before making a single new decision.
Recommended
Items for this idea
Decluttering is not just tidying — it's an edit. Every object you remove makes the room easier to decorate because there are fewer variables competing for visual attention. Look at each item and ask whether it belongs in this room, whether it earns its space, or whether it's simply been there so long you've stopped seeing it. The contrast that catches most people off guard: rooms that feel small are usually not too small — they're too full. Removing three pieces often makes a room feel larger than adding a mirror.
Why it works: negative space is the foundation of good room design. When you can see the floor and the walls clearly, proportions become obvious, problem areas reveal themselves, and the decorating decisions you make next are grounded in the actual room rather than a cluttered version of it.
- Do: Box up anything uncertain rather than putting it back — if you don't miss it after the weekend, donate it.
- Don't: Stop at surface-level tidying; move furniture pieces too, even temporarily, to see the floor plan clearly.
- Pro tip: Take a photo from the doorway before and after the declutter — the before image becomes your clearest motivation to keep editing.
What this gives you: A clean, honest starting point that makes every subsequent step faster and more purposeful.
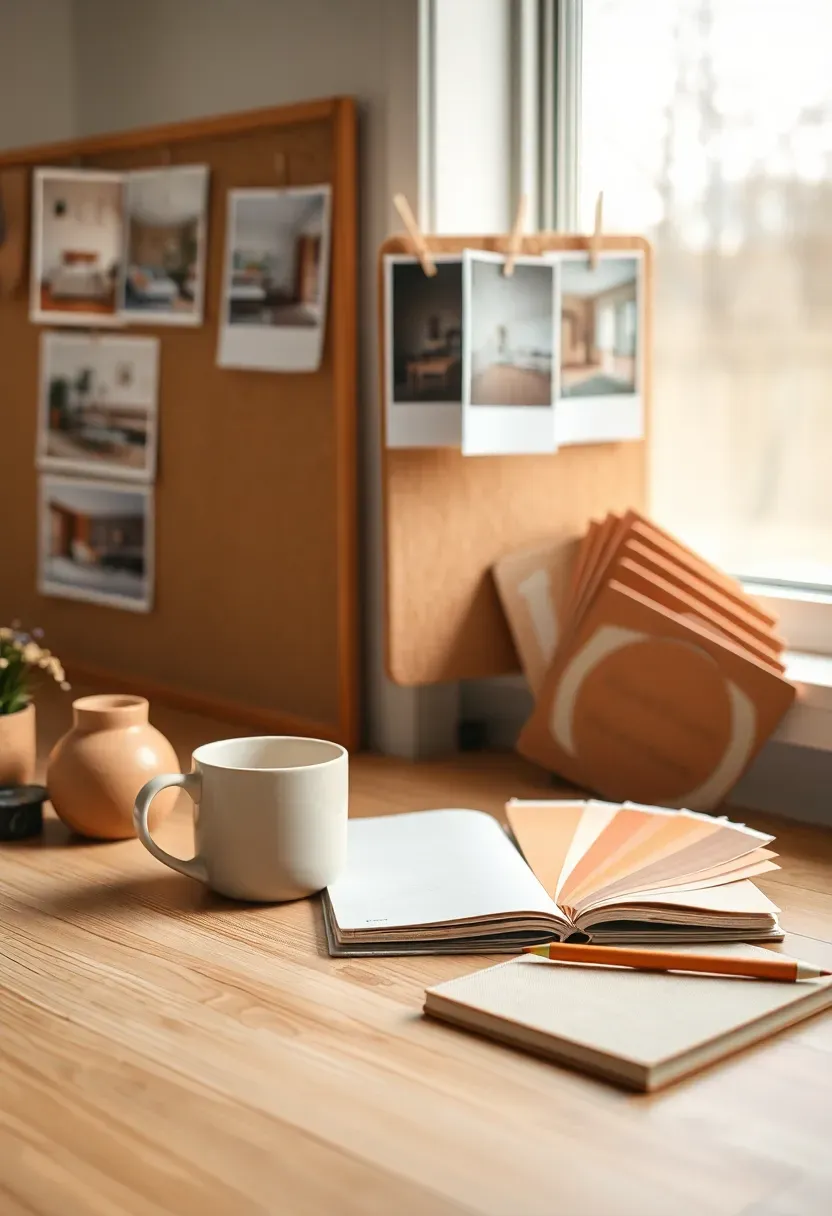
Step 2: Choose a Color Direction and Mood Board
Before purchasing or moving anything permanently, spend thirty minutes establishing the visual direction for your room. Pull together three to five images of rooms that feel the way you want yours to feel — not necessarily the same furniture or layout, but the same emotional register. Look at what those images share: a color temperature (warm or cool), a dominant material (wood, linen, plaster, rattan), and a level of visual density (minimal or layered). That intersection is your style filter, and every decision you make this weekend should pass through it.
Recommended
Items for this idea
Placement note: Keep your mood board visible while you shop — even a screenshot folder on your phone is enough to stop impulse buys that pull the room in conflicting directions.
Color direction is more specific than "I like neutrals." Aim to identify: one primary wall color or wallcovering, one secondary tone for soft furnishings, and one accent that appears in small doses through cushions, a vase, or a frame. The 60-30-10 split — 60% dominant, 30% secondary, 10% accent — gives almost any combination visual coherence. Avoid choosing your palette from small online swatches; test paint on a 12-by-12-inch section of the actual wall and observe it at different times of day before committing.
- If you can't decide on a palette, then pull it from something you already own and love — a rug, a favourite piece of clothing, a book cover — and extract its three dominant tones.
- If the room faces north or gets little natural light, then lean toward warm whites and honey-toned neutrals rather than cool grays, which can read as cold and flat in low light.
- Pro tip: Screenshot your three reference images side by side and identify the one color that appears in all three — that's your safest primary choice.
What this gives you: A decision filter that prevents mismatched purchases and makes the final room feel coherent rather than assembled from separate impulses.
Step 3: Rearrange Furniture for Better Flow and Purpose
With the room cleared and your direction established, now test the furniture arrangement before spending anything. The most common layout mistake is pushing every piece against the wall — it actually makes a room feel smaller and more disconnected, not more spacious. Instead, try floating the main furniture piece six to twelve inches from the wall behind it, orienting seating toward natural light or the room's best feature, and leaving at least 36 inches on the primary circulation path through the space. Use painter's tape on the floor to map out new footprints before moving heavy pieces.

Recommended
Items for this idea
Rearranging costs nothing and can produce the single biggest visual change of the entire weekend. A bed repositioned to face the door, a desk rotated to catch the window light, or a chair pulled into a corner reading nook can make the room feel like it was designed for the way you actually use it. Common mistake: moving furniture but keeping all the original objects in their new positions. The rearrangement and the edit need to happen together — otherwise you've just moved the same density to a different configuration.
If you're working with a tight floor plan, the layout strategies in How to Decorate a Room Like a Pro cover zone definition and scale decisions that apply directly here.
- Do: Map the 36-inch clearance around major furniture pieces using tape on the floor before committing to any new arrangement.
- Don't: Push everything against the walls — floating a sofa or bed even slightly creates depth and makes the arrangement feel designed rather than default.
- Pro tip: Orient the main seating or sleeping piece toward natural light first, then adjust everything else around that anchor decision.
What this gives you: A room that works better physically and reads as more considered — before a single new purchase has been made.
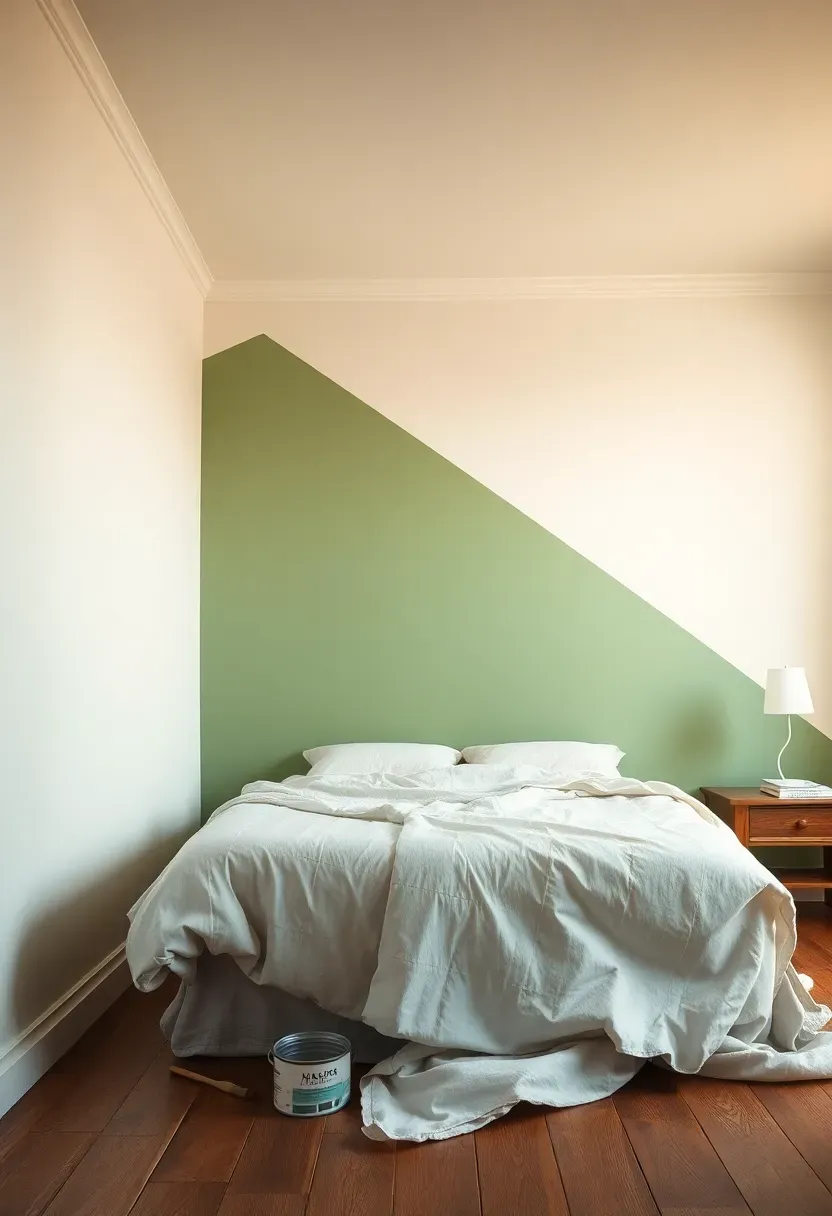
Step 4: Refresh the Walls With a Quick, High-Impact Change
Walls are the largest surface in any room and the one that most dramatically changes how the space feels. You don't need to repaint everything — a single accent wall in a stronger tone costs $20–$40 in paint and can be completed in an afternoon with no professional help. Choose the wall that's most visible from the room's entrance or directly behind the main piece of furniture: that's where paint delivers the most return per square foot. If you're renting or want a reversible option, peel-and-stick wallpaper panels are now available in quality patterns for under $30 a roll and come off cleanly without damage.
Recommended
Items for this idea
A gallery wall is the third option — useful when you want warmth and personality without committing to color. The key is consistency: choose one frame finish (all black, all natural wood, or all white) and vary only the sizes and contents. Lay the arrangement on the floor and photograph it before hanging a single nail. The contrast to avoid: a wall covered in frames of mixed finishes, sizes, and orientations — it reads as accumulated rather than curated, and no amount of matching cushions will counterbalance it.
Placement note: The wall behind the bed or sofa and the wall directly facing the entrance are your two highest-impact surfaces — concentrate weekend effort there before treating secondary walls.
For more reversible wall ideas suited to rentals, the techniques in How to Decorate Your Room on a Budget include several peel-and-stick and command-strip approaches worth borrowing.
- Pro: Peel-and-stick wallpaper is repositionable and safe for most rental walls, making it the fastest zero-damage impact option.
- Con: In humid rooms or on heavily textured walls, edges can lift within months.
- Fix: Apply a thin line of repositionable adhesive along all four edges after installation — it adds hold without making removal harder.
What this gives you: A room that immediately reads as designed rather than furnished — the wall becomes the visual anchor for everything else.
Step 5: Add a Rug to Anchor the Space
A rug does more structural work than almost any other single purchase in a weekend room refresh. It defines the zone, gives the furniture arrangement a visual boundary, and adds warmth to a floor that would otherwise read as empty and disconnected. When you're working to decorate your room in a weekend, a rug is often the item that makes the difference between "furniture in a room" and "a designed space" — because it ties pieces together that might otherwise feel randomly placed. The rule of thumb for sizing: in a bedroom, the rug should extend at least 18 inches beyond both sides of the bed and beyond the foot; in a living room, the front legs of all main seating pieces should sit on it.
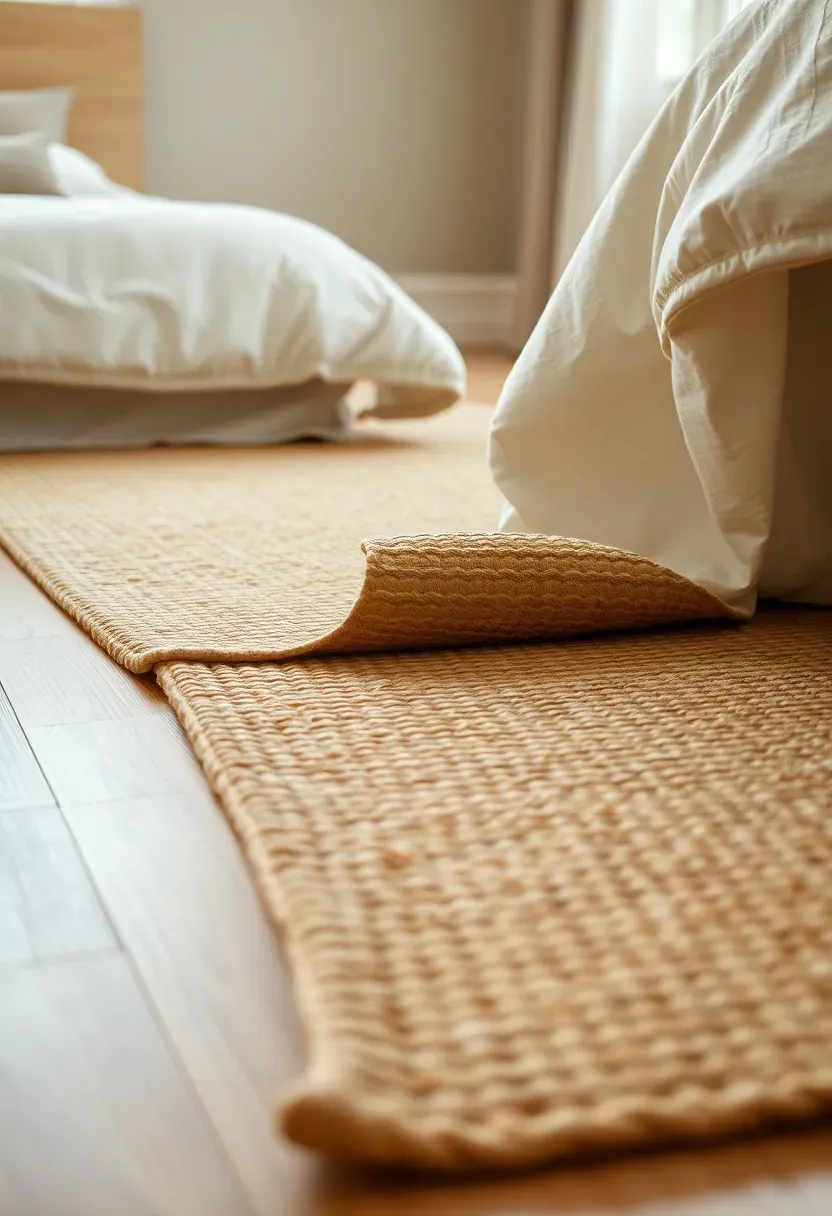
Natural fiber rugs — jute, sisal, cotton flatweave — are typically the most affordable and age gracefully in most rooms. Avoid high-pile rugs in high-traffic areas; they compress quickly and can look worn within a year. The sizing mistake is almost universal: when in doubt, go one size up from your instinct. Use masking tape on the floor to mark the intended rug footprint before purchasing — a five-minute check that can save a costly return. Contrast this with the standard error of centering a small rug in the middle of the floor like an island: it fragments the room and makes every piece of furniture look like it's floating.
- Do: Mark the intended rug size on the floor with painter's tape before buying — scale surprises are the most common rug mistake.
- Don't: Place a rug so small that no furniture touches it — a floating rug disconnects everything and makes the room feel smaller.
- Pro tip: Layer a smaller patterned rug over a plain jute base for a high-end layered look at a fraction of the cost of one large statement rug.
What this gives you: Instant visual structure — the room stops feeling like furniture on a bare floor and starts reading as a coherent, designed zone.
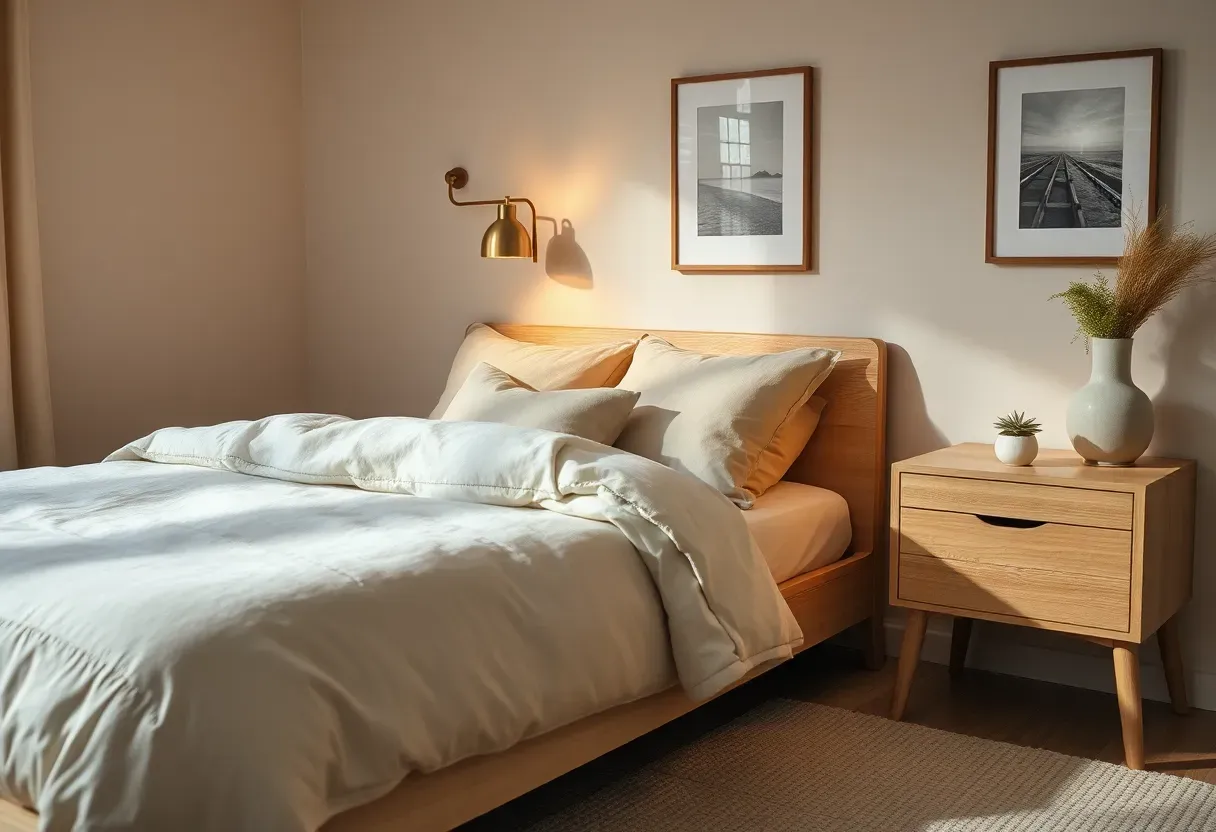
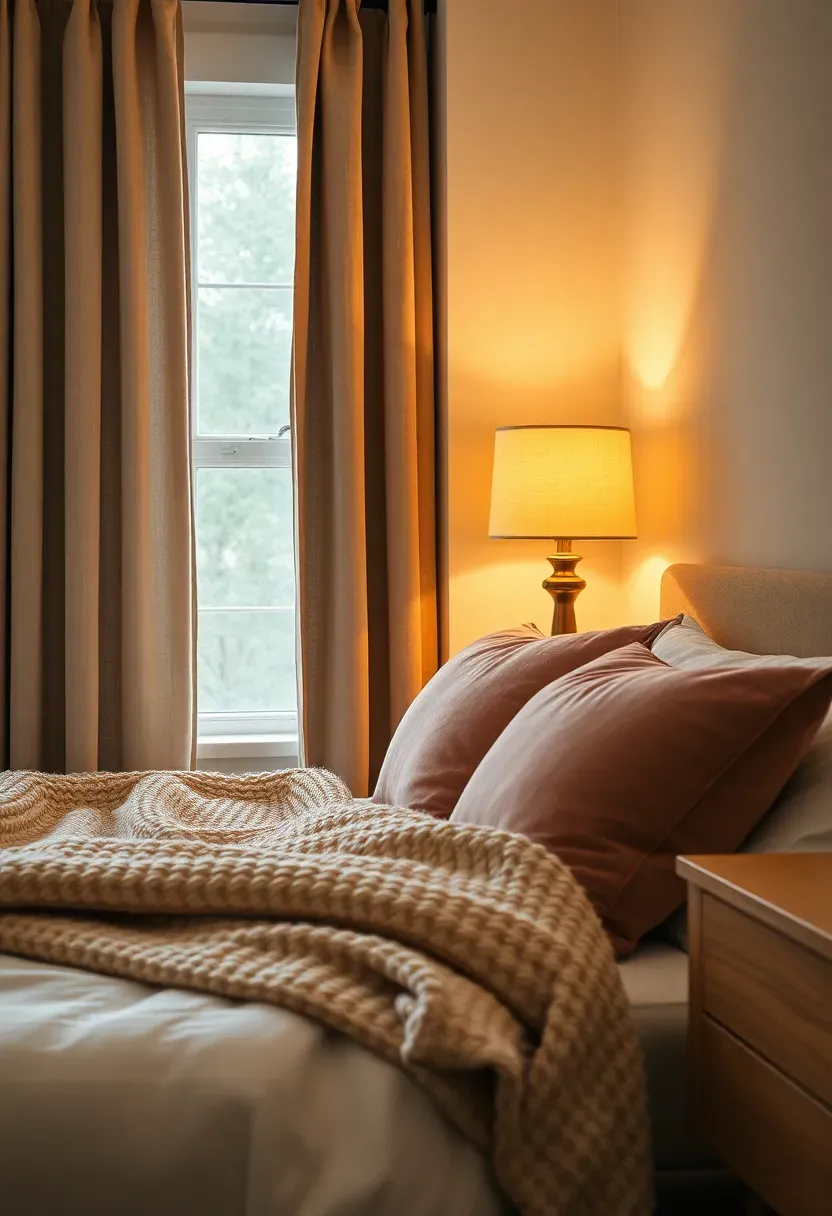
Step 6: Layer Textiles and Swap Out Lighting
Textiles and lighting are the two elements that change how a room feels rather than just how it looks — and both can be addressed in a single afternoon. Start with curtains: floor-length panels hung as close to the ceiling as possible (not just above the window frame) make the ceiling feel higher and the room feel more finished than any other single textile. Use the rod as wide as the wall allows so the fabric frames the window fully when open. Then add cushion covers in tones pulled from your color direction, and fold a throw at the foot of the bed or over the arm of a chair. Aim for at least three different textures — smooth linen, chunky cotton knit, and a slightly heavier weave — so the combination catches light differently throughout the day.
Recommended
Items for this idea
Lighting is the other half of this step, and it's faster to address than most people expect. Replace any harsh overhead bulb with a warm 2700K–3000K option — this costs under $5 and immediately changes the room's mood. Then add one plug-in lamp at a lower height: a table lamp on the nightstand or a floor lamp behind the chair creates a second light layer that makes the room feel intimate rather than institutional in the evening. The contrast is stark: a room lit by a single overhead source at full brightness looks like a waiting room; the same room with a warm lamp at seated height looks like somewhere worth spending time.
The textile combinations in Japandi Bedroom Textile Ideas show how varying textures within a single neutral palette creates warmth without adding visual noise — the same principle works in any room style.
- Do: Hang curtain rods four to six inches above the window frame and extend them as wide as possible — it makes every window look larger and every ceiling feel taller.
- Don't: Match all textiles exactly — identical cushions and throws read flat and impersonal regardless of quality.
- Pro tip: A plug-in pendant light with a cord cover can replace a builder-grade ceiling fixture entirely — no wiring needed and under $40 at most home stores.
What this gives you: A room that feels warm and layered by day and intimate and atmospheric by evening — entirely through surface and light changes.
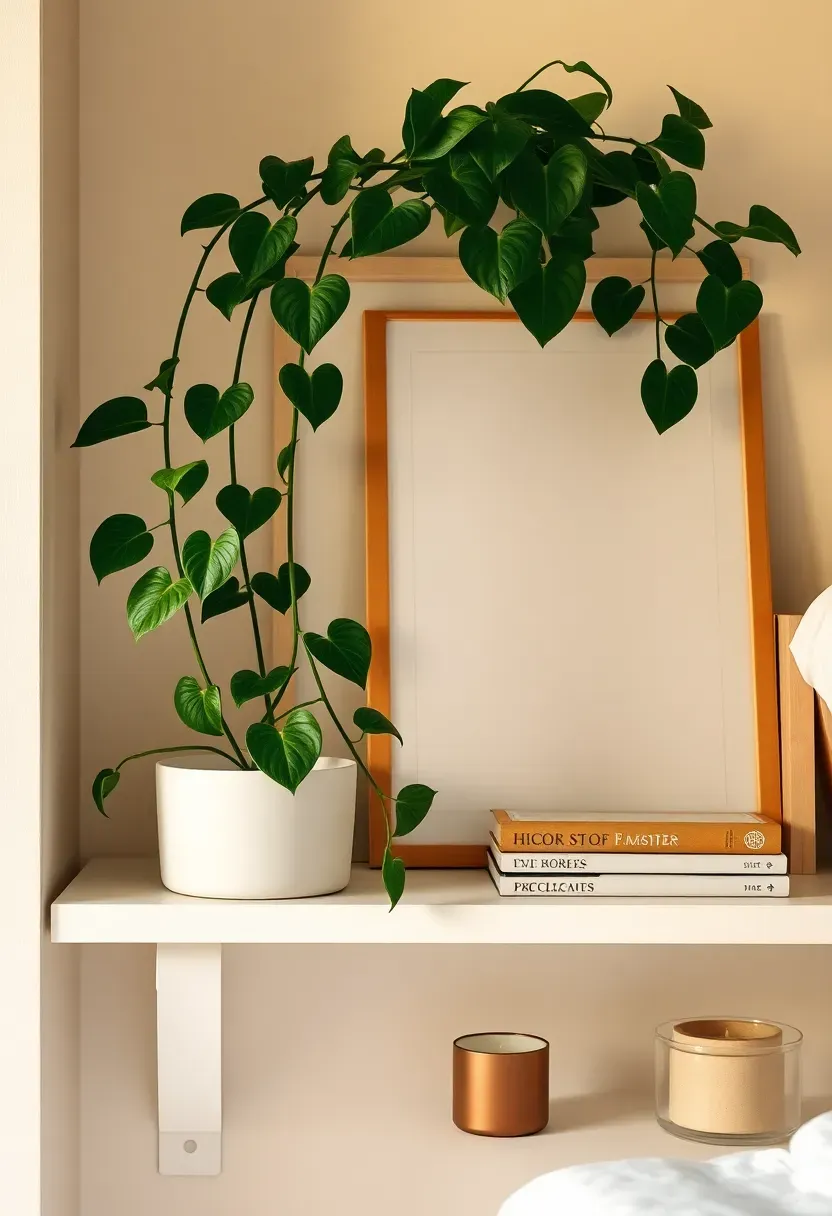
Step 7: Style With Accessories, Art, and Plants
The final step is the smallest in terms of budget and the easiest to overdo. By this point the structure of the room — layout, walls, rug, textiles, lighting — is already in place. The styling layer is a curated set of objects that makes the space feel personal and finished, not a collection of things added because surfaces look bare. Choose three to five objects you genuinely like: a stack of books, a ceramic vase, a framed print, a small tray. Give each one enough space to be seen individually. Then step back and take a photo from the doorway — the camera flattens the space and reveals crowding or imbalance that the eye skips over in person.
Recommended
Items for this idea
Art should be hung at eye level — the center of the piece at 57–60 inches from the floor — not above the furniture it relates to. The most common amateur mistake is hanging artwork too high, which disconnects it from the furniture below and makes the room feel unanchored. For plants, a single medium-to-large specimen in a well-chosen pot does more for a room than four small ones on a shelf: it adds organic shape, introduces a vertical element without needing wall space, and brings the one texture — living, shifting, imperfect — that no manufactured object can replicate. A pothos or snake plant costs $5–$15, tolerates most light conditions, and lasts for years with minimal care.
- Do: Style in groups of three, varying height — one tall object, one mid-height, one low — within each surface grouping.
- Don't: Cover every surface; leave at least one completely clear so the eye has somewhere to rest between groups.
- Pro tip: Before buying anything new, rotate accessories from other rooms into the new arrangement — a vase or tray that's been invisible in a cupboard often looks fresh and intentional in a new context.
What this gives you: A room that feels complete and personal — styled with intention rather than filled with accumulated things.
Frequently Asked Questions
Can I really decorate my room in a single weekend?
Yes — if you follow a clear sequence and prepare in advance. Order key items like the rug, curtains, and lamps before the weekend starts so they're ready to install. Use Saturday for the structural steps (declutter, layout, walls) and Sunday for the finishing layers (rug, textiles, lighting, styling). Most of the time-consuming steps — rearranging furniture, hanging curtains, swapping bulbs — take under two hours each. The weekend becomes difficult only when you improvise the sequence or wait until Saturday morning to start shopping.
What's the highest-impact change I can make in the shortest time?
Lighting. Replace the overhead bulb with a warm 2700K option ($5) and add one plug-in lamp at a lower height ($30–$45). The change takes under thirty minutes and affects how every other element in the room — the furniture, the textiles, the color on the walls — is perceived. Warm, layered light is the reason professionally photographed rooms look so different from reality: the lighting is doing most of the work.
How do I keep the room looking decorated rather than gradually reverting to its old state?
Set a limit for each surface at the end of the weekend: this shelf holds three objects, this table holds one lamp and one plant. Write it down or photograph it. When things inevitably accumulate — mail, books, random objects — you have a clear reference for what "done" looks like. The rooms that revert fastest are the ones where the styled state was never defined precisely enough to return to.
About the author
OBCD
CGI visualization and interior design content. We create detailed 3D renders and curate practical design ideas for every room in your home.