How to Decorate a Christmas Tree Like a Pro: 7 Steps
Your Christmas tree can be the centerpiece of your entire holiday home — but most people rush through the process and end up with a result that looks flat or patchy. These seven steps follow the same sequence professional decorators use: building from the foundation up, layer by layer, until every branch carries its weight and the whole tree glows with intention.
Table of Contents
- What You'll Need
- Step 1: Fluff and Shape the Tree
- Step 2: Wrap the Lights
- Step 3: Add a Tree Collar or Skirt
- Step 4: Place Ribbon or Garland
- Step 5: Hang Ornaments in Layers
- Step 6: Fill Gaps with Picks and Sprays
- Step 7: Place the Topper
What You'll Need
- Artificial or fresh Christmas tree (pre-lit or unlit)
- String lights (warm white or colored, 100 lights per foot of tree)
- Extension cords and a timer
- Tree collar, skirt, or basket
- Ribbon or wired garland (2.5–4 inch width)
- Ornaments in three sizes: large (4–6 inch), medium (2–4 inch), small (1–2 inch)
- Picks, sprays, and filler stems (berry clusters, pinecone picks, floral sprigs)
- Tree topper (star, angel, bow, or abstract shape)
- Floral wire or ornament hooks
- Step ladder for the upper sections
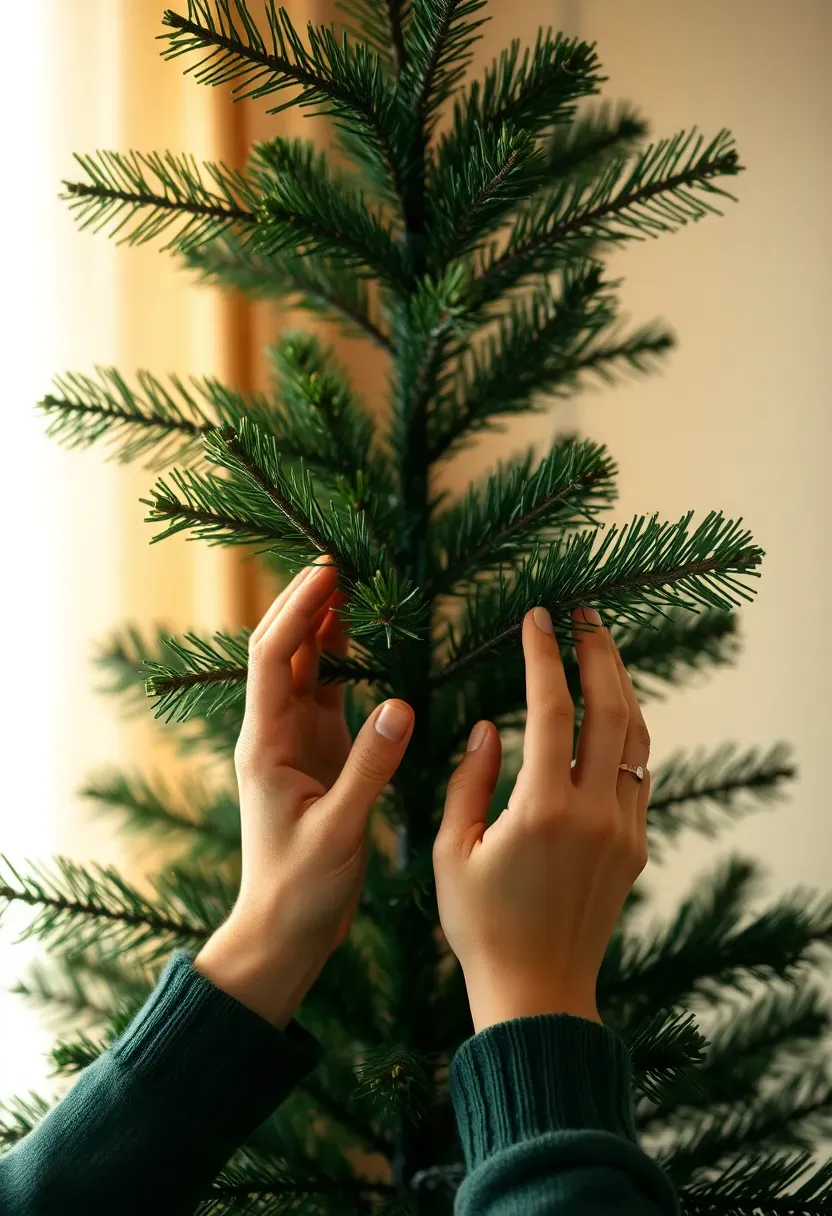
Step 1: Fluff and Shape the Tree
This is the foundation everything else builds on. A poorly shaped tree looks thin no matter how many ornaments you add.
If you are using an artificial tree, assemble it section by section and work from the bottom tier upward. For each branch, pull the wire tips outward and slightly upward, alternating angles so they fan out in all directions rather than pointing straight. Squeeze the tip clusters apart with your fingers — the goal is to eliminate visible gaps between branch layers and create a dense silhouette. For a fresh tree, remove any crossing or broken branches before starting.
Do: Work methodically around each tier before moving to the next section up. Don't: Skip this step or rush it — half-fluffed branches create shadows that no amount of ornaments can fix. Pro tip: Step back every few minutes and squint at the tree to spot flat or thin areas before you add lights.

Step 2: Wrap the Lights
Most people drape lights on the outside of the tree. Professionals weave them deep into the interior branches first, then work outward — this creates that glowing depth that makes a tree look lit from within.
Start at the trunk near the base and zigzag the first strand upward toward the center of the tree, pushing it 6–8 inches into the branch structure. Then come back outward and wrap the visible exterior. Use roughly 100 lights per foot of tree height. Warm white lights suit most color palettes; cool white works best with silver and blue schemes. Before finishing, plug everything in and walk around the tree to find dark patches — add a short strand to fill them before you move on.
Do: Weave lights into the inner branches as well as the outer tips. Don't: Bunch all your lights on the outer surface — the tree will look flat from inside the room. Pro tip: Use a light timer set to turn on at dusk and off at midnight to extend bulb life across the season.
Recommended
Items for this idea
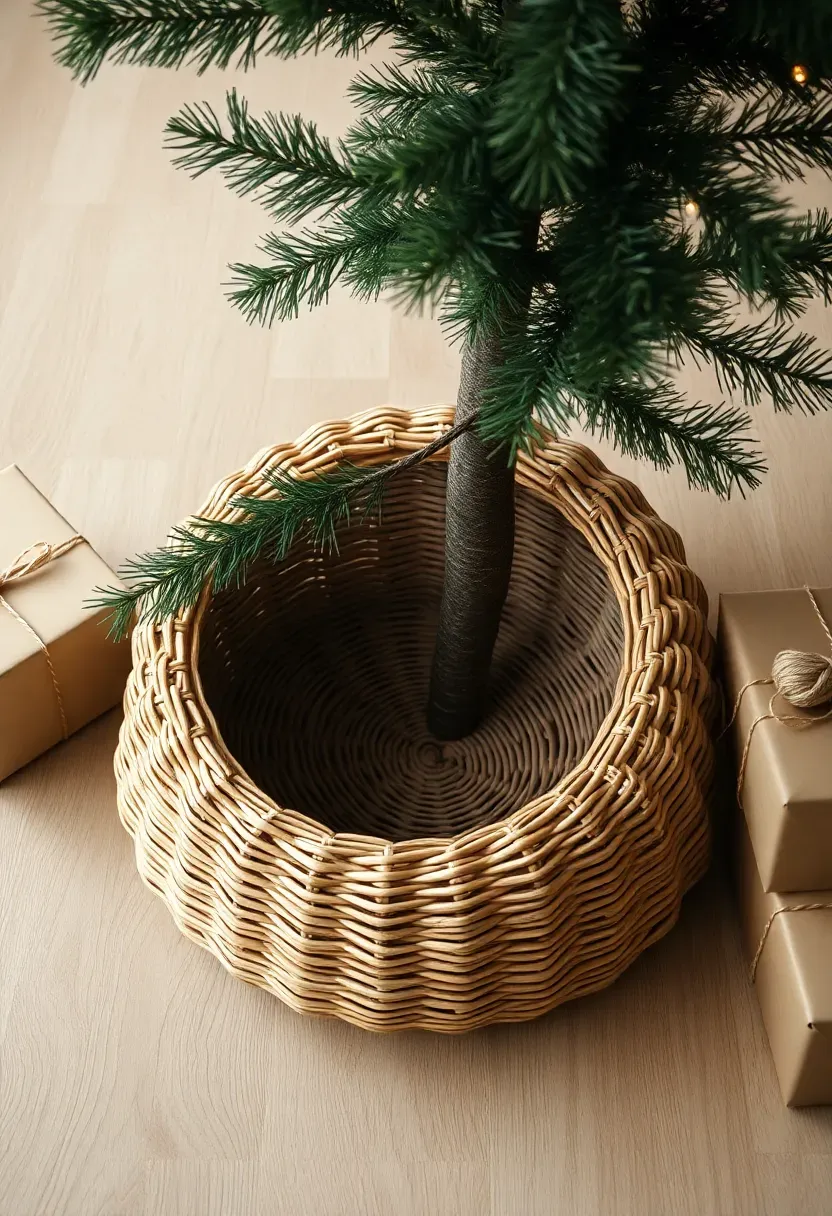
Step 3: Add a Tree Collar or Skirt
Don't rush this — it makes the biggest visual difference from across the room.
The base of your tree anchors the composition. A tree collar (a rigid surround in wood, metal, or wicker) looks more tailored and modern than a fabric skirt. A classic velvet or linen skirt suits traditional or cozy interiors. Whichever you choose, position it before adding any other decorations so you can tuck the edge neatly under the lowest branches. Fill the space between the trunk and the collar edge with wrapped gift boxes or greenery stems to eliminate any dark gap at the bottom.
Do: Choose a base covering that matches your room's overall aesthetic, not just the tree. Don't: Leave the plastic tree stand exposed — it breaks the illusion immediately. Pro tip: Place a small piece of white felt under dark gift boxes to bounce light upward from below.
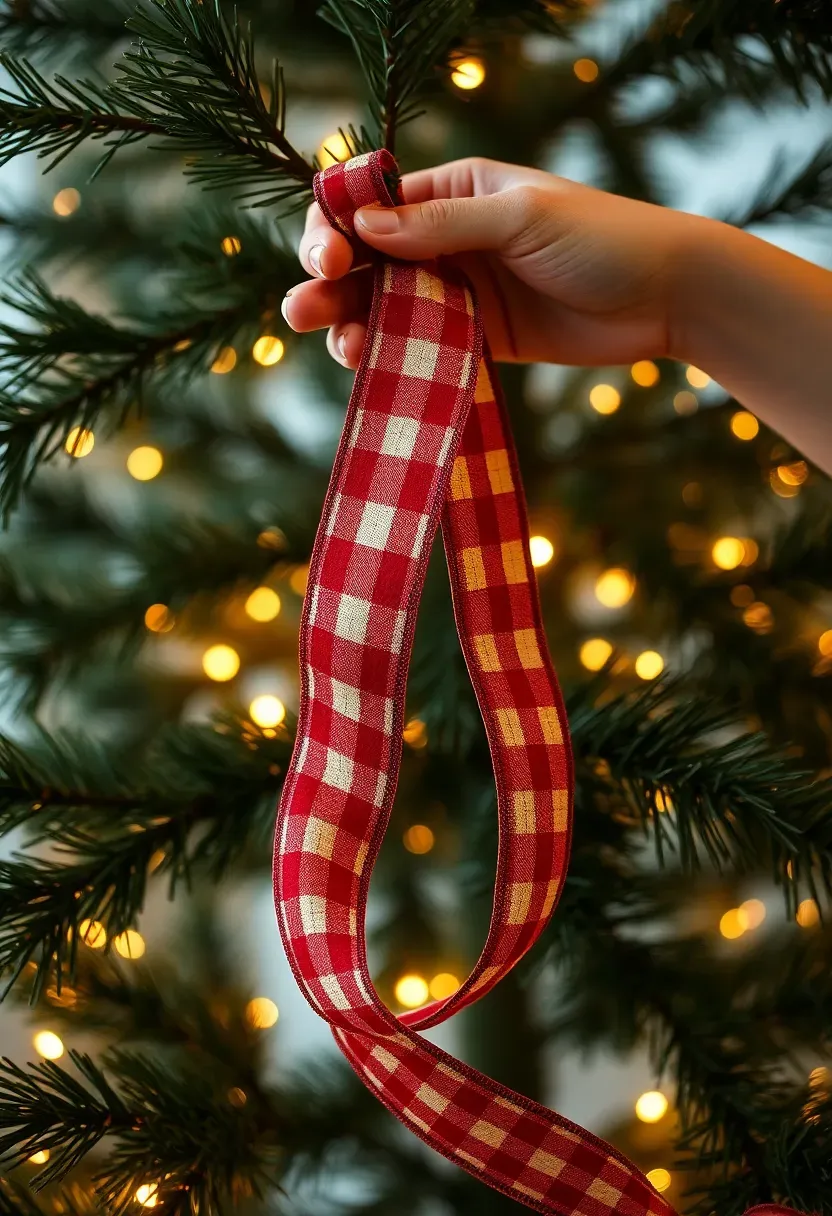
Step 4: Place Ribbon or Garland
This is where the real transformation happens — ribbon adds movement, scale, and a designer polish that ornaments alone cannot achieve.
Cut wired ribbon into lengths of about 18–24 inches. Starting at the top, tuck one end into a branch near the trunk and let the ribbon cascade outward in a relaxed loop, tucking the other end into a branch about 12 inches lower and a quarter turn around the tree. Repeat down the tree, staggering the loops so they spiral naturally rather than following a straight line. Use 2–3 different ribbons in complementary patterns — a buffalo check paired with a velvet solid, for example — for a layered look. Keep the loops loose and airy, not tight and geometric.
Do: Vary the loop lengths and directions slightly for a natural, organic flow. Don't: Use ribbon that is too narrow (under 2 inches) — it disappears visually against full branches. Pro tip: Curl the ribbon ends over a scissor blade before tucking them in to add a finished flourish.
Recommended
Items for this idea
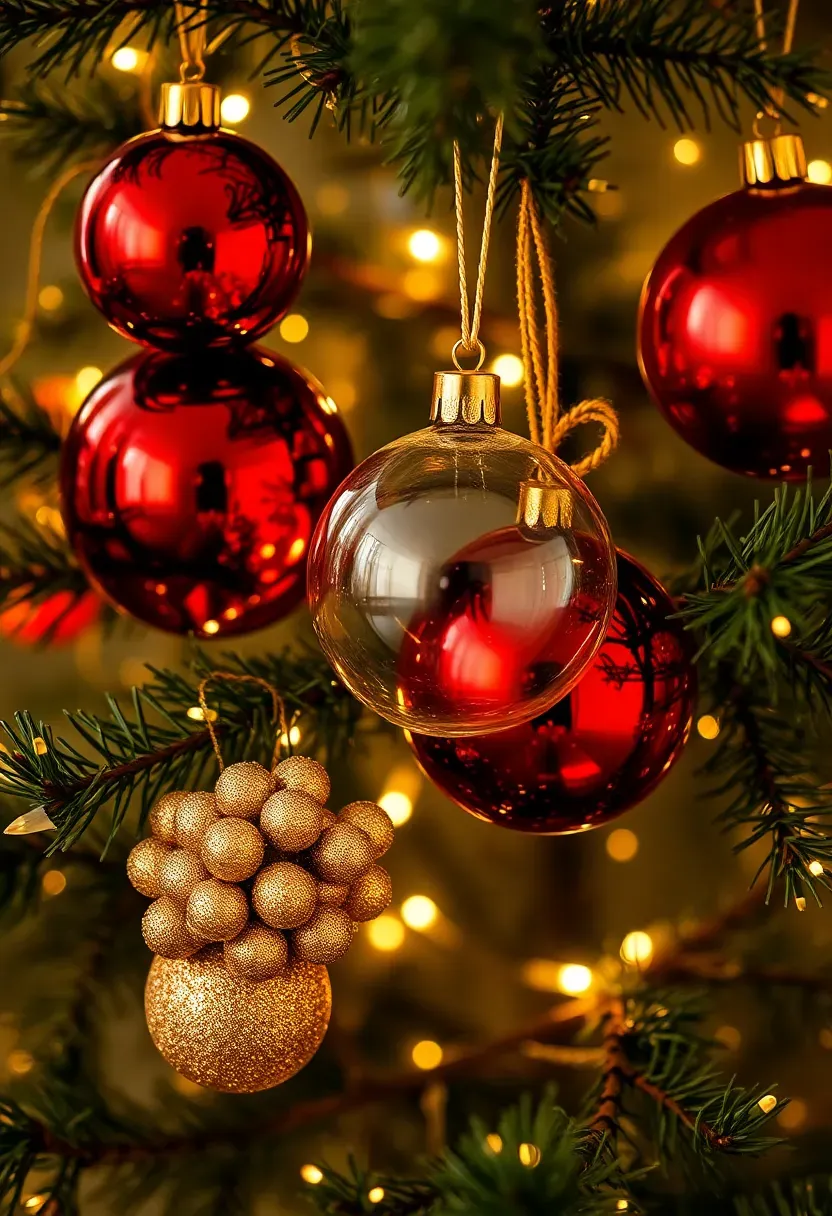
Step 5: Hang Ornaments in Layers
Get this right and the rest falls into place. Ornament placement is the single most misunderstood step — most people hang everything on the outer tips, which makes the tree look thin from the side.
Start with your largest ornaments (4–6 inch balls or statement pieces) and hang them on the interior branches, about 4–6 inches deep into the tree. These catch the inner lights and add visual weight. Then place medium ornaments (2–4 inch) on the mid-layer branches. Finally, hang small ornaments near the outer branch tips. Cluster same-color or same-texture ornaments in threes for maximum impact, and space clusters evenly around the whole circumference. Stand back and check the distribution from multiple angles before finalizing anything.
Do: Hang large ornaments deep inside branches to create dimension and catch the inner lights. Don't: Hang all your best ornaments at eye level — spread the interest from base to top. Pro tip: Rotate the tree slightly and look at it from the side — flat spots are always more visible from an angle.
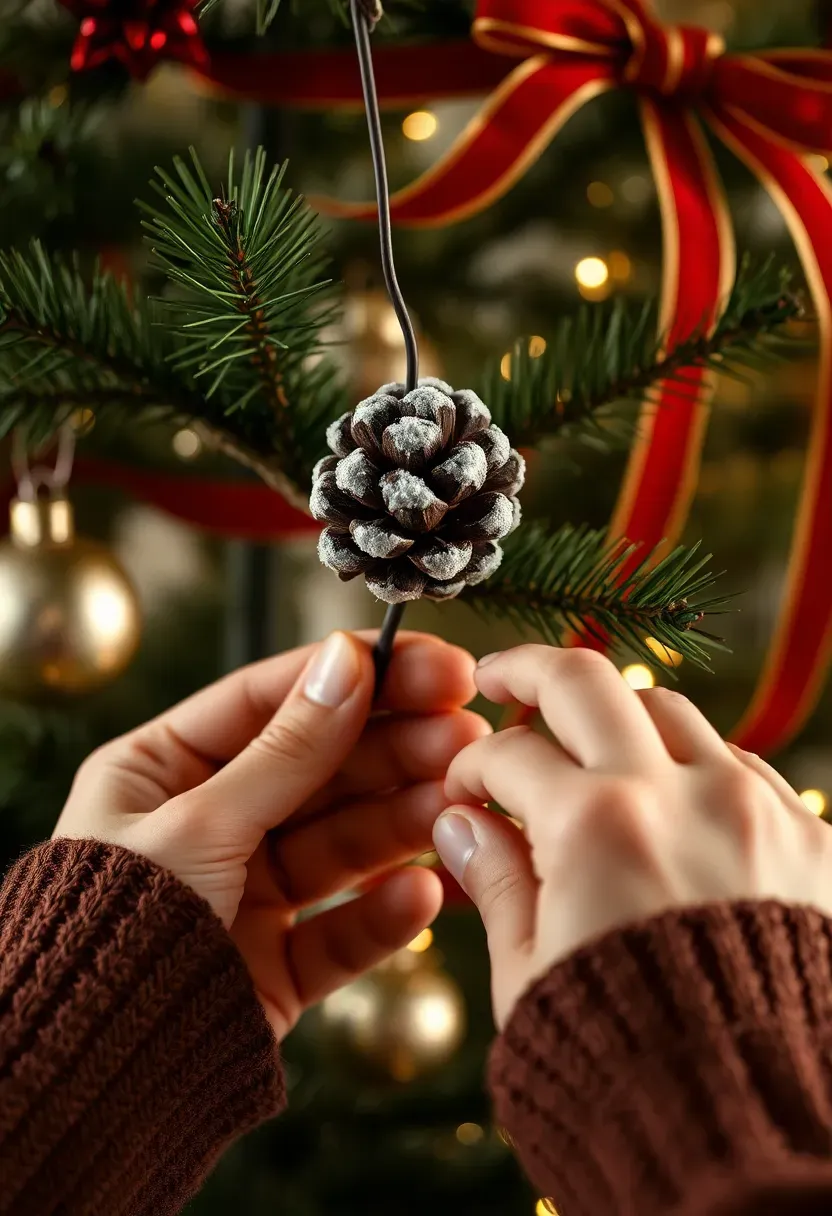
Step 6: Fill Gaps with Picks and Sprays
Most people skip this — and it shows. Picks and filler stems are what separate an amateur tree from one that looks like it came from a display window.
After hanging all ornaments, step back and identify any areas that look thin, patchy, or without texture. Push pinecone picks, berry clusters, or floral sprigs directly into these gaps — no hooks needed, just press the wire stem firmly into the branch. Use 3–5 picks per foot of tree height for a full, lush result. Metallic stars, feather sprays, and dried citrus picks add unexpected texture. Vary the scale: pair a large pinecone cluster next to a small glittered twig bunch to keep the filler layer from looking uniform.
Do: Push picks deep enough into the branch structure so the wire stem is hidden. Don't: Use all the same type of pick — variety in texture is what makes the filler layer interesting. Pro tip: Warm-toned picks (gold, copper, burgundy) unify a multi-colored ornament mix instantly.
Recommended
Items for this idea
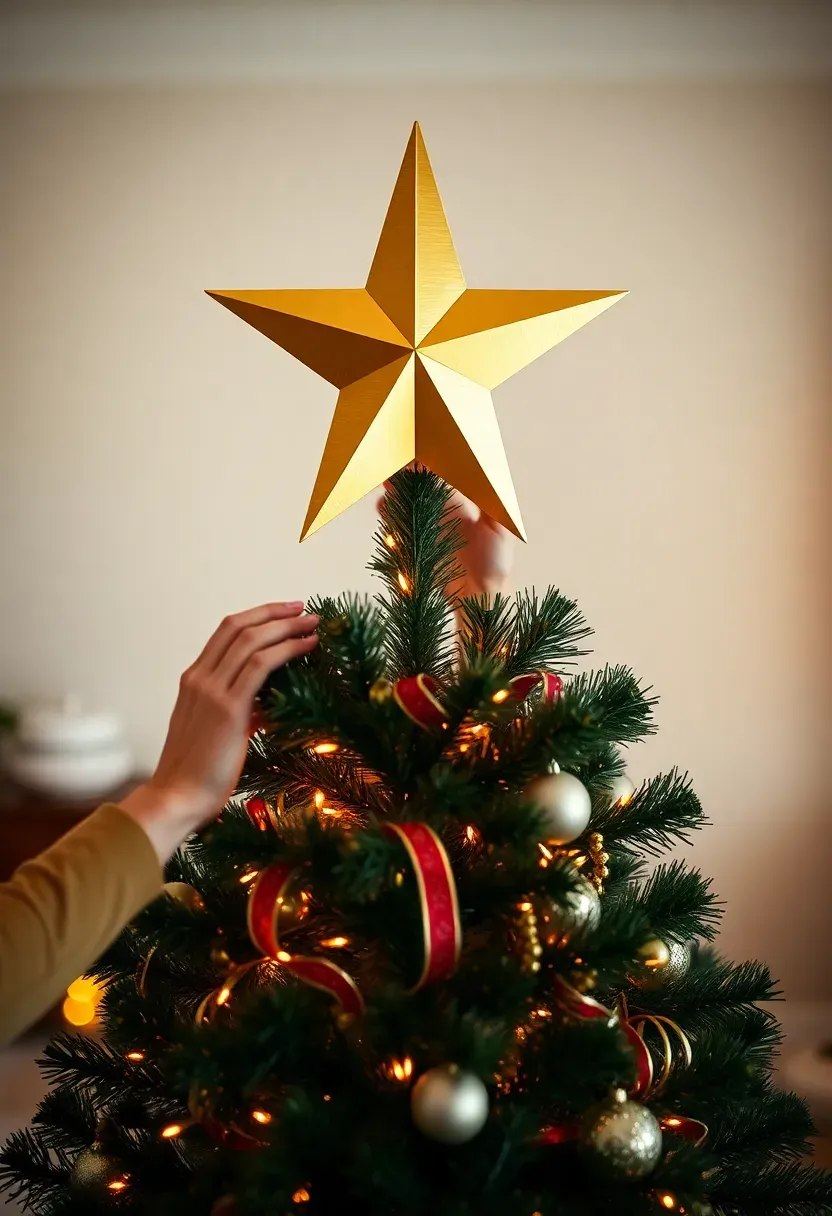
Step 7: Place the Topper
The topper is the final punctuation mark of the whole composition — make sure the tree structure supports it properly before committing.
Secure any loose branches at the very top of the tree before attaching the topper. A star or angel should sit centered and upright; a bow topper should be fluffed before mounting. For heavier toppers, wrap the base wire tightly around the top trunk section for stability. Once the topper is in place, fluff any upper branches that got compressed during installation and add 2–3 short ribbon lengths around the top tier to visually connect the topper to the rest of the tree. Plug everything back in and do a final walk-around to check light distribution, ornament balance, and any remaining gaps.
Do: Check that the topper is visible from your main seating position in the room — adjust the tree angle if needed. Don't: Attach a heavy topper without securing it to the trunk — it will lean or fall within days. Pro tip: Add a thin halo of small ornaments just below the topper to frame it and make it read as intentional rather than afterthought.
FAQ
Is it better to decorate top-to-bottom or bottom-to-top? Always start from the trunk outward, not top to bottom. Lights go first from base to top, then ribbon, then ornaments starting from the largest placed deepest. This layering sequence is what creates depth.
Can I use this method on a small 4-foot or tabletop tree? Absolutely. Scale everything down: use fewer ribbon loops, choose ornaments no larger than 3 inches, and limit picks to 2–3 clusters. The layering principle — interior to exterior, large to small — works at any size.
What's the difference between wired and non-wired ribbon? Wired ribbon holds its shape in loops and bows without wilting across a season, making it essential for tree work. Non-wired ribbon is fine for wrapped gifts but will flatten and droop on branches within a week.
Should I put presents under the tree before or after decorating? After. Styled gift stacks under the tree are part of the final composition. Wrap gifts in two or three complementary paper patterns (not every package in a different pattern) to keep the base of the tree looking curated, not chaotic.
How do I keep my tree looking full if some branches are sparse? Use floral wire to gently tie nearby branches together and fill the gap, then push a large pick into the junction to hide the wire. This works especially well in artificial trees where certain sections were poorly manufactured.
Pick one step and start this weekend — even just properly shaping and lighting the tree transforms the result. The rest of the steps build naturally from there, and by the time you place the topper, you will have a tree that looks like it belongs in a magazine.
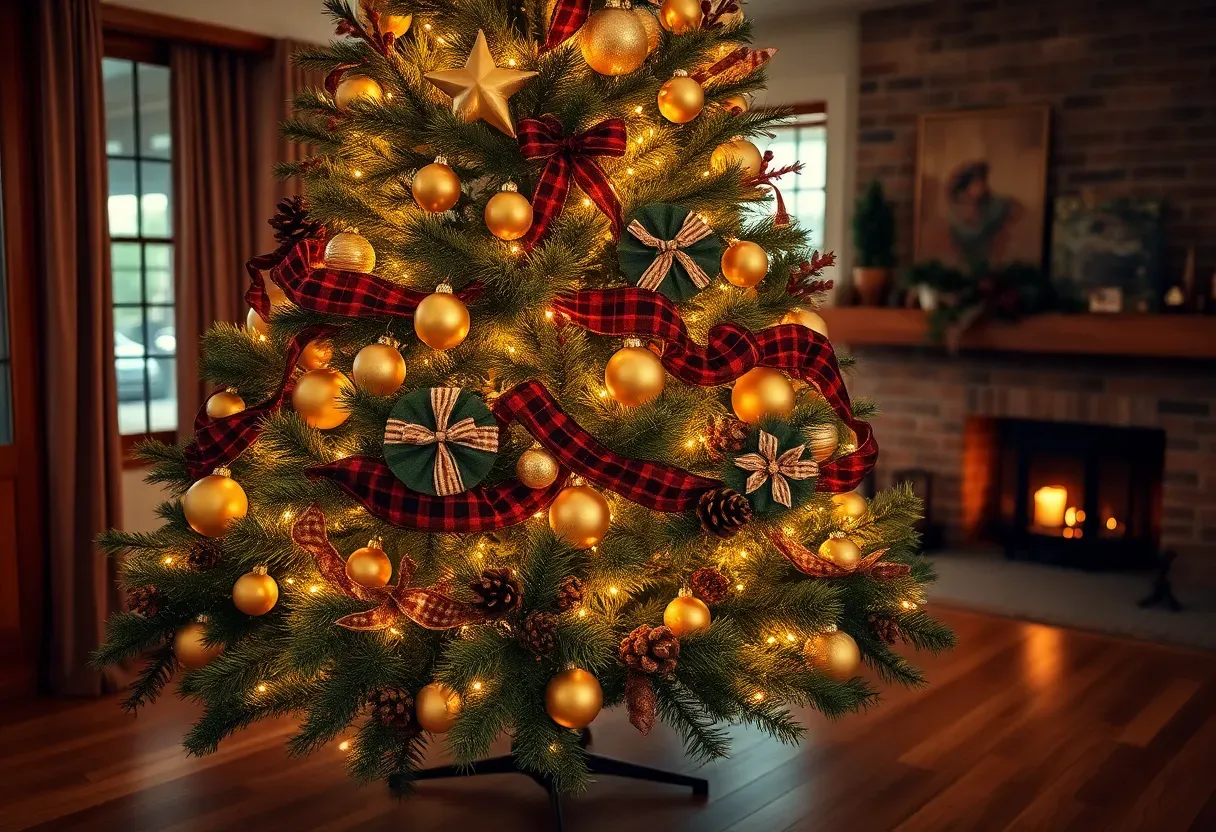
Pinterest cover for How to Decorate a Christmas Tree Like a Pro: 7 Steps
About the author
OBCD
CGI visualization and interior design content. We create detailed 3D renders and curate practical design ideas for every room in your home.