25 Backsplash Edge Trim Ideas for a Polished Finish

Most backsplash installations look great until you get to the edges. That spot where the tile just... stops. Raw cut edges exposed. Thin-set visible from the side. Maybe a bead of caulk someone ran along the outside corner and hoped nobody would notice. The trim detail is what separates a kitchen that looks professionally finished from one that looks like the installer ran out of motivation on the last day.
Edge trim handles two jobs at once: it protects the exposed tile edge from chipping, and it gives the eye a clean stopping point. The right profile depends on your tile thickness, the transition surface, and whether you want the trim to blend in or become a design accent on its own.
Here are 25 approaches, from standard contractor solutions to details you won't see in most kitchens.
Table of Contents
- Schluter Jolly in Brushed Nickel
- Bullnose Tile Edge
- Mitered Outside Corner
- Pencil Liner Trim
- Caulk-Only Finished Edge
- Schluter Rondec in Matte Black
- Chair Rail Ceramic Molding
- Quarter-Round Ceramic Trim
- Polished Chrome Flat Bar
- Natural Stone Pencil Molding
- Wood Trim Cap
- Beveled Edge Tile at the Border
- Brass Schluter Strip
- Glass Liner Bar
- Tile-to-Ceiling No Trim Approach
- Shadow Line Recessed Detail
- Stainless Steel L-Channel
- Decorative Rope Liner Tile
- Painted Aluminum J-Channel
- Marble Ogee Trim Piece
- Raw Edge with Exposed Glazed Side
- PVC Edge Trim for Budget Projects
- Mosaic Border Strip
- Custom Welded Steel Flat Bar
- Floating Shelf as Edge Cover
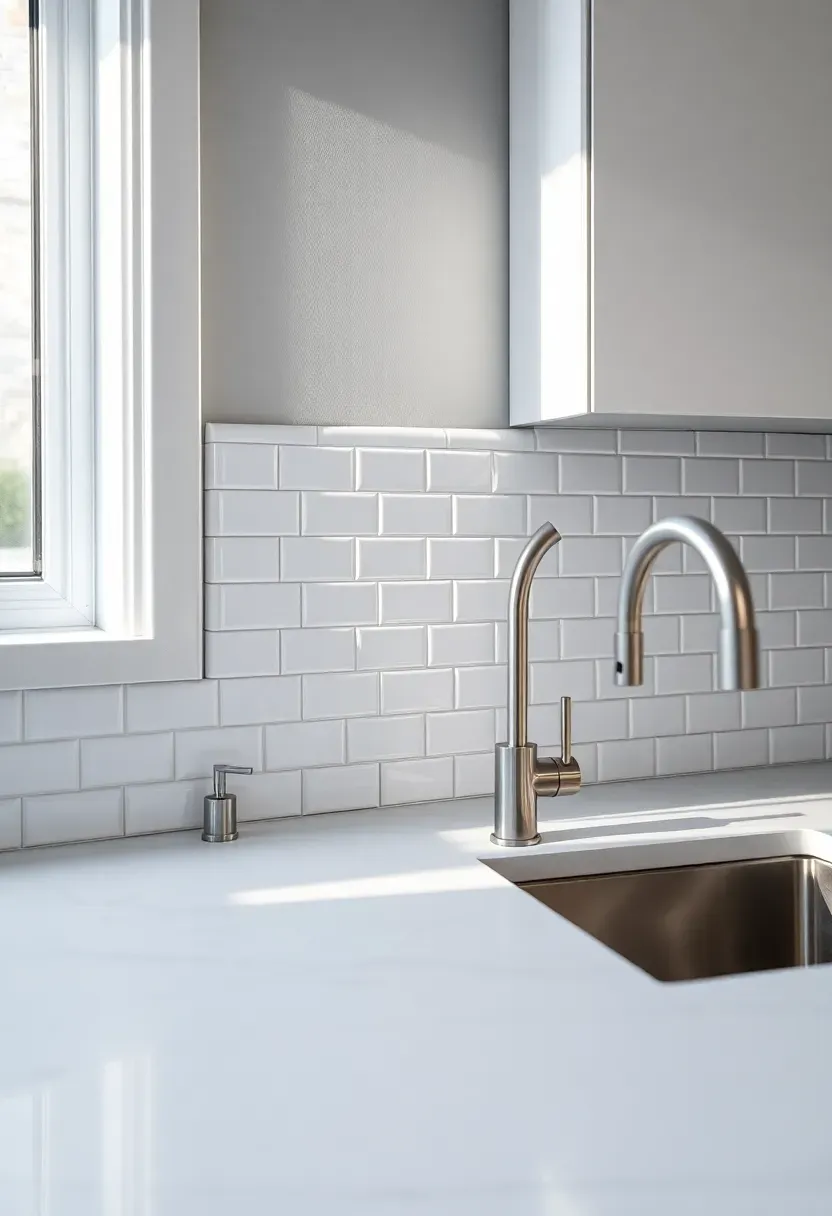
1. Schluter Jolly in Brushed Nickel
This is the industry default for a reason. Schluter's Jolly profile is an L-shaped metal strip that tucks behind the tile and wraps around the exposed edge, leaving a thin metal reveal. Brushed nickel works with almost any tile color and reads as a quiet, finished detail rather than a design statement.
Installation basics
The strip installs during tiling, not after. One leg goes into the thin-set behind the tile; the visible leg covers the edge. Getting the right size matters — Schluter makes these in increments that match specific tile thicknesses (8mm, 10mm, 12.5mm). Order the wrong one and the tile either sits proud of the metal or doesn't reach the top.
Tips
- Measure tile thickness after setting a test piece — the adhesive adds roughly 1-2mm
- Cut Schluter strips with a fine-tooth hacksaw, not a tile saw
- Inside corners require a small notch cut; outside corners can be mitered or use Schluter's prefab corner pieces
We picked a few things that go well with this idea: Peel-and-Stick Metal Edge Trim (10-Pack) (★4.2), Art3d Peel-and-Stick Vinyl Corner Trim (20ft) (★4.3) and FASADE Decorative Outside Corner Trim (★4.0). As an Amazon Associate we earn from qualifying purchases.
2. Bullnose Tile Edge
Bullnose is a matching tile with one rounded, glazed edge. It was the standard finishing method before metal trim became popular. When available in your tile line, it gives the cleanest look because the trim and the field tile are the same material, color, and texture.
The catch
Not every tile manufacturer makes bullnose anymore. Many large-format and specialty tiles ship without a matching edge piece. If your chosen tile doesn't offer bullnose, you'll need to pick a different finishing method — or pay a fabrication shop to polish and round the edges of cut tiles, which gets expensive fast.
When to choose bullnose
- Your tile line includes a factory bullnose option
- You want a completely seamless, all-ceramic look
- The backsplash ends at an outside corner that's highly visible
We picked a few things that go well with this idea: Glossy White Ceramic Bullnose Trim (10-Pack) (★5.0), Tenedos White Glossy 2x8 Bullnose Tile (5-Pack) (★4.0) and Carrara Marble Pencil Liner Trim (10-Pack) (★4.3). As an Amazon Associate we earn from qualifying purchases.
3. Mitered Outside Corner
Instead of adding trim, you cut each tile at a 45-degree angle so they meet at the corner with no exposed edge. The result is a sharp, trim-free outside corner where the glazed faces of both tiles are visible.
How to execute it
- Mark your 45-degree cut line on the back of the tile, leaving about 1mm of the glazed edge intact to prevent chipping at the corner point.
- Use a wet saw with the blade tilted, or a dedicated angle grinder with a diamond blade. Go slow — porcelain wants to chip on angled cuts.
- Dry-fit both pieces before applying thin-set. The miter should close cleanly with no visible gap at the corner.
Watch out
- Fragile corners — if someone bumps a mitered tile corner with a pot, the thin glazed edge can chip
- Requires a skilled installer or a lot of patience with a wet saw
- Not recommended for natural stone thinner than 10mm
We picked a few things that go well with this idea: Jiekayi Peel-and-Stick Metal Tile Trim (10-Pack) (★4.7), CRYSFLOA Aluminum Tile Edge Trim Matte Black (10-Pack) (★4.3) and Brushed Nickel Metal Edge for Tiles (10-Piece) (★4.2). As an Amazon Associate we earn from qualifying purchases.
4. Pencil Liner Trim
A pencil liner is a narrow, rounded ceramic or stone rod — usually about half an inch in diameter — that sits at the transition between the tile field and the wall. It's a traditional approach you see in older homes and high-end renovations where the designer wanted a defined border without a flat metal strip.
Pros and Cons
Pros: adds a tailored, molding-like detail that metal trim can't replicate; available in ceramic, glass, marble, and travertine; bridges small gaps between tile and uneven wall surfaces
Cons: labor-intensive to install because each piece is small and needs careful alignment; adds cost ($4-12 per linear foot depending on material); creates an extra grout line that collects grease near the stove
Recommended
Items for this idea
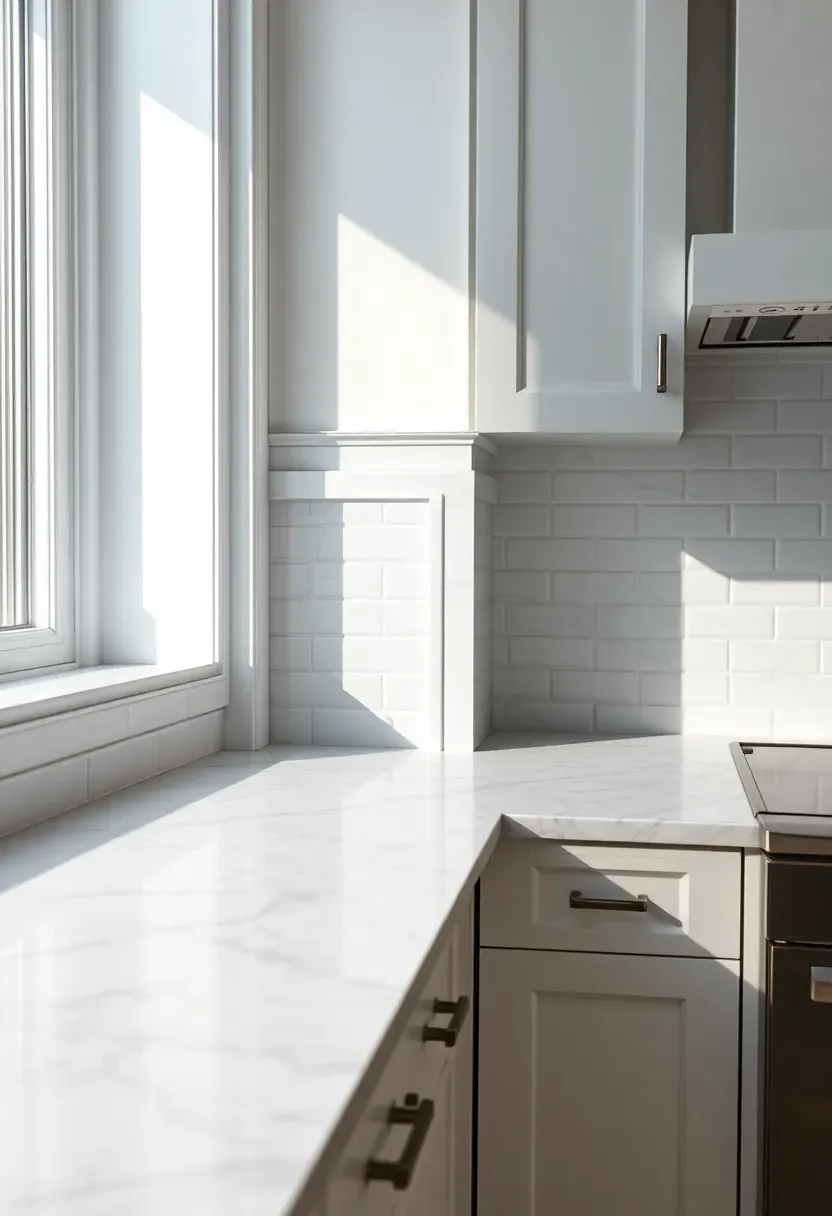
5. Caulk-Only Finished Edge
Sometimes you skip the trim entirely. If you're using tile with a glazed edge — meaning the factory-finished side face is also glazed on the short edge — you can simply expose that edge and run a thin bead of color-matched caulk where the tile meets the adjacent surface.
This only works well under specific conditions.
Choose if
- Your tile has a cleanly glazed or polished edge (not a raw bisque edge)
- The backsplash terminates at an inside corner or against a window frame where the edge isn't prominently visible
- You want the lowest-cost, simplest finishing option
Avoid if
- The tile has a rough or unglazed cut edge
- The termination point is an outside corner where people will see and possibly bump the edge
- You're working with handmade tile that has irregular edges
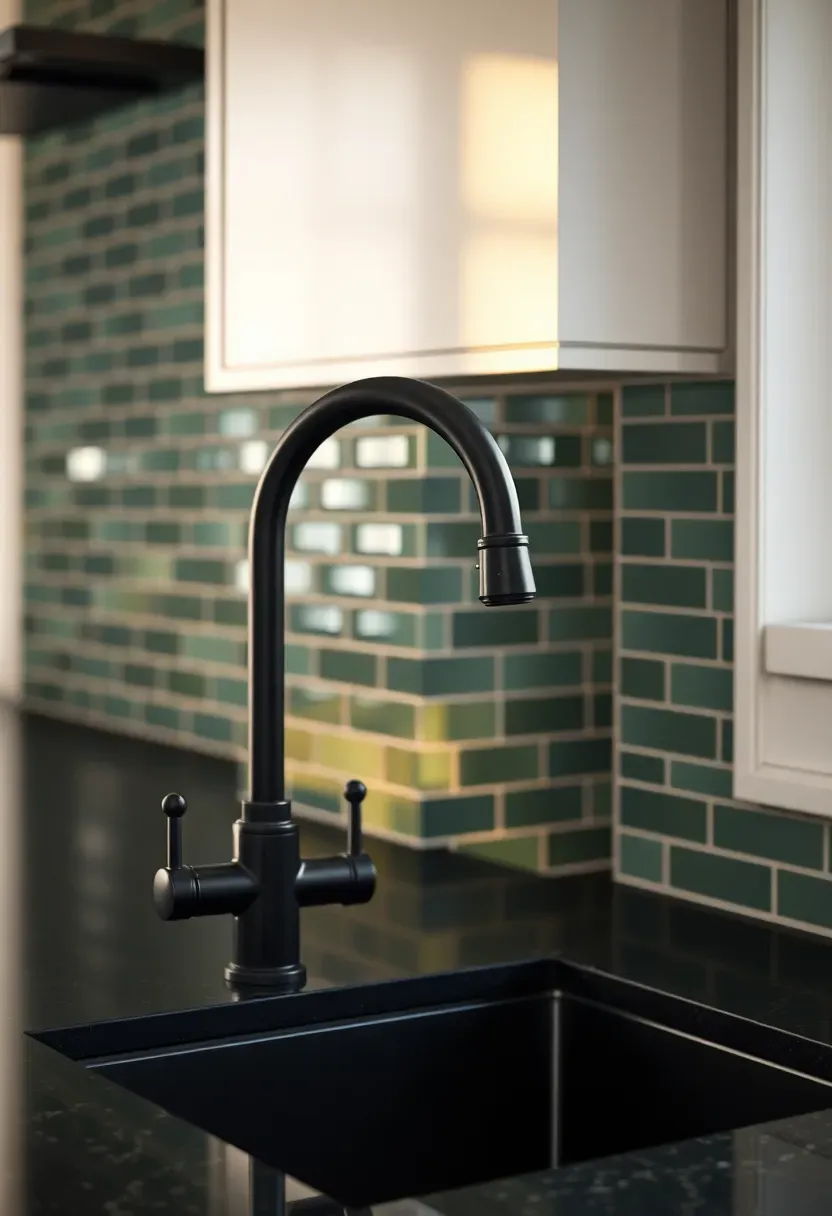
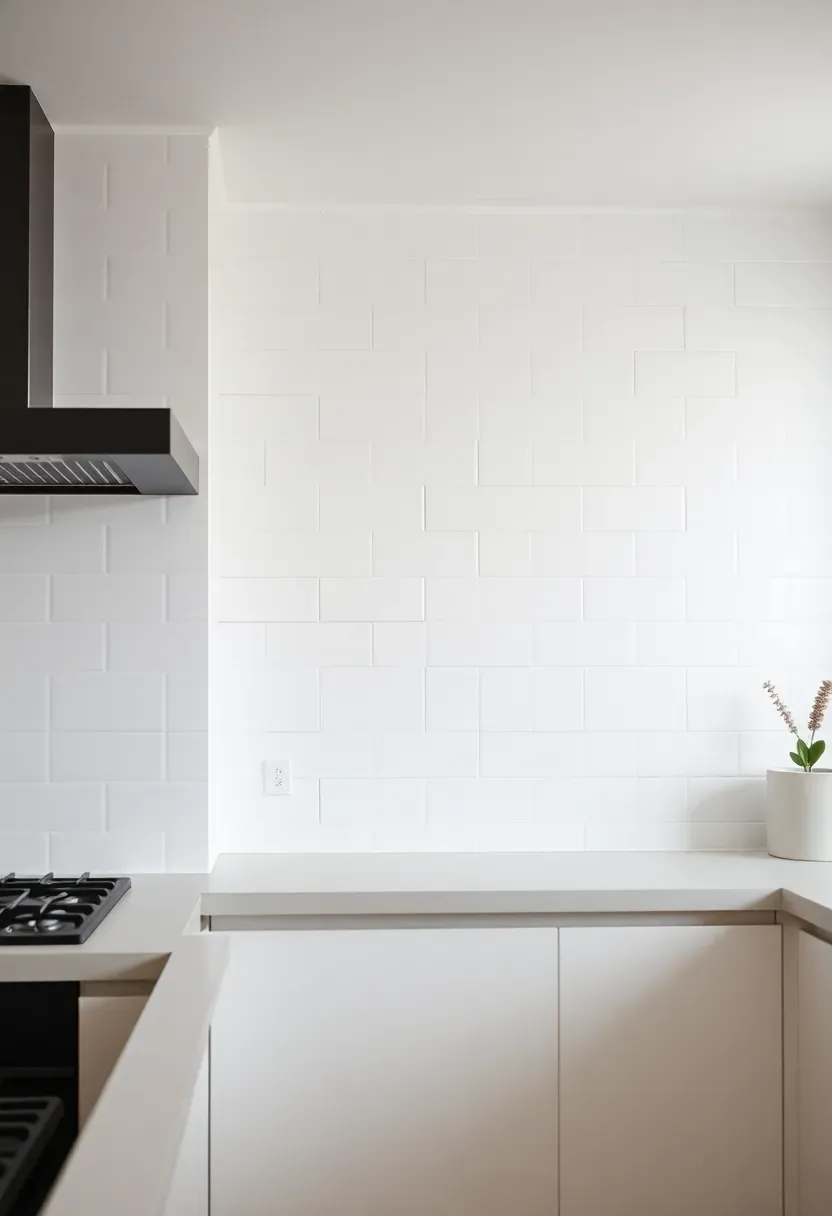
6. Schluter Rondec in Matte Black
Rondec has a rounded top edge instead of the square profile of the Jolly. In matte black, it picks up the current trend toward black fixtures, cabinet hardware, and range hoods without looking like it's trying too hard. The curved profile catches less dust than a flat-top strip.
Tips
- Pair with tiles that have some surface texture — matte black Rondec against perfectly smooth glossy tile can look like two unrelated materials
- The black finish is a coating over aluminum; it can scratch if hit with hard objects during use
- Clean with a damp cloth only — abrasive cleaners will dull the matte finish over time
Recommended
Items for this idea
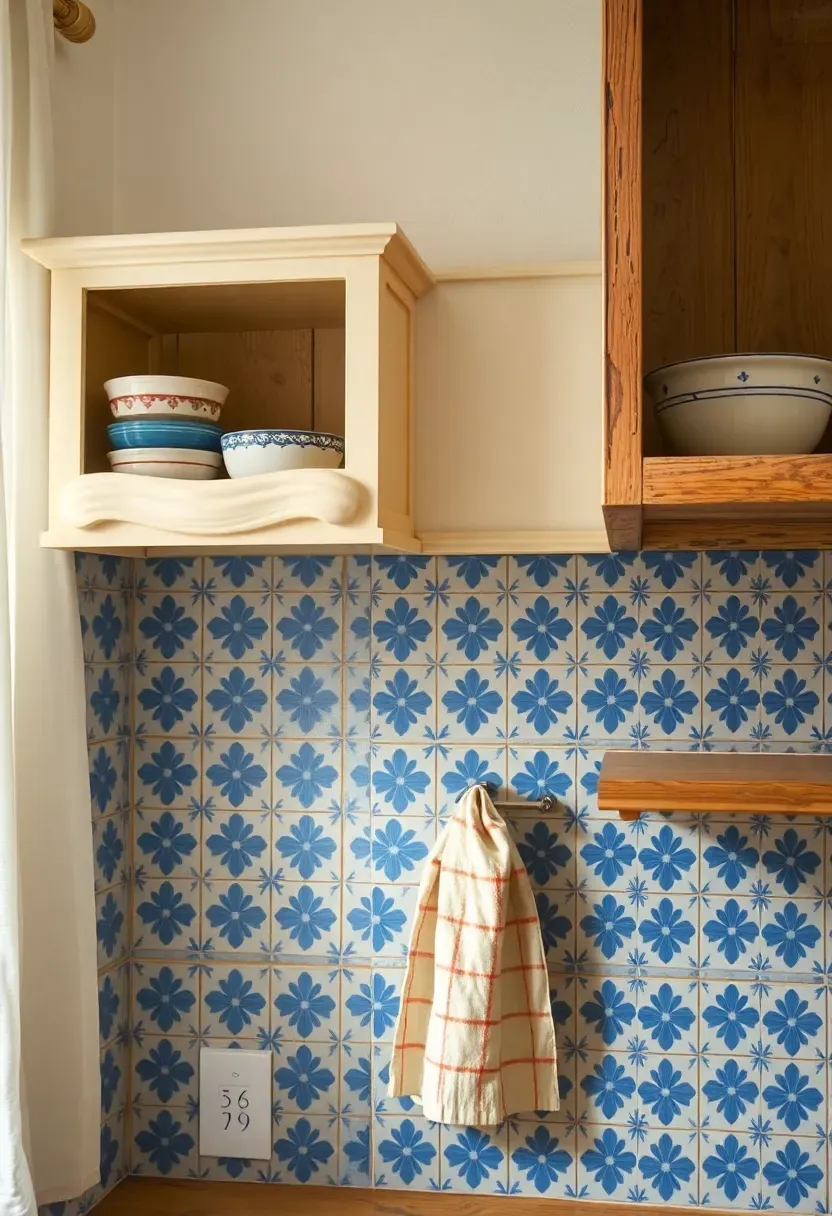
7. Chair Rail Ceramic Molding
Borrowed from traditional wall paneling, ceramic chair rail molding sits at the top of the backsplash like a crown. It's typically 2 to 3 inches tall with an S-curve or ogee profile. This approach suits kitchens going for a period look — French country, colonial revival, traditional English.
Origins and modern use
Chair rail tile trim was common in kitchens and bathrooms built before 1960. It fell out of fashion during the minimalism wave but has come back in homes where the design leans into ornamental detail rather than away from it.
Apply at home
- Match the chair rail color exactly to the field tile, or go intentionally contrasting (white chair rail on blue tile, for example)
- Works best when the backsplash height is at least 18 inches — on a short 4-inch backsplash, the proportions look off
- Source from specialty tile lines; big box stores rarely carry ceramic molding profiles

8. Quarter-Round Ceramic Trim
Quarter-round is a convex trim piece shaped like a quarter of a circle in cross-section. It covers the joint between the backsplash and the countertop or between the tile edge and the wall. Functionally, it seals the gap and prevents water from seeping behind the tile.
Tips
- Size the quarter-round to the tile — large format tiles look odd with a tiny 3/8-inch quarter-round
- This trim works particularly well at the countertop-to-backsplash joint where caulk alone tends to crack over time
- White quarter-round is easy to find; colors and finishes matching specialty tiles may require special order
Recommended
Items for this idea
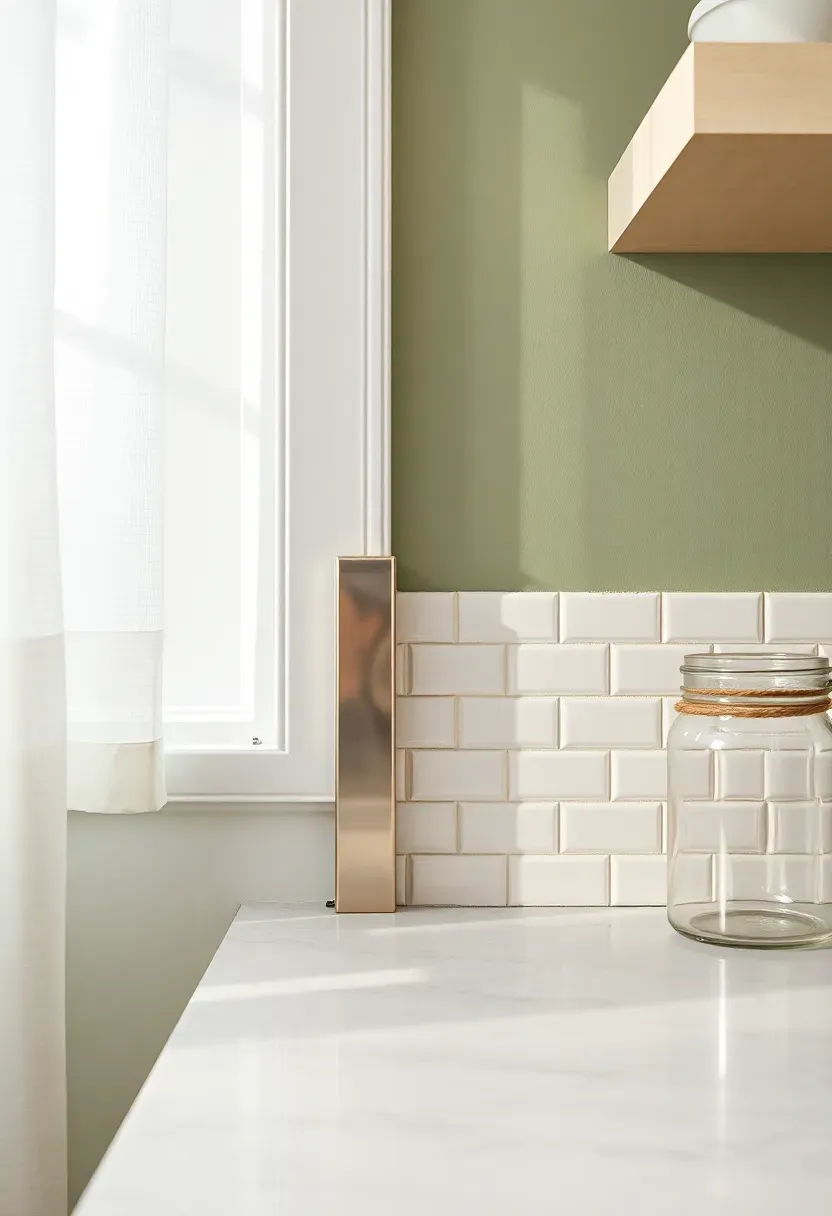
9. Polished Chrome Flat Bar
A flat metal bar — usually 3/4 to 1 inch tall — mounted to cap the top edge of the backsplash. Unlike Schluter profiles that tuck behind the tile, flat bar trim mounts on top of or adjacent to the finished tile edge. Polished chrome gives it a mirror-like surface that picks up kitchen lighting.
A vs B: Chrome vs. Brushed Nickel
Chrome reflects sharply, looks more formal, shows fingerprints and water spots easily. Best in kitchens with other polished chrome elements.
Brushed nickel has a softer, muted reflection, hides fingerprints better, and works in both contemporary and transitional kitchens. More forgiving day-to-day.
Recommendation
If your faucet, cabinet pulls, and light fixtures are polished chrome, match it. If you have a mix of finishes, brushed nickel blends more easily.
10. Natural Stone Pencil Molding
Marble, travertine, and limestone pencil moldings bring a material richness that ceramic versions can't quite match. The natural veining and color variation in stone adds depth to the border detail, especially when paired with a simpler field tile.
What to know before committing
Stone pencil moldings are porous and need sealing — especially behind the stove where grease splatter is constant. Carrara marble pencil trim against a white subway backsplash is a classic combination, but the marble will absorb cooking oils if left unsealed. Budget an extra $6-15 per linear foot compared to ceramic pencil liners.
Tips
- Seal before grouting and again every 12 months
- Hone-finished stone hides small stains better than polished
- Order 15% extra — natural stone trim is prone to breakage during shipping and cutting

Recommended
Items for this idea
11. Wood Trim Cap
A strip of solid wood — typically 3/4-inch thick and 1.5 to 2 inches wide — mounted along the top edge of the backsplash. This hides the tile edge and introduces warmth. Common choices are oak, walnut, maple, or reclaimed barn wood depending on the kitchen's personality.
The issue
Wood behind a stove deals with heat and moisture. It will expand, contract, and potentially warp if not finished properly. Raw or lightly oiled wood will absorb grease spatters and darken unevenly over time.
The solution
Use a marine-grade polyurethane or conversion varnish on all six sides of the trim piece before installation. Attach with construction adhesive and pin nails so it can be removed without destroying the tile if it ever needs replacing. Keep the wood trim at least 6 inches away from the cooktop on either side.
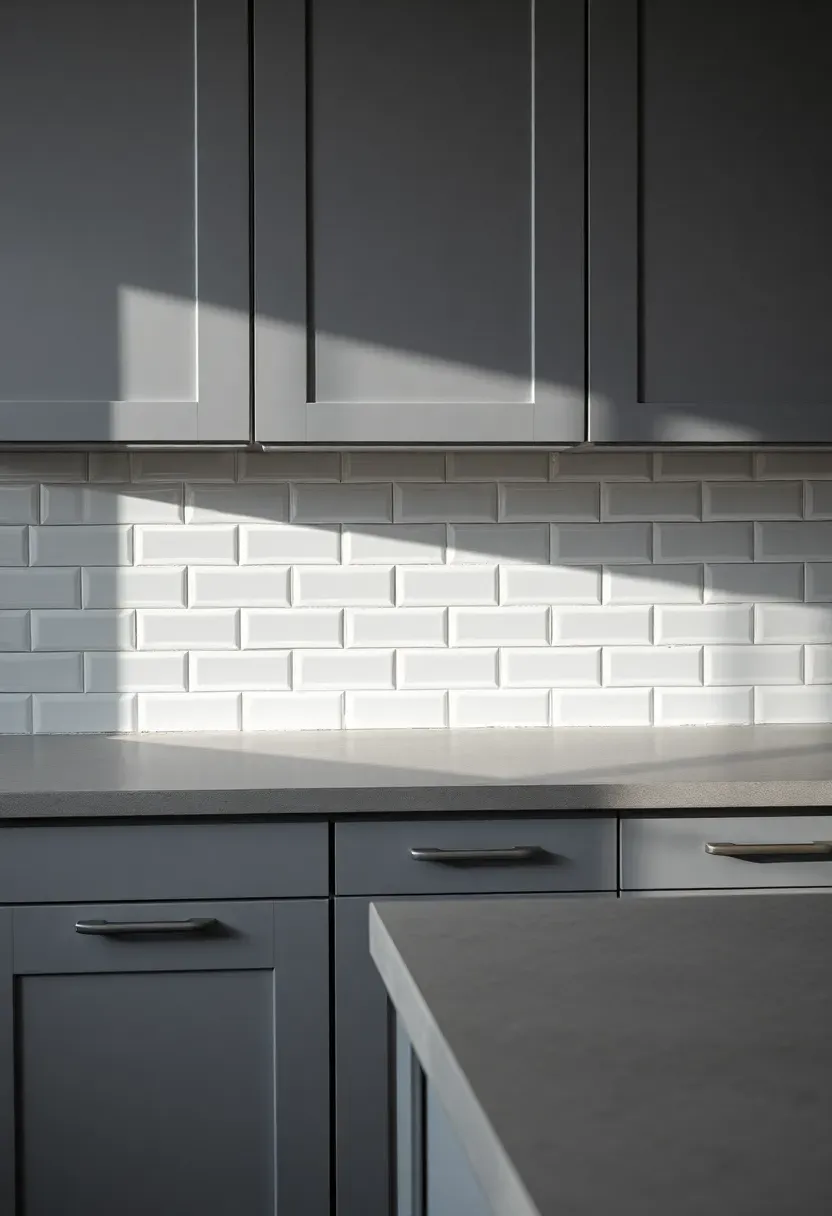
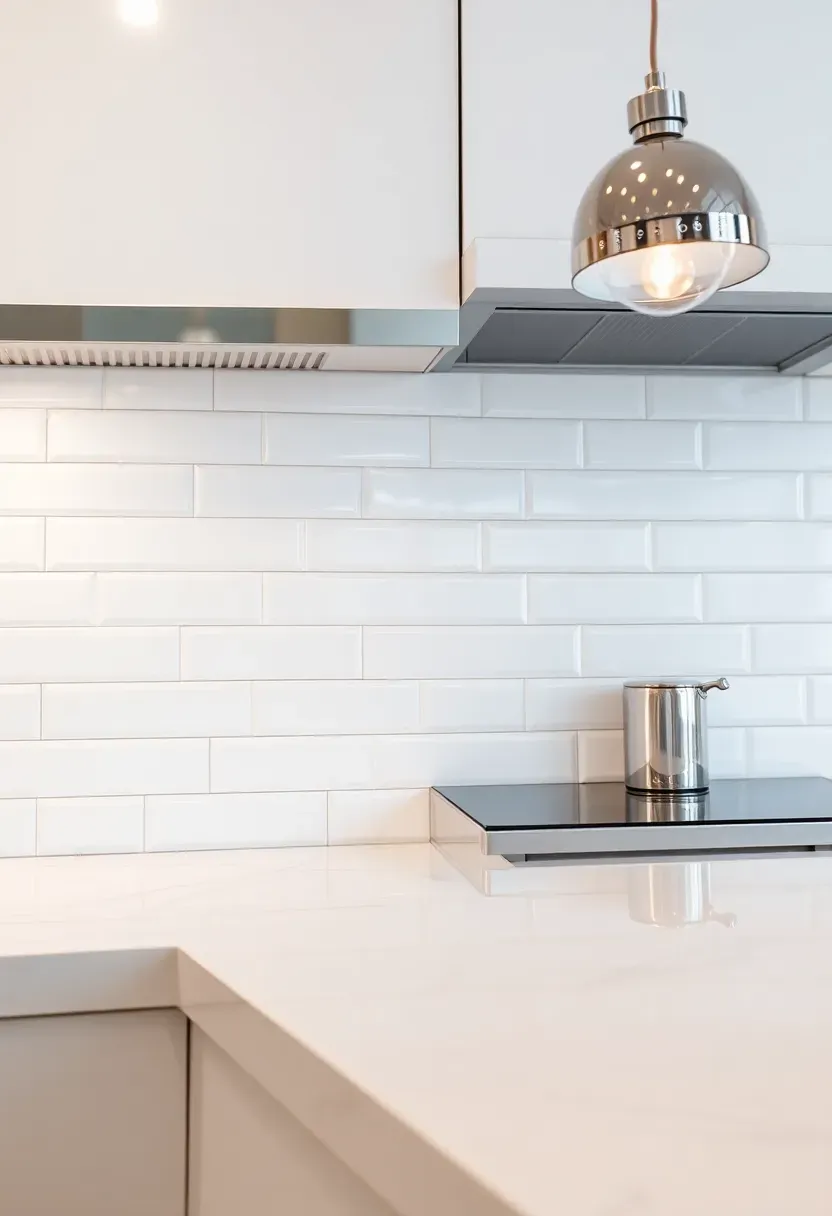
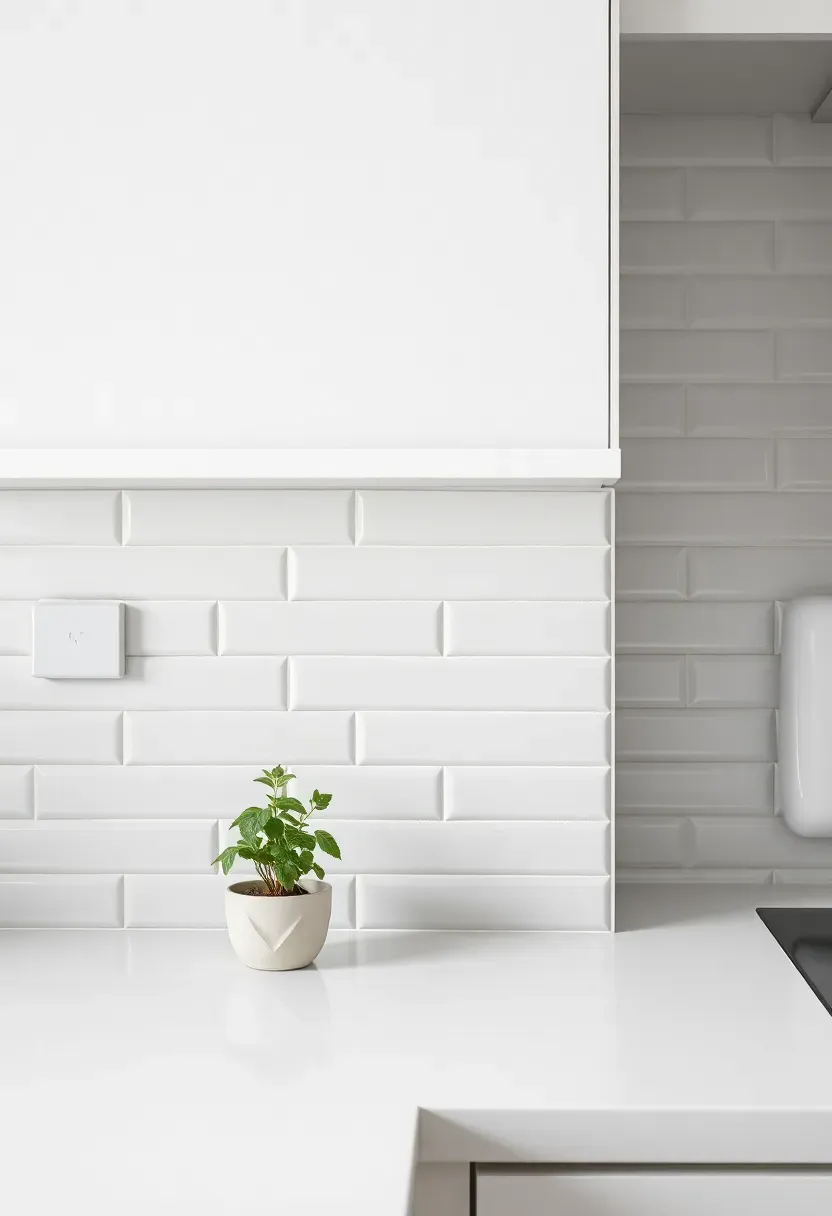
12. Beveled Edge Tile at the Border
Instead of adding a separate trim piece, use a beveled-edge version of your field tile for the top row. The bevel creates a subtle shadow line and a finished-looking edge without introducing a new material. This works especially well with subway tile formats where beveled options are widely available.
Tips
- The bevel should face outward (toward the room) on the top row so the shadow falls naturally
- If using beveled tile throughout the whole backsplash, the top-row effect is subtle; if the field is flat and only the top row is beveled, the contrast is more noticeable
- Standard 3x6 and 4x8 beveled subway tiles are stocked at most tile shops
Recommended
Items for this idea
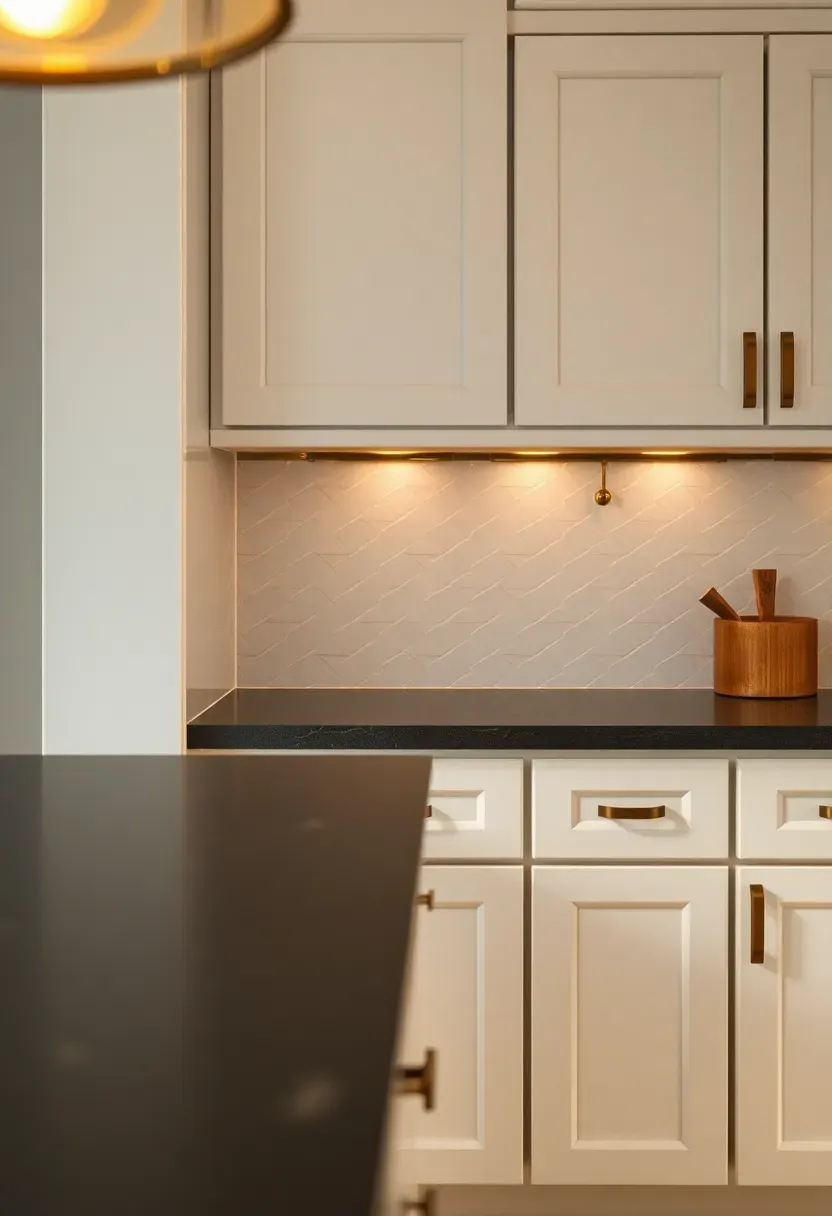
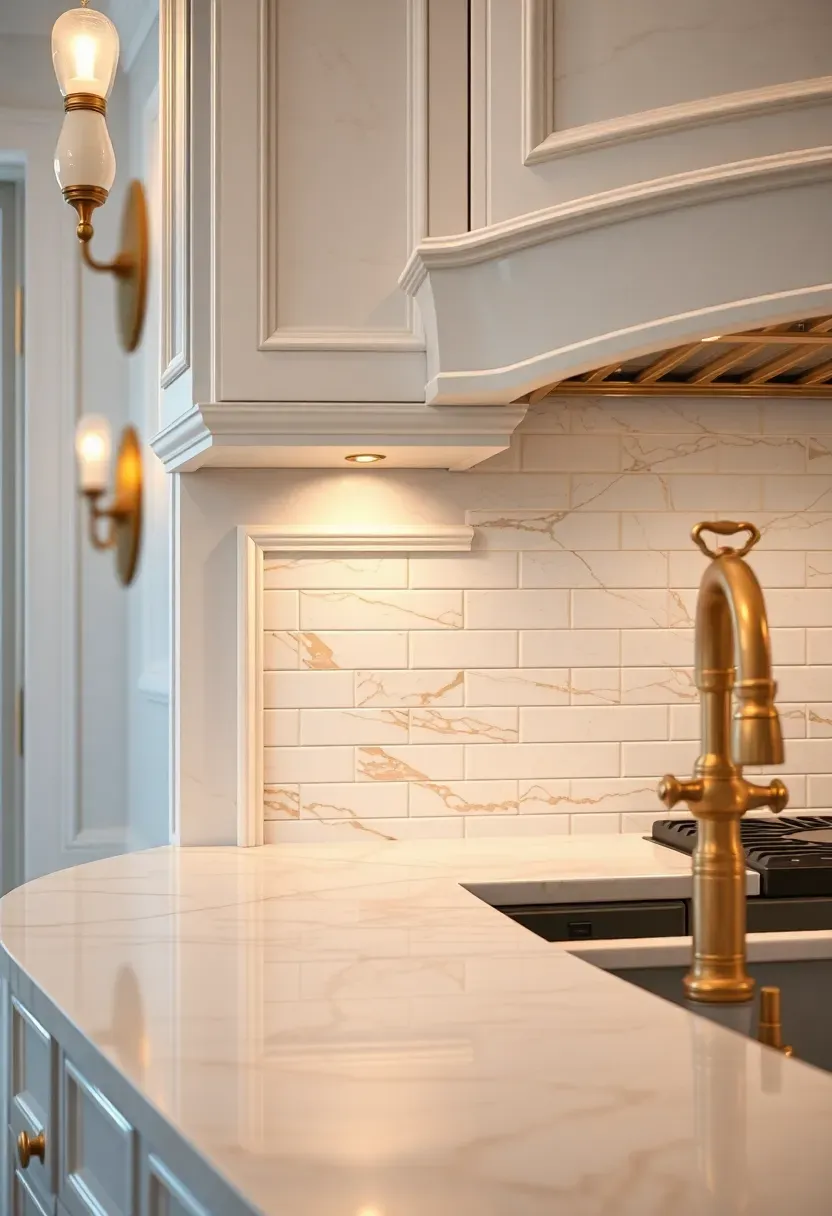
13. Brass Schluter Strip
Brass — whether satin, polished, or antiqued — brings warmth that chrome and nickel can't. Schluter's brass profiles work identically to their other metal trims but add a distinctive golden tone that pairs well with warm white tiles, natural stone, and wood cabinetry.
Trends and origins
Brass hardware and fixtures cycled out of kitchens in the early 2000s during the stainless steel era. The comeback started around 2016 and has held steady since, partly because newer satin and brushed brass finishes avoid the shiny yellow look that dated 1980s and 1990s kitchens.
Modern application
Pair brass trim with earthy or warm-toned tiles. Against cool gray or blue tile, brass can look disconnected unless other brass elements (pulls, lighting, faucet) tie it in. Expect the brass to develop patina over time — some manufacturers offer lacquered versions that maintain their original tone longer.
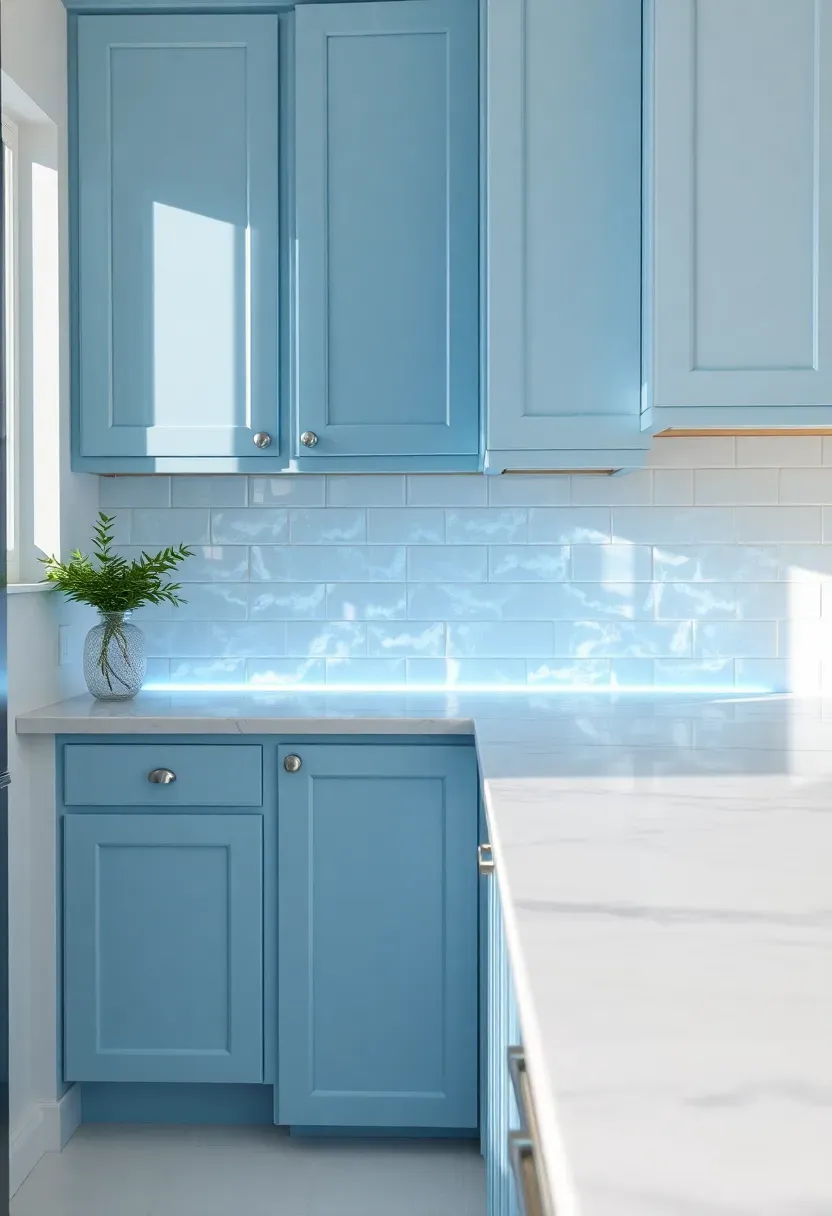
14. Glass Liner Bar
Glass liners are thin rectangular strips — typically 1/2 to 1 inch wide — made from colored or iridescent glass. They sit at the backsplash border and catch light differently throughout the day. Blue, green, and opalescent finishes are the most popular.
Tips
- Glass liners are fragile; handle carefully during installation and avoid placing near high-impact areas
- The translucent quality means the adhesive color matters — use white thin-set behind glass, not gray
- Works best as an accent line within the backsplash rather than as the sole edge treatment on exposed outside corners
Recommended
Items for this idea
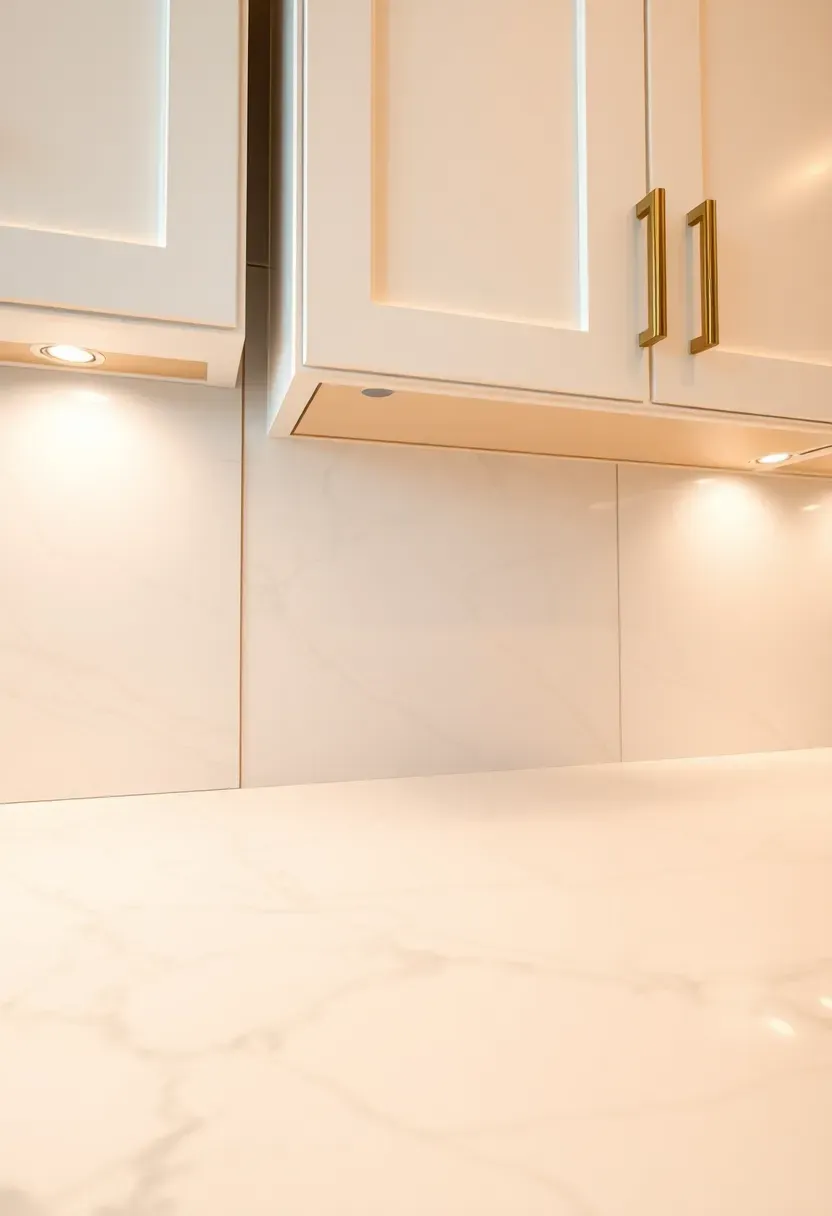
15. Tile-to-Ceiling No Trim Approach
If you take the tile all the way up to the ceiling, you eliminate the need for top-edge trim entirely. The tile terminates at the ceiling line, and a thin bead of caulk closes the joint. No metal strip. No bullnose. The backsplash simply becomes a tiled wall.
Why it works
Carrying tile to the ceiling makes the kitchen feel taller and more finished. It also removes the awkward painted-drywall gap between the top of the backsplash and the bottom of upper cabinets — a zone that collects grease film and is hard to clean.
Watch out
- More tile means more cost — you're covering 3 to 4 times the surface area of a standard 18-inch backsplash
- Cutting tile to fit around upper cabinets, outlets, and range hoods requires precise layout
- The ceiling-to-tile joint needs flexible caulk, not grout, because ceilings shift seasonally
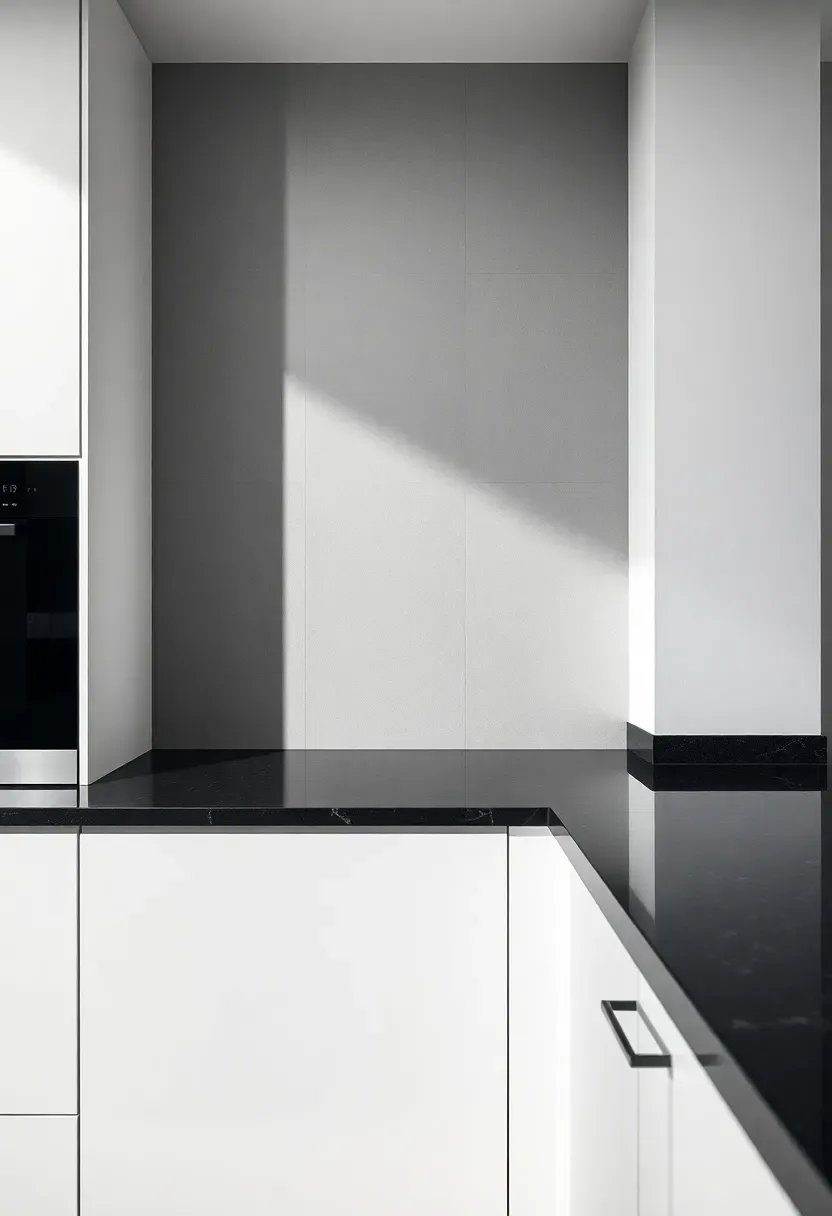
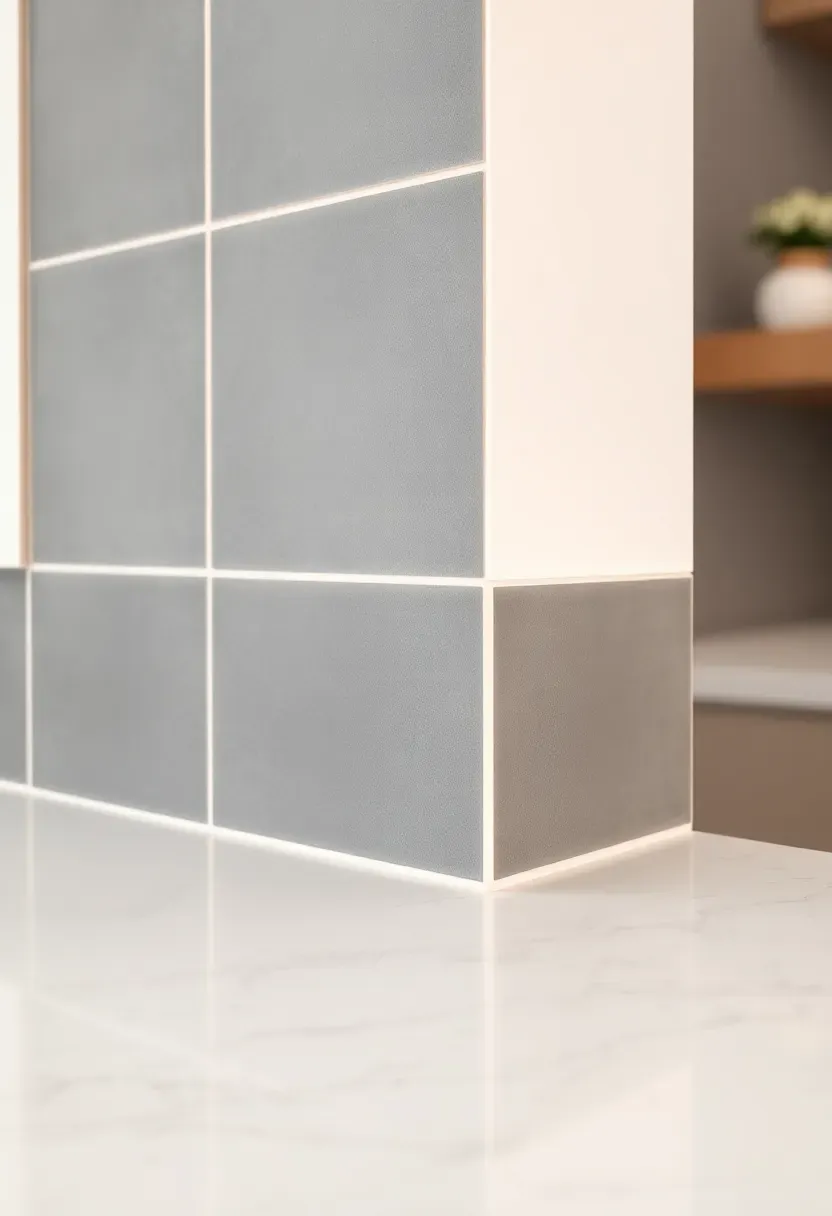
16. Shadow Line Recessed Detail
This is a designer-level detail where the tile is set slightly recessed from the wall plane, creating a narrow shadow gap at the termination point. No trim piece is visible — just a thin dark line where the tile edge meets the wall.
How to execute it
- Build out the wall behind the tile with a layer of cement board or additional drywall so the field tile sits about 3/8 inch below the adjacent finished wall surface.
- Set the tile as normal. The top edge is left exposed but recessed, so the wall surface above it casts a natural shadow.
- Caulk the joint with a color-matched dark caulk or leave it as a clean reveal.
Watch out
- Requires planning during the framing or drywall stage — difficult to add retroactively
- The recessed channel can collect dust and grease; a quick wipe with a damp cloth handles it
- Best suited for modern and contemporary kitchens where minimal detailing is the goal
Recommended
Items for this idea
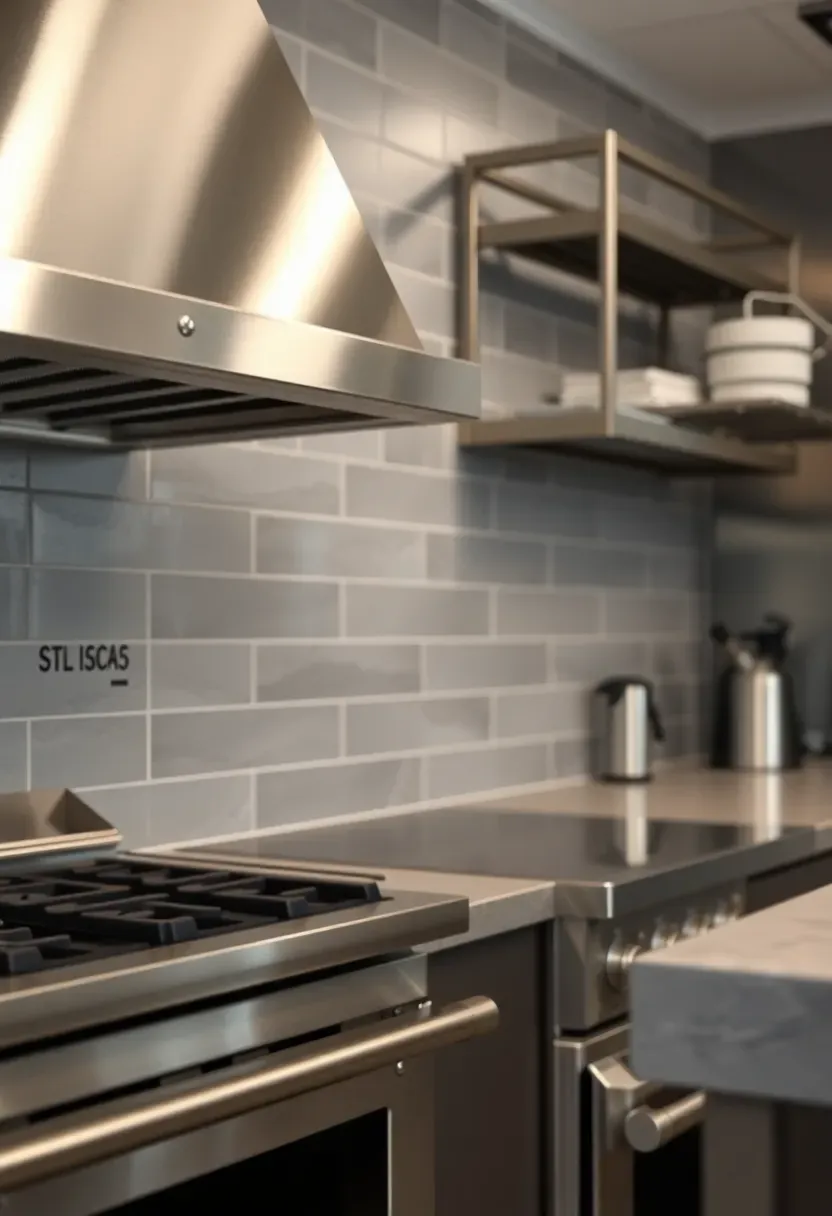
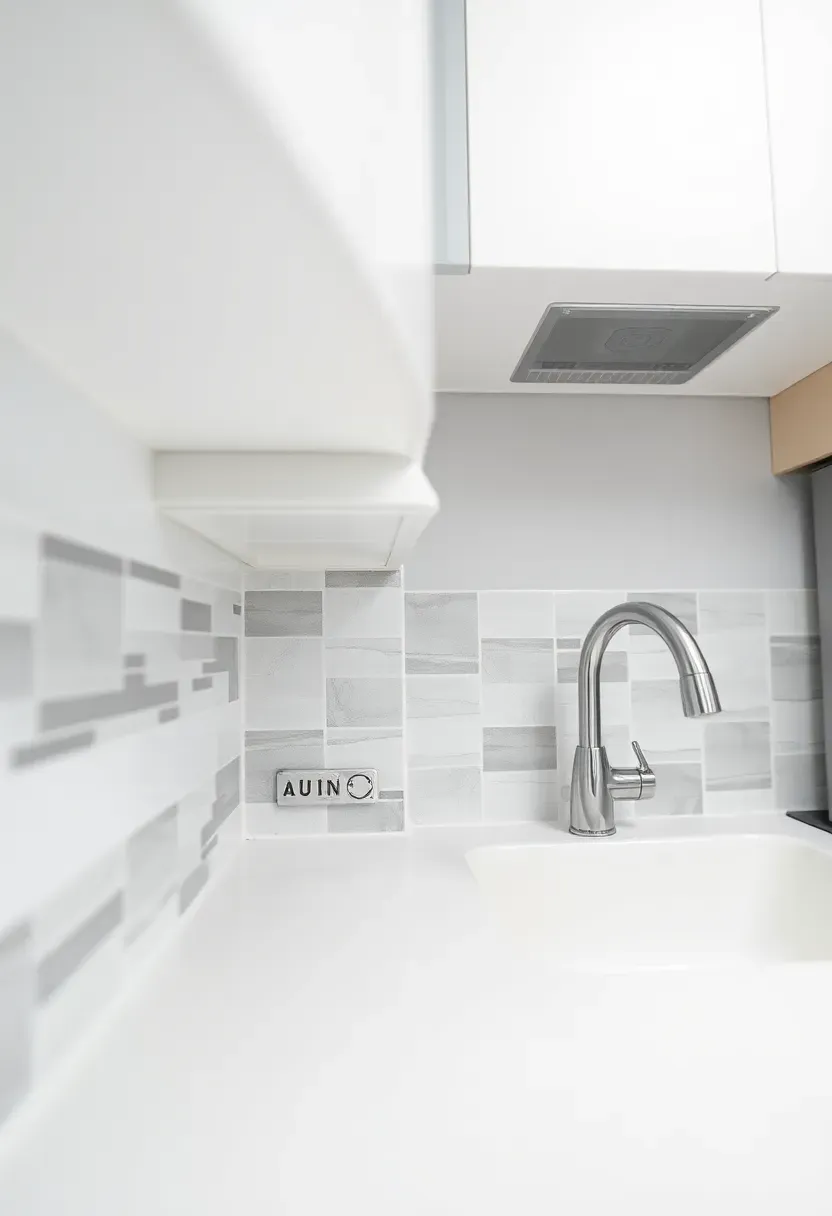
17. Stainless Steel L-Channel
Stainless steel L-channel is the utilitarian cousin of Schluter profiles. It's a simple 90-degree angle of stainless steel that wraps the tile edge. Less refined than a Jolly or Rondec, but tough and well-matched to kitchens with stainless appliances and commercial-style ranges.
Choose if
- Your kitchen leans industrial or professional — stainless range, steel shelving, concrete or soapstone counters
- You want an edge treatment that can take abuse without showing damage
- Budget is a consideration — basic stainless L-channel costs less per foot than branded Schluter profiles
Avoid if
- You want a polished, decorative look — L-channel reads as functional hardware, not jewelry
- Your kitchen uses warm metals (brass, gold, copper) elsewhere

18. Decorative Rope Liner Tile
Rope liner tiles have a twisted or braided relief pattern molded into the surface. They're a traditional detail that shows up in Mediterranean, Spanish Colonial, and Tuscan-inspired kitchens. Typically about 1 inch wide and available in ceramic, porcelain, or natural stone.
Tips
- The relief pattern traps grease — plan on scrubbing with a brush rather than a flat wipe
- Ivory and terracotta tones look most at home in warm kitchen palettes; avoid rope liner in ultra-modern settings where it reads as out of place
- Combine with hand-painted or patterned field tiles for a cohesive old-world look
Recommended
Items for this idea
19. Painted Aluminum J-Channel
J-channel is shaped like the letter J — the tile slides into the channel, and the visible face covers the edge. Painted aluminum versions are lightweight, inexpensive, and come in white, black, and a few metallic finishes. They're common in budget renovations and rental-friendly kitchen updates.
Pros and Cons
Pros: cheapest metal trim option ($1-3 per linear foot), easy to cut with a hacksaw, lightweight enough to secure with adhesive alone in some cases
Cons: the paint finish can chip if scratched, aluminum is soft and dents easily, the J-channel design can trap moisture behind the tile if not properly sealed at the bottom
20. Marble Ogee Trim Piece
An ogee profile in natural marble — the S-curve shape you see in crown molding, but executed in stone. This is a high-end detail found in formal kitchens where the backsplash is marble or marble-look tile and the goal is architectural elegance.
What to know before committing
Marble ogee trim is milled from solid stone and typically costs $15-30 per linear foot before installation. It's heavy, fragile during handling, and requires a skilled installer who can set it level and consistent. Joints between pieces need to be tight — even a 1/32-inch gap is visible in polished marble.
Tips
- Source the ogee and the field tile from the same stone lot for the closest color match
- Polished finish looks most traditional; honed finish reads more contemporary
- Apply penetrating sealer to all surfaces before installation
Recommended
Items for this idea
21. Raw Edge with Exposed Glazed Side
Some handmade and artisan tiles have sides that carry the glaze irregularly — drips, pooling, natural variation. Instead of hiding this edge, you expose it intentionally. The raw, imperfect edge becomes part of the handmade character.
Choose if
- You're using handmade tiles from makers like Clé, Fireclay, or Mercury Mosaics where the edge is genuinely interesting
- The kitchen design embraces imperfection — wabi-sabi, rustic modern, or artisan-driven aesthetics
- The edge is visible but not in a high-traffic bump zone
Avoid if
- The tile has a rough, unglazed bisque edge that looks unfinished rather than intentional
- You need a waterproof edge seal — raw edges absorb moisture
22. PVC Edge Trim for Budget Projects
PVC plastic trim profiles work like metal Schluter strips but cost a fraction of the price. They come in white, almond, gray, and black. For peel-and-stick tile projects, rental kitchens, and temporary installations, PVC trim gets the job done without the investment.
Tips
- PVC expands and contracts with temperature — leave a small gap at joints and fill with flexible caulk
- Not heat-resistant enough for placement directly adjacent to a cooktop
- The plastic appearance is noticeable up close; best used where the edge isn't a focal point
Recommended
Items for this idea
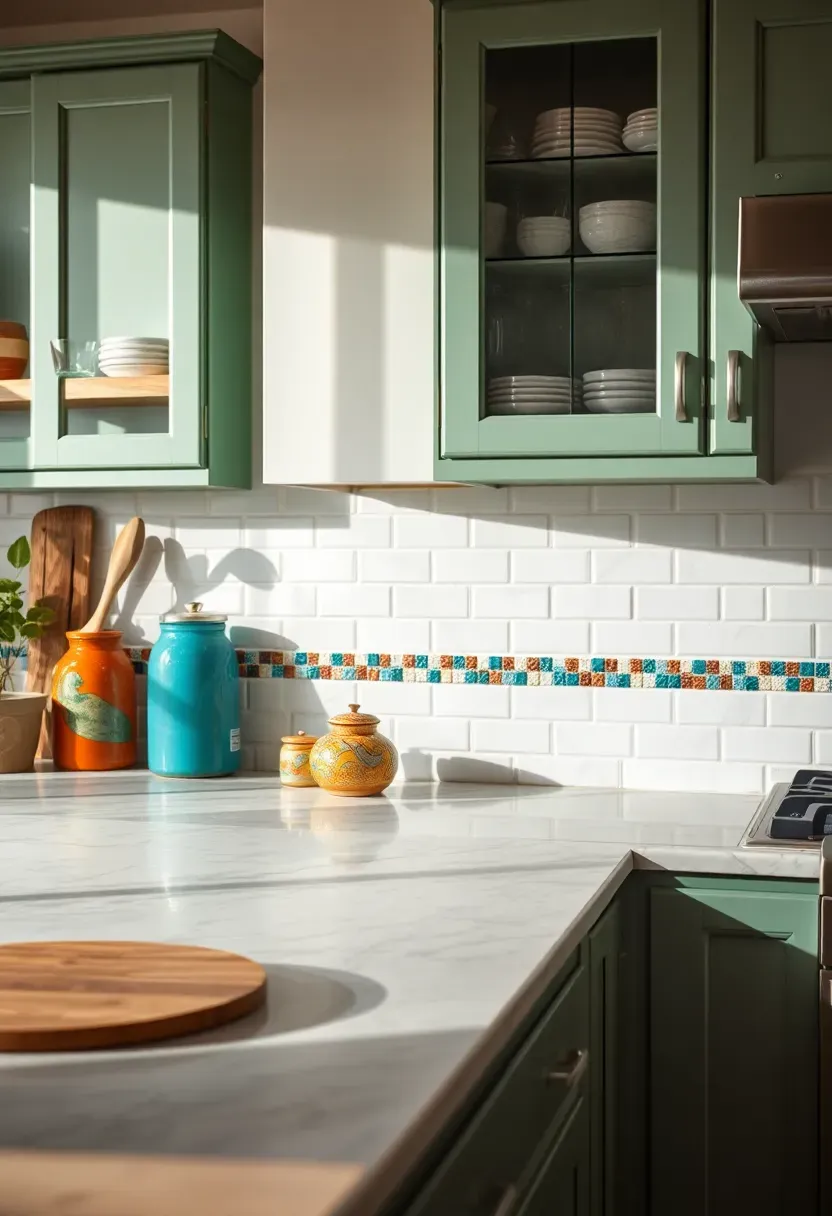
23. Mosaic Border Strip
A pre-mounted strip of mosaic tiles — usually 2 to 4 inches tall — placed at the top edge of the backsplash as a decorative band. Mosaics in glass, stone, metal, or mixed materials introduce color and texture in a contained way.
Tips
- Mesh-mounted mosaic strips are easier to install than individual pieces — they come in 12-inch lengths that align with standard tile layouts
- Use the mosaic border to introduce an accent color that connects to other elements in the kitchen (a dish towel, bar stools, pendant light)
- Keep the mosaic scale proportional to the field tile — tiny 1/2-inch mosaics next to large 4x12 subway tiles can look busy
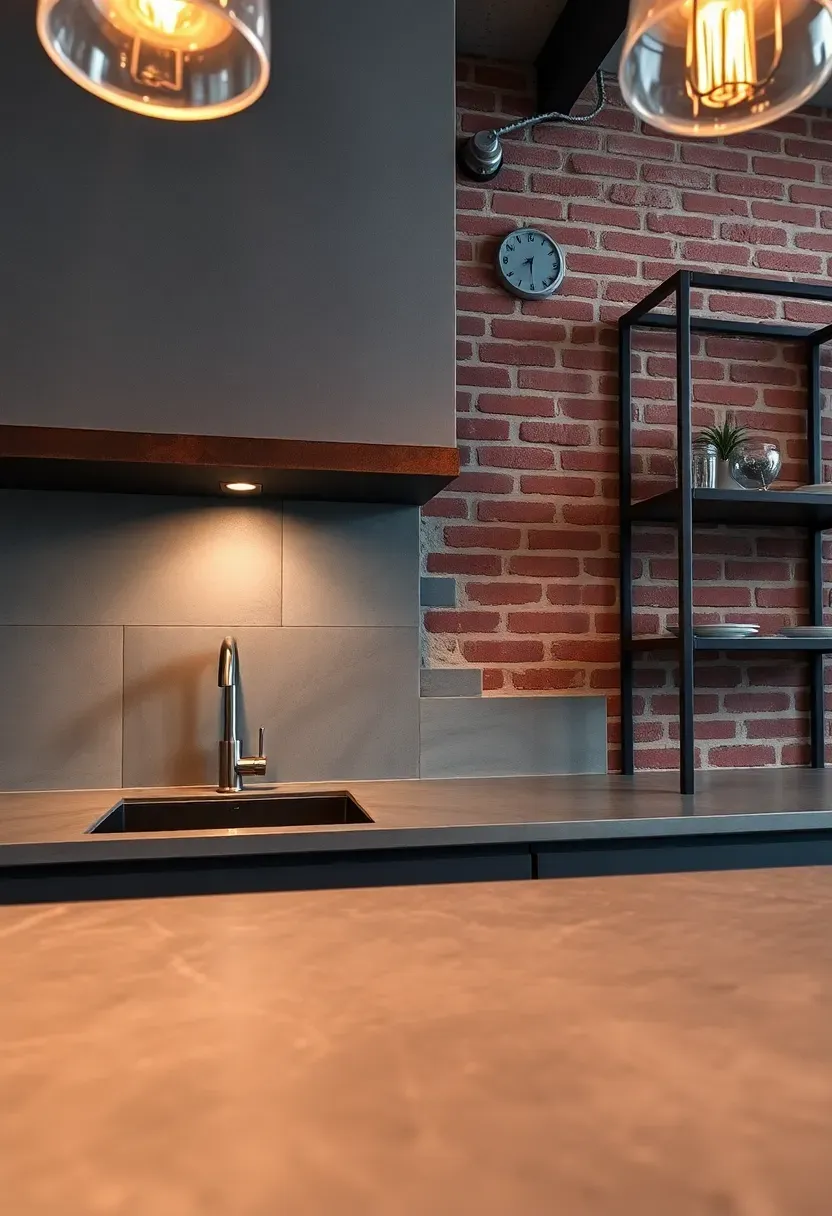
24. Custom Welded Steel Flat Bar
For industrial and loft kitchens, a custom-welded flat steel bar — hot-rolled, with mill scale or clear-coated — makes an intentionally raw, architectural edge detail. This isn't a product you buy off a shelf. A metal fabricator cuts and welds it to your dimensions.
How to execute it
- Measure the total linear footage needed and the tile thickness. Provide these measurements to a local metal shop.
- Specify the steel type: hot-rolled for a raw, dark patina look, or cold-rolled and powder-coated for a cleaner finish.
- The fabricator welds corners and drills mounting holes. Install with construction screws into studs, then tile up to the bar's edge.
Watch out
- Untreated steel will rust in a kitchen environment — at minimum, apply a clear polyurethane or wax sealant
- Hot-rolled steel leaves dark residue on anything it touches until sealed
- Cost depends on the fabricator but expect $8-20 per linear foot for materials and welding
Recommended
Items for this idea
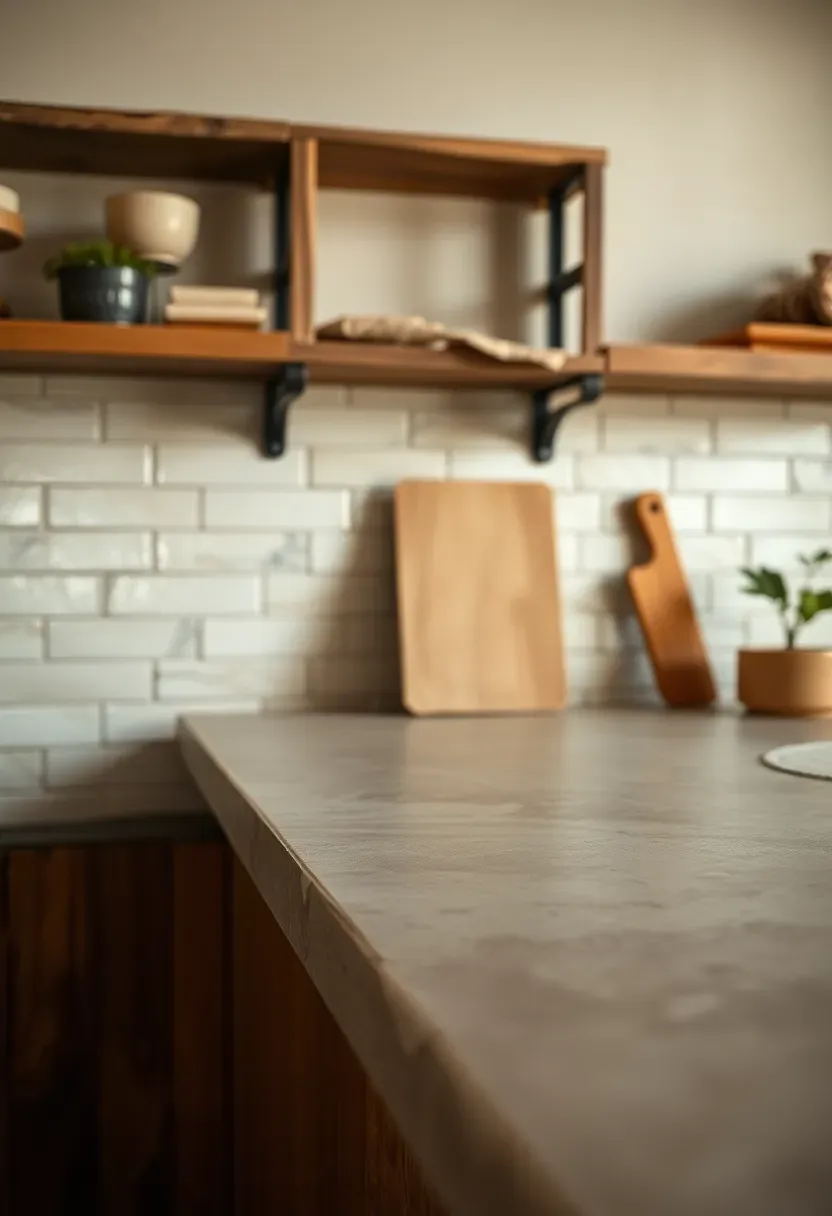
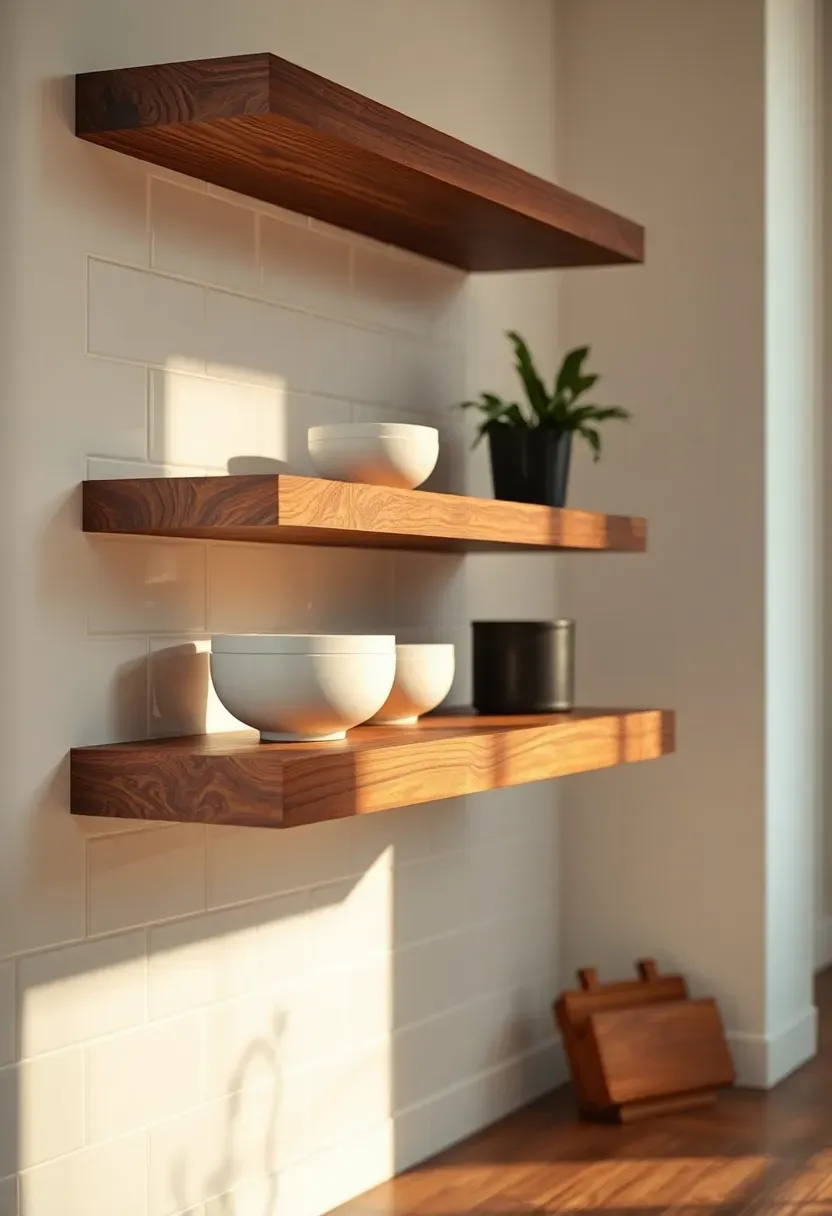
25. Floating Shelf as Edge Cover
Mount a floating shelf directly at the top of the backsplash, and the shelf's bottom edge covers the tile termination. You get functional storage and a finished edge from a single element. This works particularly well in kitchens without upper cabinets.
The practical angle
The shelf needs to be thick enough to visually anchor the backsplash — at least 1.5 inches. Thinner shelves look like they're hovering too far from the tile. Secure the shelf brackets into studs, not just drywall, since it will hold dishes and jars.
Tips
- Align the shelf's bottom edge flush with the tile top — even a quarter-inch gap between them creates a dust-catching ledge
- Stained wood shelves over white tile is the most common combination; consider matching the shelf to your countertop material for cohesion
- Leave at least 15 inches of clearance between the countertop and the shelf bottom so small appliances fit underneath
Quick FAQ
Do I need edge trim on every backsplash? Not always. If the tile terminates at an inside corner (like where the backsplash meets a side wall), a clean caulk line is often sufficient. Edge trim is most important on exposed outside corners and at the top of the backsplash where the tile meets painted drywall.
Which backsplash edge trim works best with subway tile? Bullnose in a matching color is the most seamless option. If bullnose isn't available in your tile line, a Schluter Jolly in brushed nickel or matte black provides a clean, modern finish that works with most subway tile formats.
Can I add edge trim after the tile is already installed? Some options work retroactively — surface-mounted flat bars, wood trim caps, and floating shelves can all be added after tiling. However, tuck-behind profiles like Schluter Jolly and Rondec must be installed during the tiling process because one leg sits behind the tile in the thin-set.
What is the most affordable backsplash edge trim option? PVC edge trim and caulk-only finishing are the cheapest approaches, both under $3 per linear foot for materials. Painted aluminum J-channel falls in the next tier. Metal Schluter profiles and natural stone moldings sit at the higher end.
Does backsplash edge trim need to match the faucet finish? It doesn't have to, but consistency helps. If your faucet, cabinet pulls, and light fixtures are all brushed nickel, a brushed nickel trim strip ties everything together without drawing attention. Mismatched metals can work if the mix is intentional — but a chrome trim strip next to a brass faucet usually reads as accidental.
The right edge trim depends on three things: your tile, your budget, and how visible the edge actually is. For most kitchens, a Schluter Jolly or Rondec in a finish that matches your hardware handles 90% of situations well. If you're after something with more personality — pencil liners, glass bars, custom steel — those details reward the extra effort every time you walk into the room. Start with the edges that face you most and work from there.
Pinterest cover for 25 Backsplash Edge Trim Ideas for a Polished Finish
About the author
OBCD
CGI visualization and interior design content. We create detailed 3D renders and curate practical design ideas for every room in your home.