17 Basement Finishing Ideas
Most basements sit half-forgotten behind a door nobody opens willingly. Maybe yours has bare concrete walls, exposed joists overhead, and that unmistakable underground chill. But finishing a basement is one of the few home projects where you genuinely create new square footage without building an addition. The national average cost runs between $30 and $75 per square foot depending on finishes, and a typical 1,000-square-foot basement adds a usable room that appraisers increasingly count toward living area. The key is working with the space rather than fighting it — addressing moisture first, choosing materials rated for below-grade conditions, and planning lighting that compensates for minimal windows.
Here are 17 finishing approaches organized from foundational decisions like flooring and walls through ceiling treatments, lighting strategies, and full room layouts.
Table of Contents
- Luxury Vinyl Plank Flooring
- Stud-and-Drywall Partition Walls
- Drop Ceiling with LED Panels
- Epoxy-Coated Concrete Floor
- Painted Exposed Ceiling
- Egress Window Installation
- Recessed Can Lighting Grid
- Insulated Basement Wall Panels
- Carpet Tile Modular Flooring
- Built-In Wet Bar Area
- Basement Bathroom Rough-In
- Coffered Ceiling Treatment
- Open-Plan Multi-Zone Layout
- Daylight Simulation Light Wells
- Soundproofed Media Room Walls
- Heated Floor System
- Full Basement Suite with Kitchenette
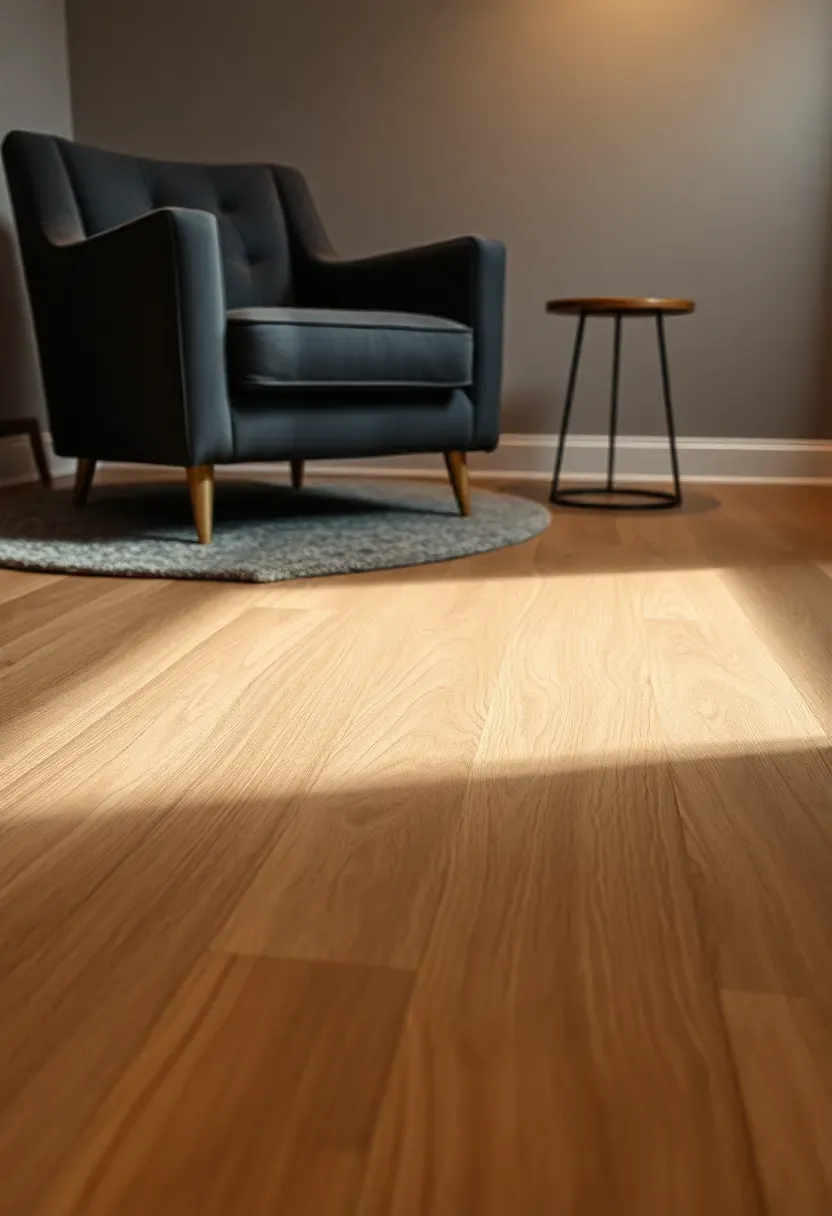
1. Luxury Vinyl Plank Flooring
Luxury vinyl plank has quietly become the default basement flooring choice, and for good reason. It handles moisture far better than hardwood or laminate — the core is waterproof, so seasonal humidity swings and minor seepage will not buckle or warp it. Installation clicks together over a thin underlayment without glue or nails, which means you can float it directly over concrete.
Tips
- Choose a rigid-core (SPC) plank rated for below-grade use rather than flexible WPC, which can telegraph subfloor imperfections
- Run a calcium chloride moisture test before installing — anything above 3 lbs per 1,000 sq ft needs a vapor barrier underneath
- Stick with 5mm-plus thickness for better dent resistance from furniture legs
We picked a few things that go well with this idea: Art3d Peel and Stick Vinyl Plank (40-Pack) (★4.2), Thick Wood Grain Vinyl Flooring Roll (★4.0) and Art3d Rigid Core Vinyl Plank (36-Pack) (★4.5). As an Amazon Associate we earn from qualifying purchases.
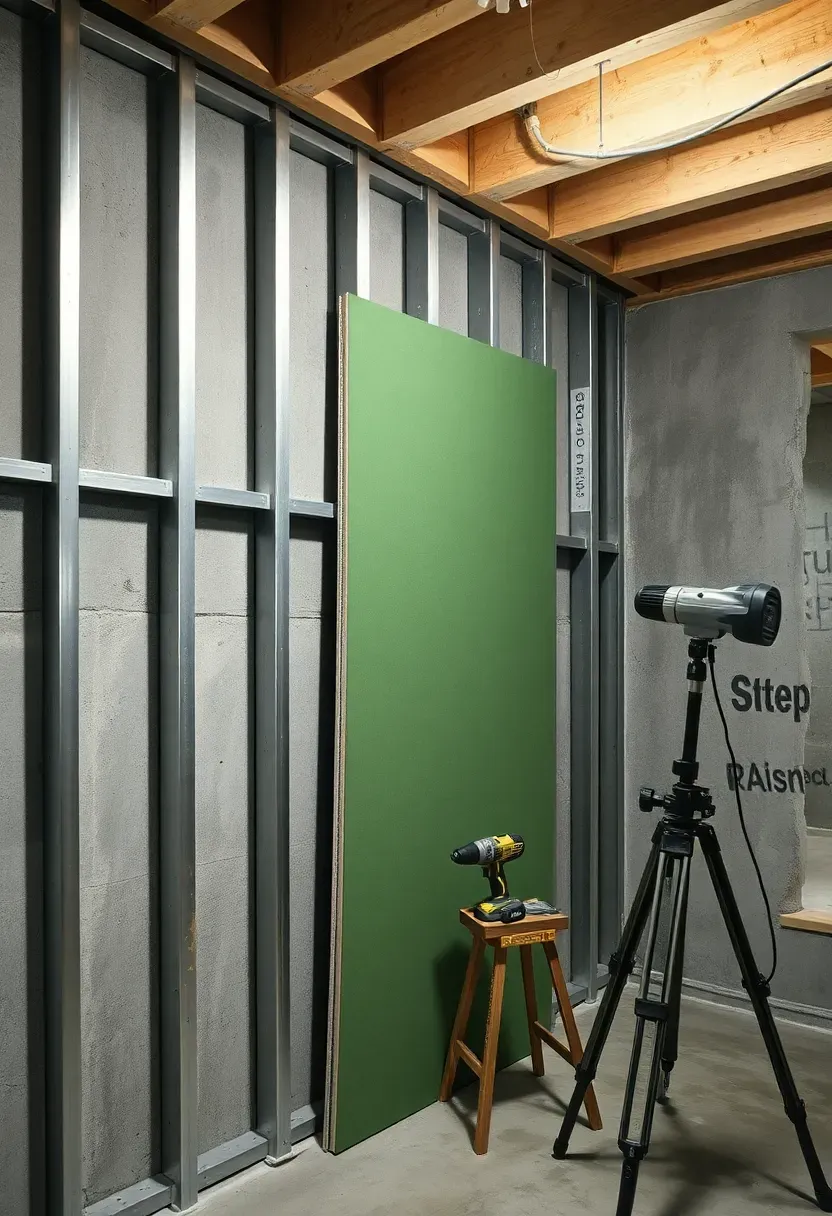
2. Stud-and-Drywall Partition Walls
Why framing matters below grade
Finishing basement walls is where most projects either succeed or develop mold problems three years later. The classic approach — wood studs against the foundation wall with fiberglass batts — has caused countless moisture disasters.
The smarter method
Use steel studs with a one-inch gap from the foundation, closed-cell spray foam or rigid foam board, then moisture-resistant drywall. This air gap lets any condensation drain to the floor rather than soaking into your wall cavity. Total cost per linear foot runs about $15 to $22 including materials and labor. The payoff is walls that stay dry and mold-free long term.
Pros and cons
- Pro: Steel studs will not rot, warp, or feed mold the way wood can in damp environments
- Pro: You gain the option to run electrical wiring through stud knockouts without drilling
- Con: Steel framing costs roughly 15% more than wood and requires different fastening techniques
We picked a few things that go well with this idea: Amico 6-Inch LED Wafer Lights (12-Pack) (★4.7), Amico 6-Inch LED Wafer Lights (24-Pack) (★4.7) and Ensenior 6-Inch LED Recessed Lights (12-Pack) (★4.7). As an Amazon Associate we earn from qualifying purchases.
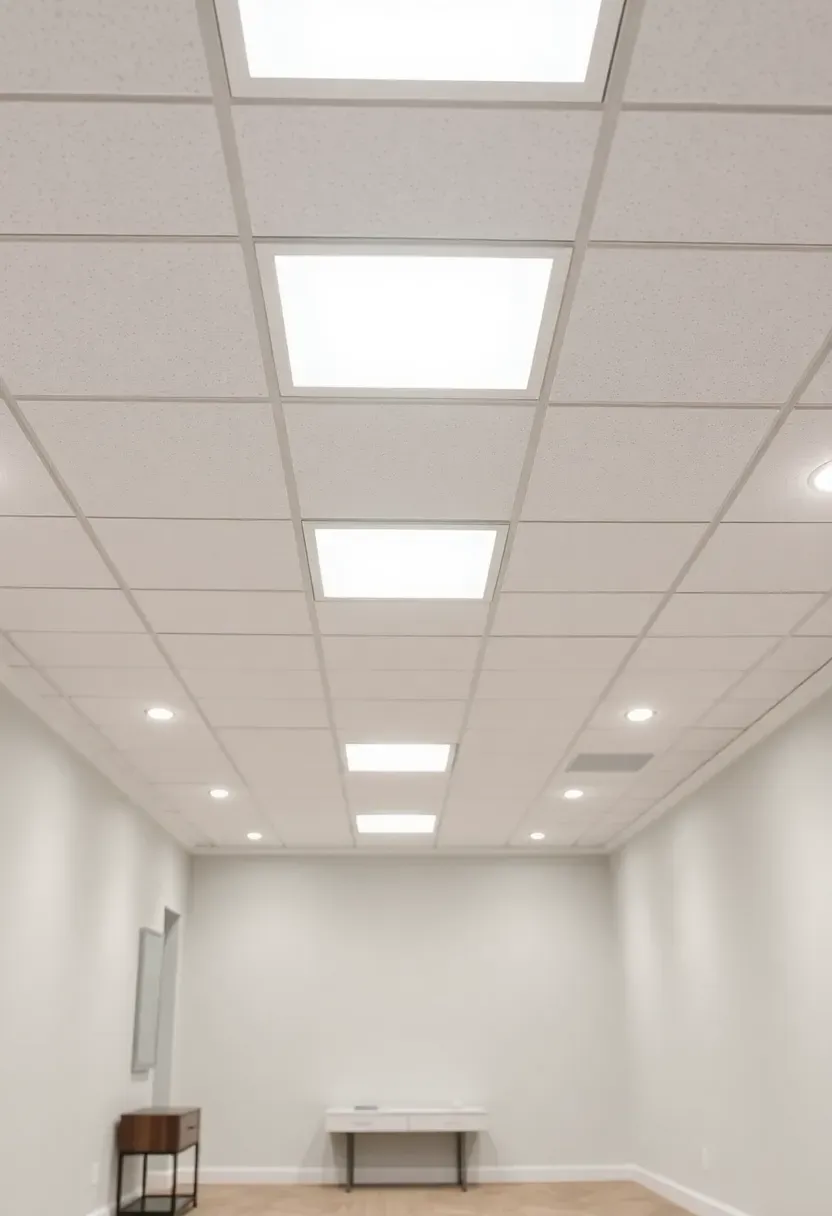
3. Drop Ceiling with LED Panels
Drop ceilings used to mean ugly office-style grids and flickering fluorescents. Current systems look substantially better. Flat LED panel lights sit flush within the grid and produce even, shadow-free illumination at around 4000K — close to daylight without the yellow cast of old basement lighting. The real advantage is access: every tile lifts out, so reaching plumbing, ductwork, and electrical remains easy after you finish the space.
Tips
- Use a narrow-profile grid system (9/16-inch face) in white or black for a cleaner look than standard 1-inch grid
- Alternate between solid tiles and LED panels at roughly one panel per 30 square feet for balanced light
- Choose tiles with an NRC rating of 0.55 or higher if you want the ceiling to dampen sound from the floor above
We picked a few things that go well with this idea: Rust-Oleum RockSolid Floor Coating Kit (2.5 Car) (★4.0), Gorilla Epoxy Floor Coating Kit (2.5 Car) (★4.3) and Rust-Oleum EpoxyShield Floor Kit (1 Car) (★4.2). As an Amazon Associate we earn from qualifying purchases.
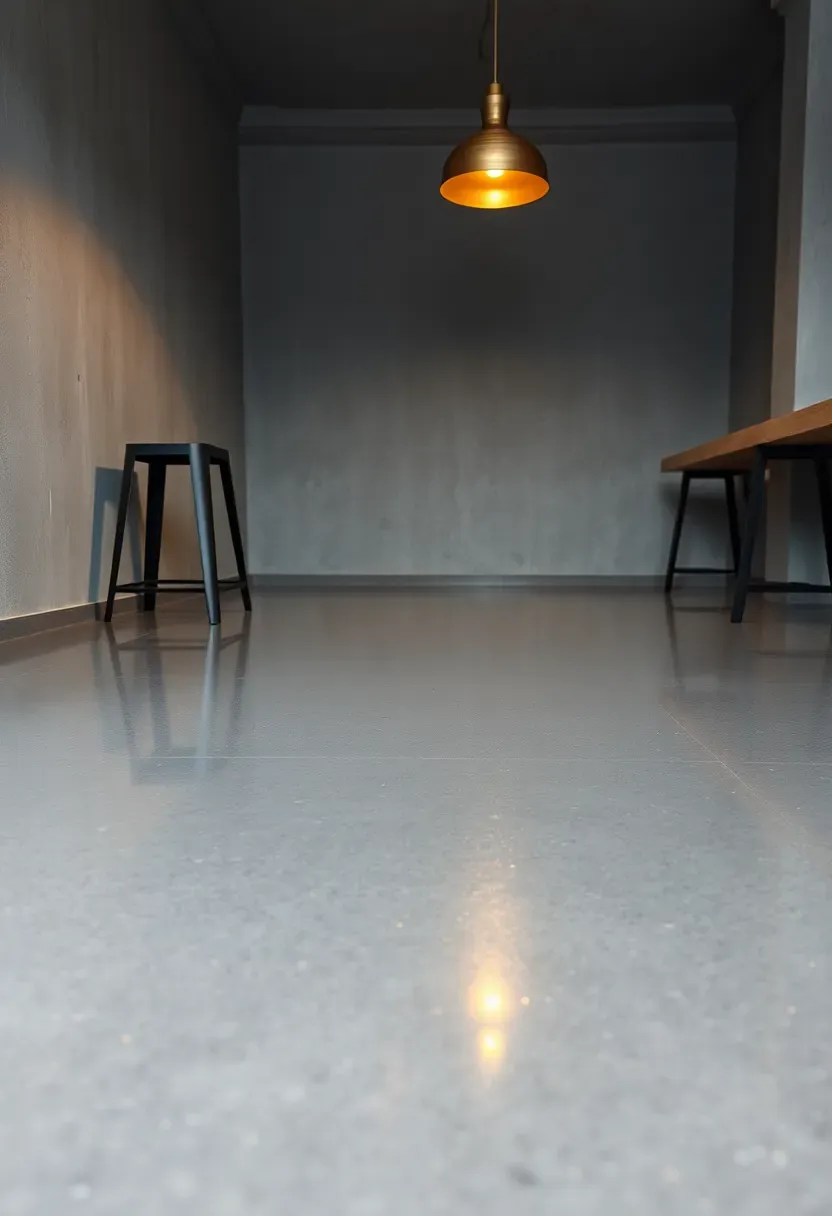
4. Epoxy-Coated Concrete Floor
The problem with bare concrete
Unfinished concrete dusts, stains easily, and feels cold on bare feet. It also looks like, well, a basement. But the slab itself is structurally sound and perfectly flat in most homes.
The epoxy solution
A two-part epoxy coating bonds directly to prepared concrete, creating a seamless, glossy surface that resists moisture, stains, and abrasion. Professional application runs $5 to $12 per square foot. DIY kits exist for about $2 to $4 per square foot, though surface prep — grinding, patching cracks, acid etching — makes up 70% of the work. Choose a solid color for a clean modern look or add vinyl flake chips for visual texture that also hides minor imperfections.
Pros and cons
- Pro: No subfloor needed, so you lose zero headroom — critical in basements with 7-foot ceilings
- Pro: The sealed surface prevents moisture vapor from migrating up through the slab
- Con: Application requires 48 to 72 hours of cure time where the floor cannot be walked on

Recommended
Items for this idea
5. Painted Exposed Ceiling
Painting the entire ceiling — joists, pipes, ductwork, wiring — a single flat color is the fastest way to finish overhead without losing headroom. Matte black is the most popular choice because it makes all the mechanical systems visually recede, creating a sense of depth. White works in basements with decent height, making the space feel airier. An airless sprayer is the only practical tool for this job; trying to brush and roll around pipes and wires would take weeks.
Tips
- Use a bonding primer first on any galvanized metal ductwork — latex paint peels off bare galvanized steel within months
- Wrap any fiberglass insulation before painting; paint does not adhere to it and fibers will shed into the spray
- Budget roughly $1.50 to $3 per square foot for a professional spray job including primer
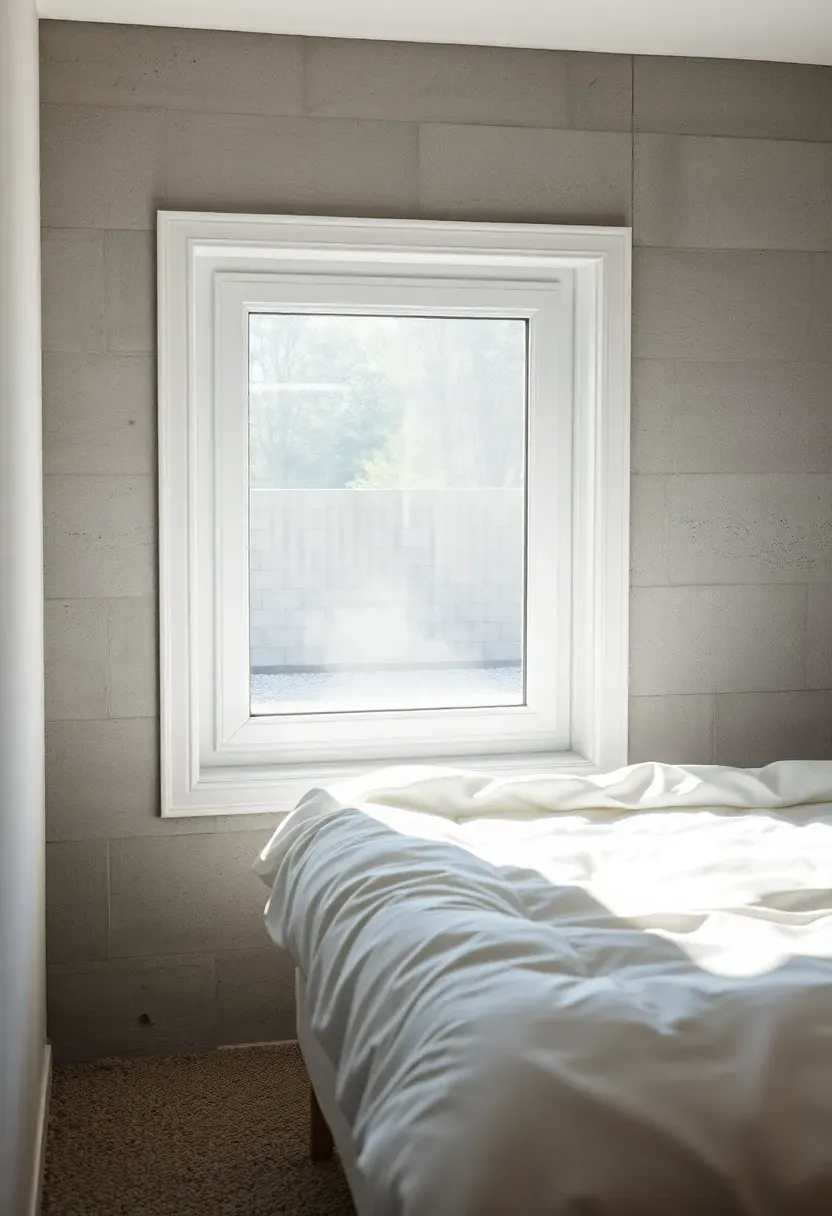
6. Egress Window Installation
If you plan to put a bedroom, home office, or any habitable room in your basement, building codes almost certainly require an egress window. The minimum opening is 5.7 square feet with at least 20 inches wide and 24 inches high of clear opening. Installation means cutting through the foundation wall, digging an exterior window well, and waterproofing thoroughly around the opening.
How to approach it
- Hire a structural engineer to verify the foundation section you plan to cut — load-bearing walls need temporary shoring and a properly sized header
- Have the well excavated and lined with a corrugated steel or precast well system, then backfill with gravel for drainage
- Install a window with a compression seal rated for below-grade use, then apply exterior waterproofing membrane around the entire opening
Watch out for
- Permits are non-negotiable here — unpermitted egress windows can void insurance claims and complicate future sales
Recommended
Items for this idea
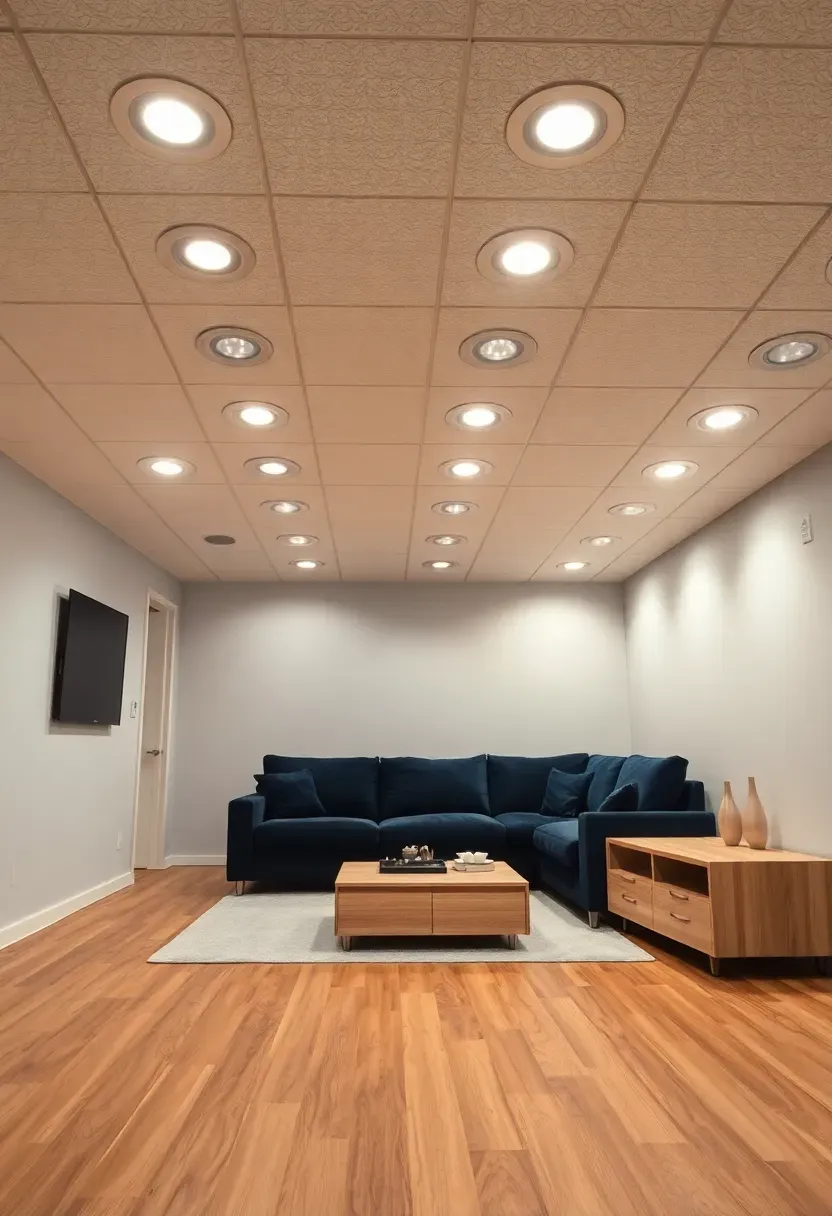
7. Recessed Can Lighting Grid
Recessed lights are the workhorse of basement lighting because they sit flush with the ceiling and consume zero headroom. A grid layout — typically on 6-foot centers for 8-foot ceilings — provides even ambient light across the room. Modern LED retrofit cans use 10 to 14 watts each and put out 800 to 1,100 lumens, enough that a 400-square-foot basement needs about eight to ten fixtures.
Tips
- Use IC-rated (insulation contact) slim-profile wafer lights if your ceiling is insulated — they mount directly to the joist with a junction box rather than a traditional housing can
- Wire separate zones on different switches so you can light the TV area differently from the bar or workspace
- Pick 3000K color temperature for living spaces — 4000K feels too clinical in a room meant for relaxing
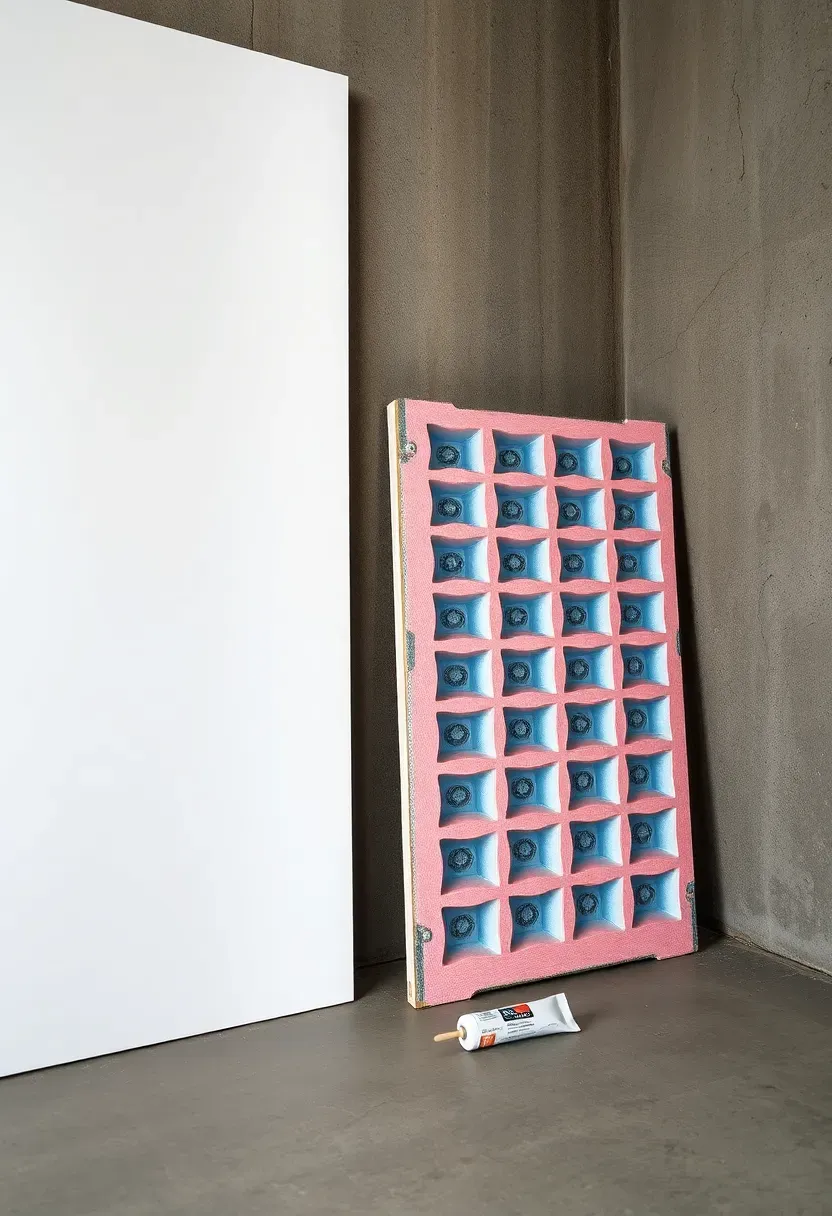
8. Insulated Basement Wall Panels
Why standard insulation fails below grade
Fiberglass batts trap moisture against foundation walls. Within a few years, you get hidden mold colonies growing behind your drywall. By the time you notice the musty smell, remediation costs can exceed the original finishing budget.
Panel systems that work
Rigid foam panel systems — products like InSoFast, Barricade, or ThermalBuck — combine insulation and a stud face in a single unit that glues directly to the foundation. Closed-cell foam does not absorb water, and the integrated channels allow wiring. Total installed cost is $3 to $6 per square foot. You screw drywall directly to the molded studs without additional framing.
Pros and cons
- Pro: R-values from R-8.5 to R-13 depending on panel thickness, noticeably improving basement comfort
- Pro: Installation is genuinely DIY-friendly with construction adhesive and a utility knife
- Con: You cannot run plumbing inside the panels — any supply or drain lines need to be surface-mounted or relocated
Recommended
Items for this idea
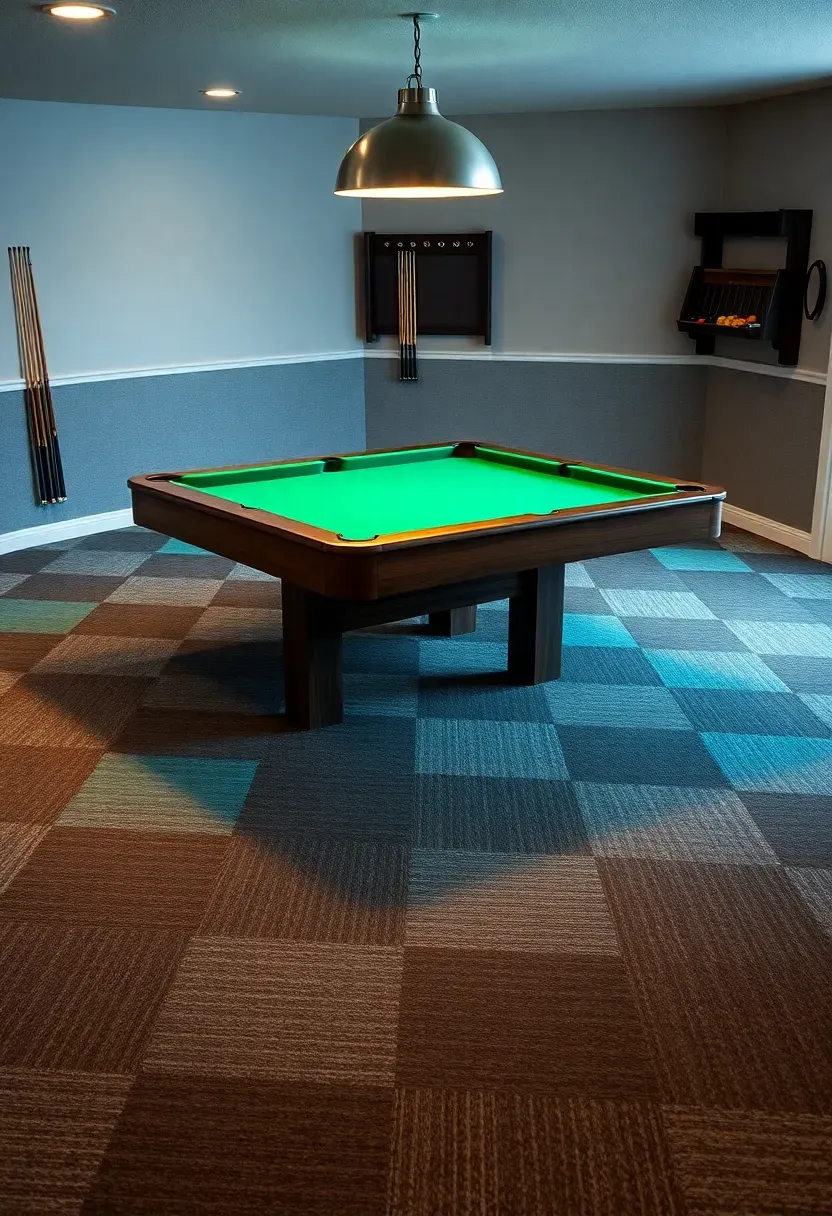
9. Carpet Tile Modular Flooring
Carpet tiles solve the two biggest complaints about basement flooring: cold concrete underfoot and the risk of losing an entire floor to water damage. Each 18-inch or 24-inch square adheres individually, so if a pipe leaks or a window well overflows, you pull up the affected tiles, dry the slab, and either replace those few tiles or lay them back down. Name-brand commercial carpet tiles from FLOR, Interface, or Shaw run $3 to $8 per square foot.
Tips
- Use a peel-and-stick tab system rather than full-spread adhesive — it allows individual tile removal without damaging adjacent tiles
- Mix two or three colors in a planned pattern for visual interest that also disguises wear and staining
- Place a dimpled moisture barrier membrane under the tiles if your slab shows any signs of vapor transmission
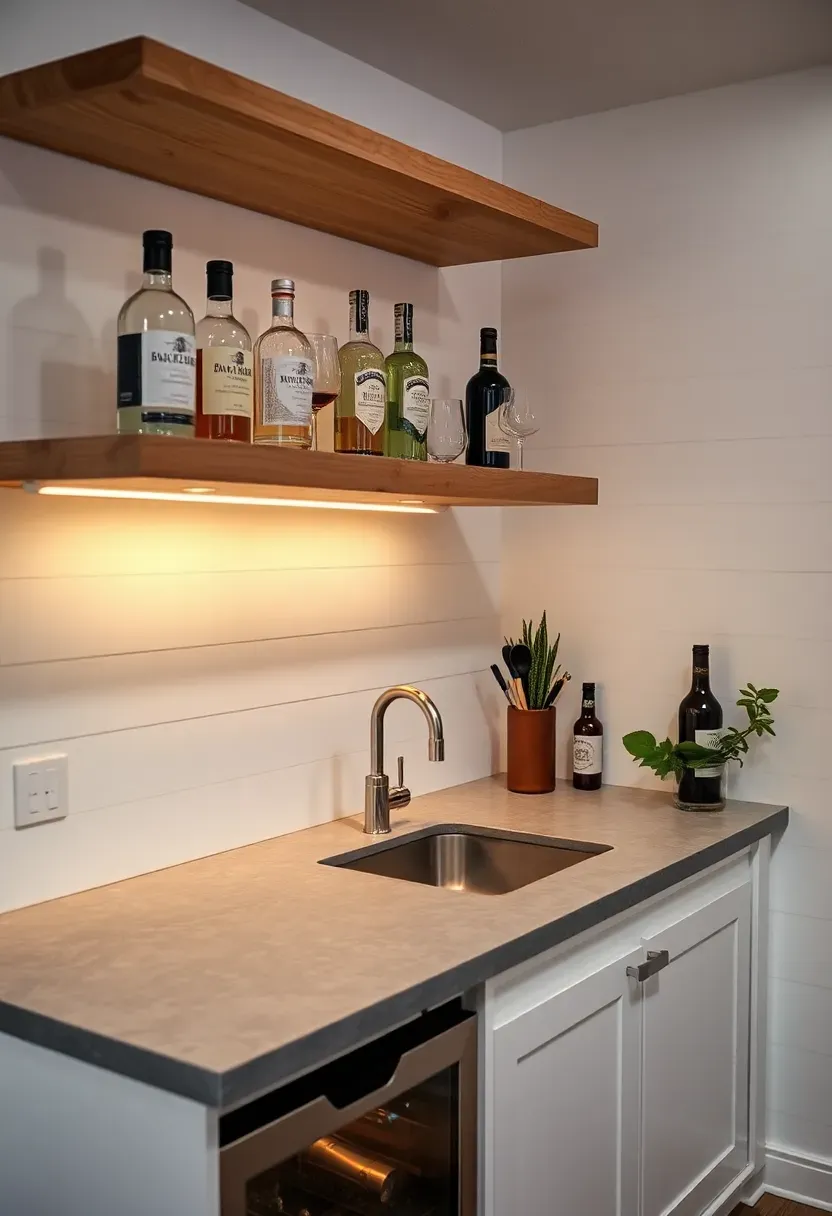
10. Built-In Wet Bar Area
A wet bar turns a finished basement from a room you visit occasionally into one that hosts gatherings. The minimum footprint is about 6 linear feet of counter with a small bar sink, undercabinet lighting, and a compact beverage refrigerator below. Running water supply and drain lines is the most involved part — you will likely need to tie into existing basement plumbing or install a sewage ejector pump if the drain sits below the sewer main.
How to plan it
- Position the bar near an existing plumbing stack to minimize the distance for water supply and drain connections
- Install a dedicated 20-amp circuit for the refrigerator and any blender or ice maker you plan to add
- Use quartz or granite for the countertop surface — laminate looks cheap in small bar formats and shows water damage quickly
Watch out for
- Check local codes on whether a basement bar requires a separate hand-wash sink if you plan to serve food
Recommended
Items for this idea
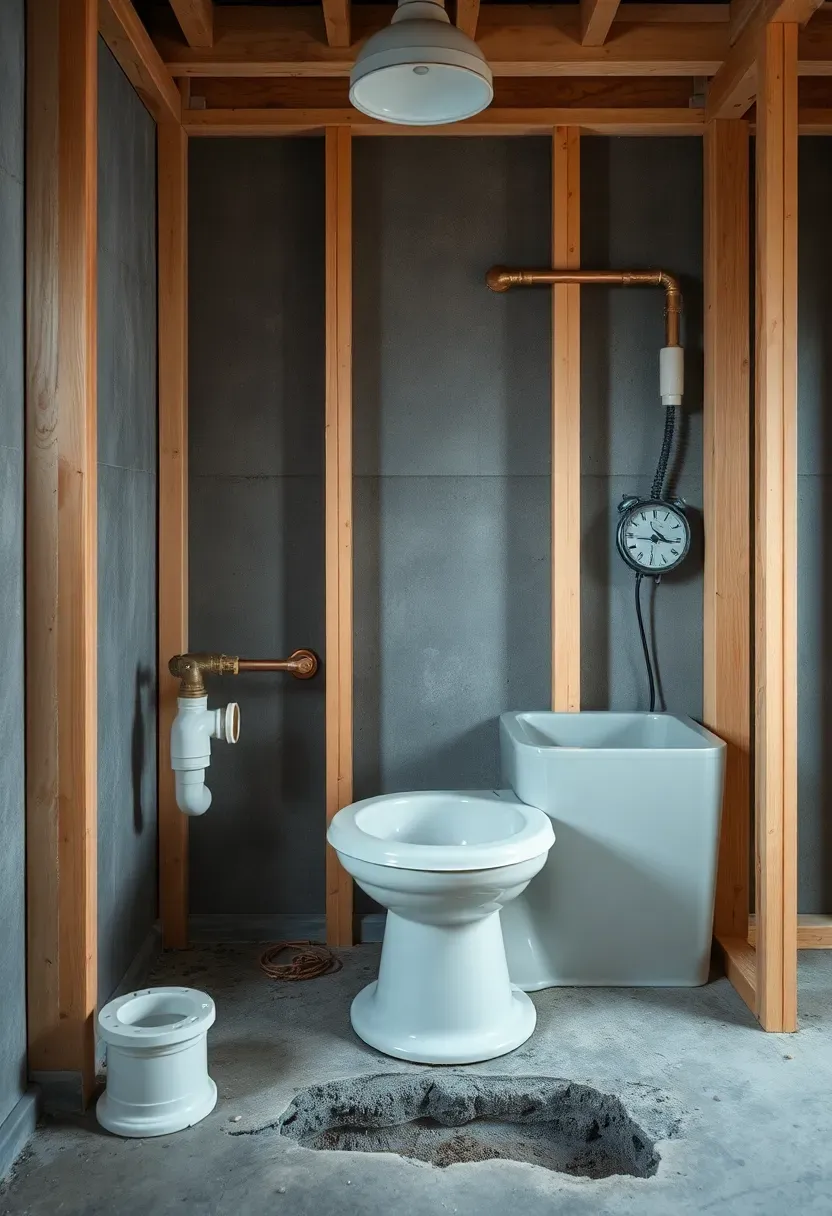
11. Basement Bathroom Rough-In
Adding a bathroom dramatically increases how useful a finished basement feels — and boosts resale value by an estimated 20 to 25 percent of the bathroom's construction cost. If your home was built with a rough-in (a capped drain and vent pipe in the slab), you are ahead of the game. If not, you are looking at either breaking concrete to install a below-slab drain or using an upflush macerating toilet system that pumps waste up to the main sewer line.
Tips
- A three-piece bathroom (toilet, sink, shower) needs a minimum of 36 square feet but works better at 45 to 50
- Macerating systems like Saniflo or Liberty Pumps cost $800 to $1,500 and avoid the need to cut the slab entirely
- Waterproof every surface in the shower area with a sheet membrane like Kerdi or RedGard — below-grade bathrooms have zero margin for leaks
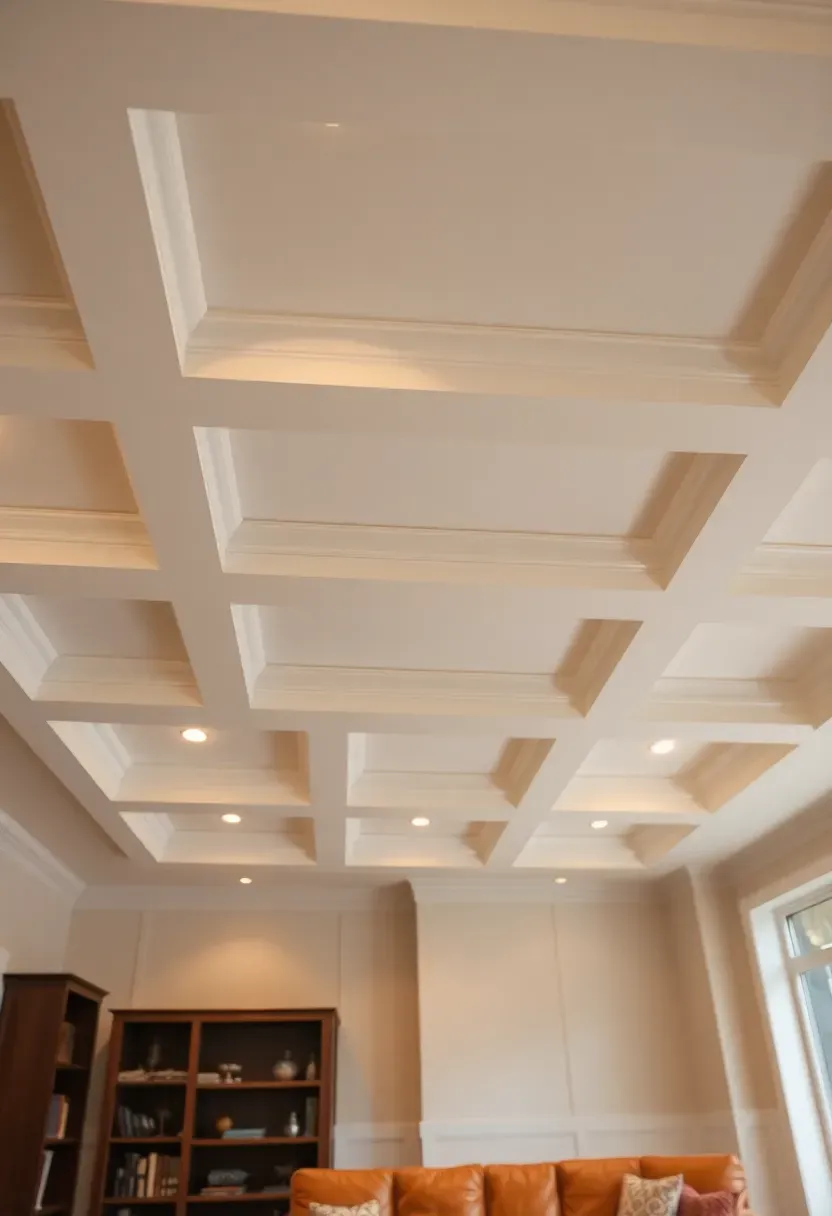
12. Coffered Ceiling Treatment
A coffered ceiling adds architectural weight to a basement room that might otherwise feel like a box. The grid of recessed panels framed by beams creates shadow lines and visual depth, which is exactly what low-ceiling basements need. The catch is headroom: traditional coffered ceilings require 9 to 10 feet of clearance. Shallow-profile kits designed for 8-foot ceilings exist — products like Tilton Coffered Ceilings use 2.5-inch-deep panels that maintain the look without eating significant height.
Tips
- Paint the recessed panels a shade lighter than the beams to enhance the depth illusion
- Integrate recessed lighting within the coffers rather than hanging fixtures that further reduce clearance
- Use lightweight MDF or polyurethane beams rather than solid wood to keep the load manageable on ceiling joists

Recommended
Items for this idea
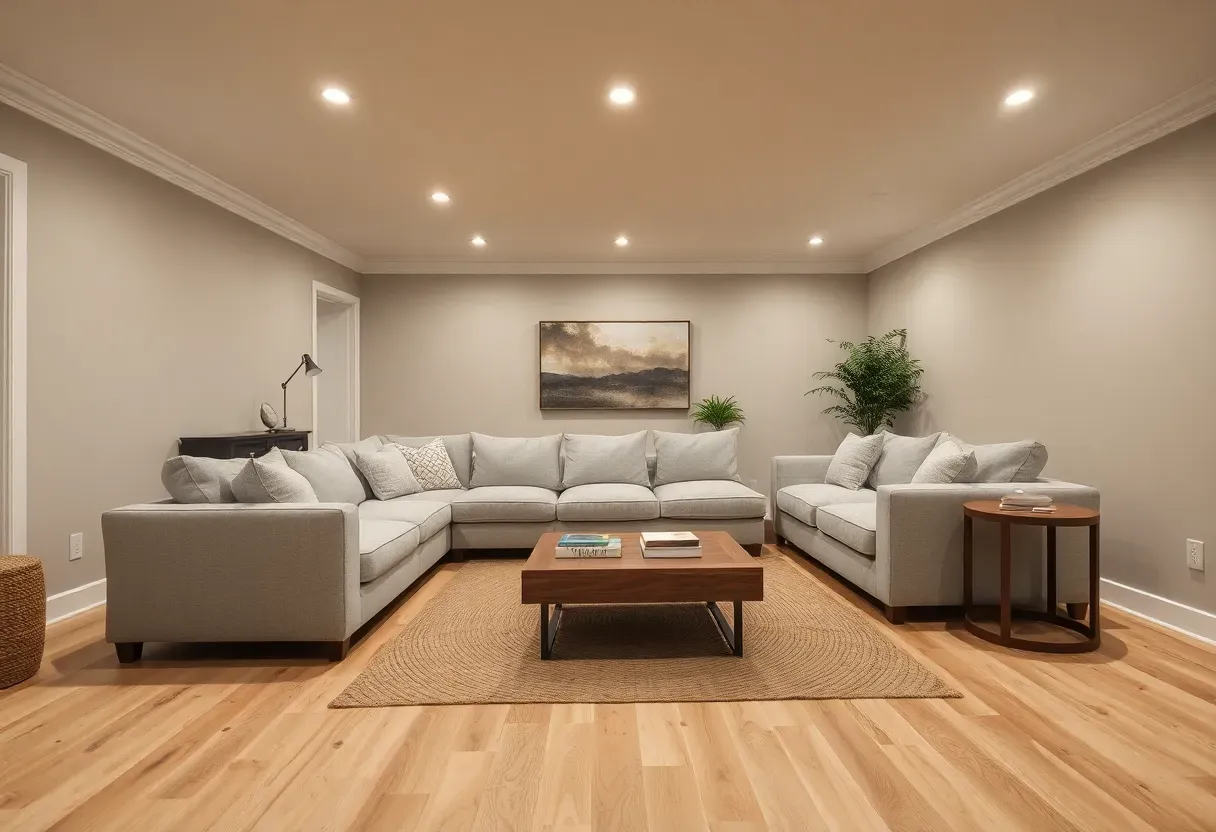
13. Open-Plan Multi-Zone Layout
The problem with too many walls
Chopping a basement into small rooms makes each one feel cramped and dark. You end up with a collection of windowless boxes instead of usable living space.
A zoned approach
Define areas with furniture placement, area rugs, ceiling height changes, or partial walls rather than full floor-to-ceiling partitions. A 1,000-square-foot basement can comfortably fit a lounge zone, a workspace nook, and a play or exercise area while maintaining sightlines that make the whole space feel larger. Use different flooring materials to subtly delineate zones — carpet tiles in the media area, vinyl plank in the general living area, rubber flooring in the workout corner.
Choose this if
- Your basement is under 1,200 square feet and you need it to serve multiple purposes
- You want to maximize the reach of any natural light from egress windows or window wells
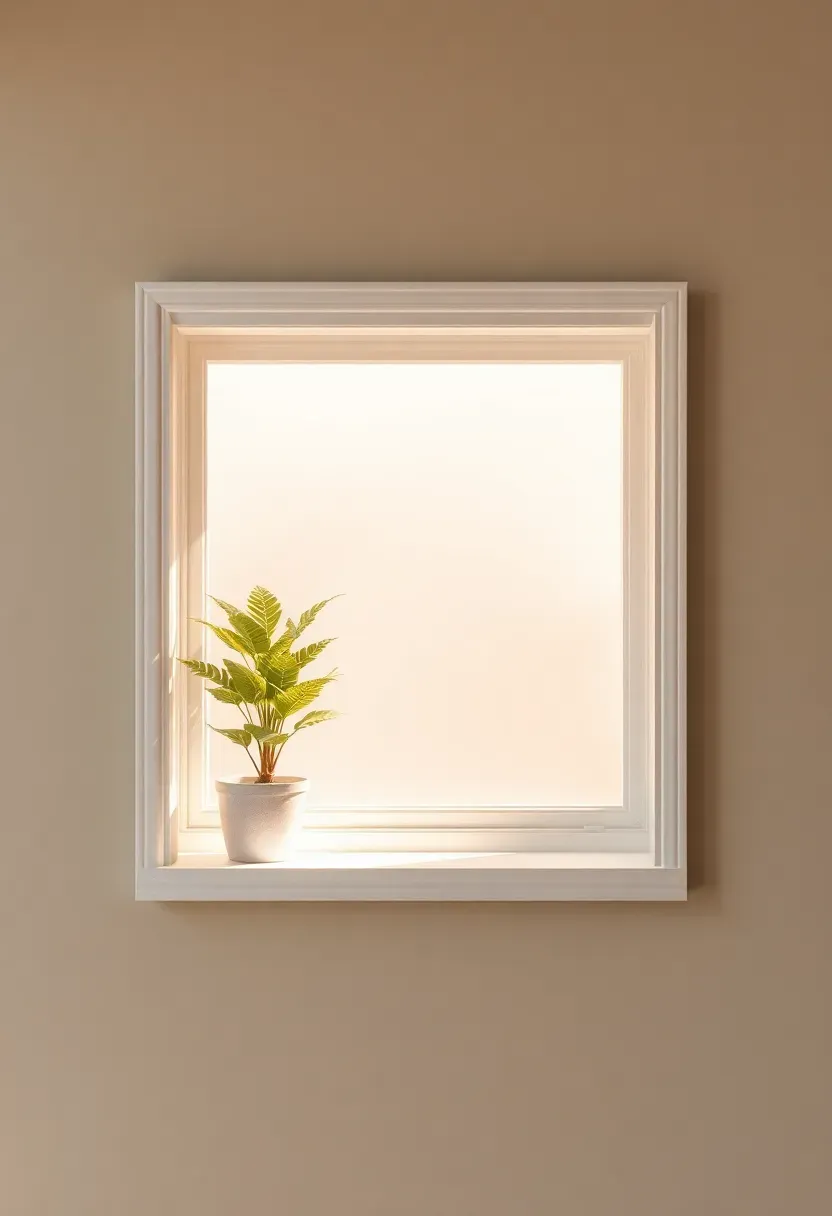
14. Daylight Simulation Light Wells
Basements suffer from a simple psychological problem: no natural light makes people uncomfortable spending extended time underground. Daylight simulation panels address this directly. These flat LED panels mount on the wall behind a frosted diffuser, mimicking the color temperature and intensity of an actual window. Higher-end systems like CoeLux or SunLike LEDs shift from warm morning tones to cooler midday light throughout the day, syncing with circadian rhythms.
Tips
- Frame the panel with actual window casing and add a faux sill to complete the illusion — the brain buys it faster than you would expect
- Position daylight panels on the wall where a window would logically be (facing the exterior side of the house)
- Pair with tunable white ambient lighting set to match the panel's color temperature so the room feels cohesive
Recommended
Items for this idea
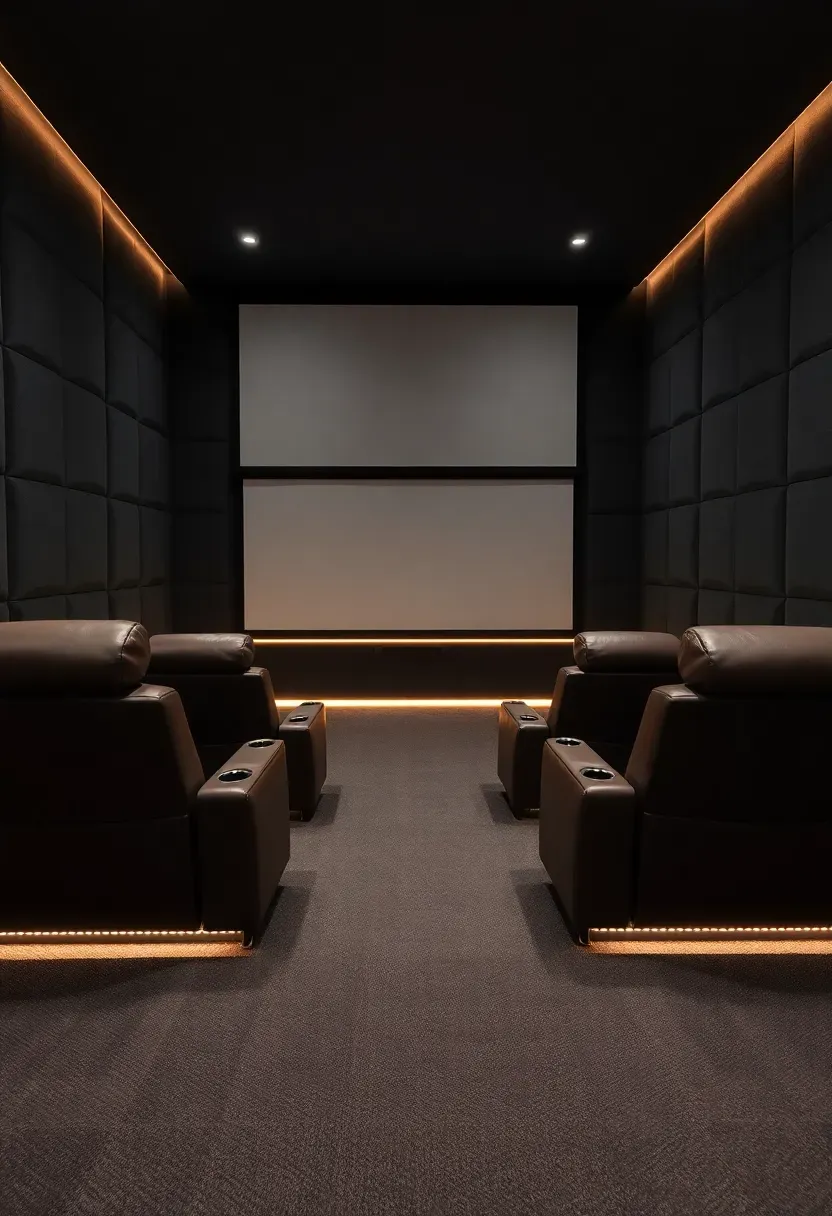
15. Soundproofed Media Room Walls
Why basements need sound treatment
Concrete and drywall create a reflective box. Sound bounces around endlessly, making dialogue muddy and bass overwhelming. Meanwhile, impact noise from the floor above — footsteps, dropped items — transmits directly through the joists.
Building a quiet room
The gold standard is a decoupled wall: resilient channel or staggered-stud framing with two layers of 5/8-inch drywall and Green Glue damping compound between them. This assembly blocks about 55 STC (Sound Transmission Class), comparable to a hotel room wall. For the ceiling, hat channel with sound isolation clips and double drywall achieves similar results. The total cost premium over standard drywall is roughly $2 to $4 per square foot.
Pros and cons
- Pro: You can run a full surround sound system at reference volume without disturbing the floor above
- Pro: Outside noise (footsteps, appliances) stays upstairs where it belongs
- Con: Decoupled walls and ceilings reduce room dimensions by 2 to 3 inches per side
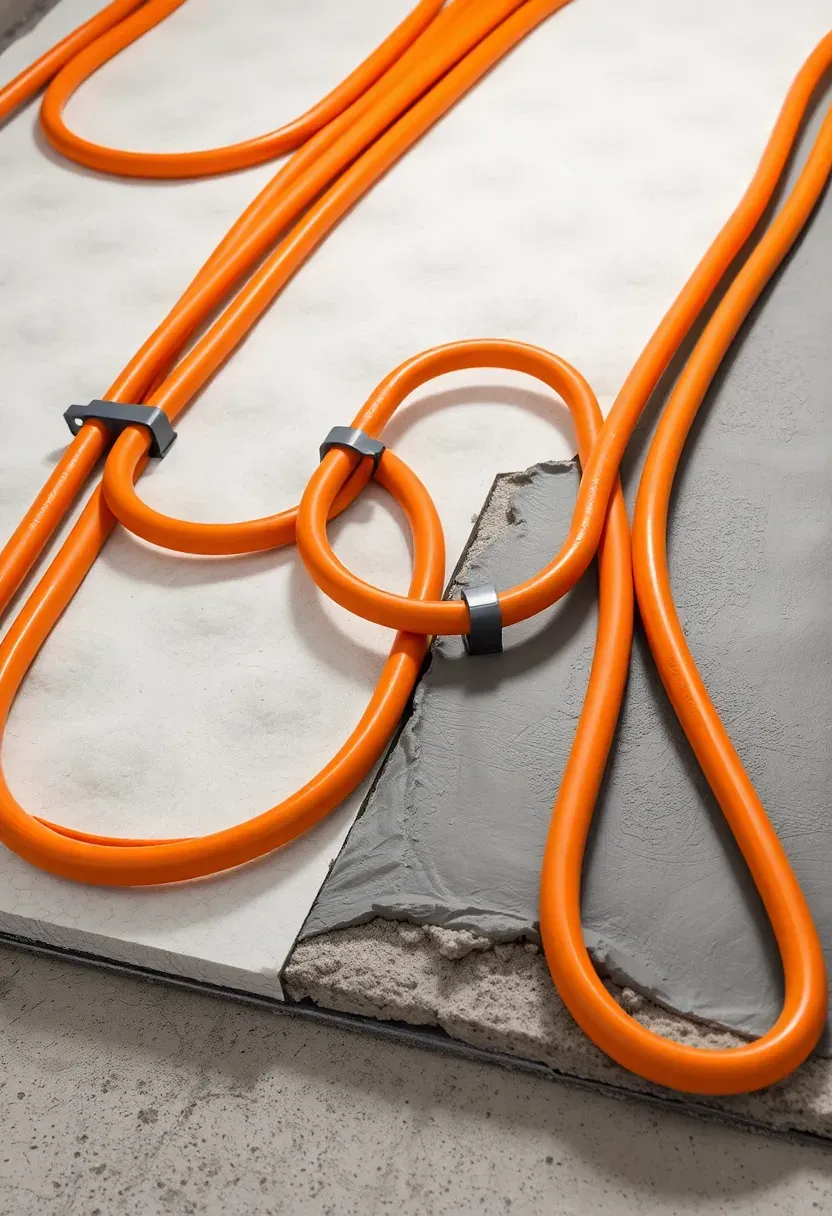
16. Heated Floor System
Cold floors are the number-one comfort complaint in finished basements. A radiant floor heating system embedded in or on top of the slab eliminates this entirely. Electric mat systems (like Schluter DITRA-HEAT or NuHeat) install under tile or stone and run on a dedicated circuit. Hydronic tubing embedded in a thin self-leveling overlay works under any flooring type but requires a boiler connection.
How to decide
- Electric mats — best for bathrooms and small zones under 200 square feet. Operating cost is roughly $0.50 to $1.00 per square foot per month.
- Hydronic tubing — better for whole-basement heating. Higher upfront cost ($8 to $15 per square foot installed) but lower operating costs long-term.
- Either type — requires a thermostat with a floor sensor, not just an air temperature sensor, to prevent overheating the slab.
Watch out for
- Electric mats cannot be cut or overlapped — measure your layout precisely and order the right size mat for each zone
Recommended
Items for this idea
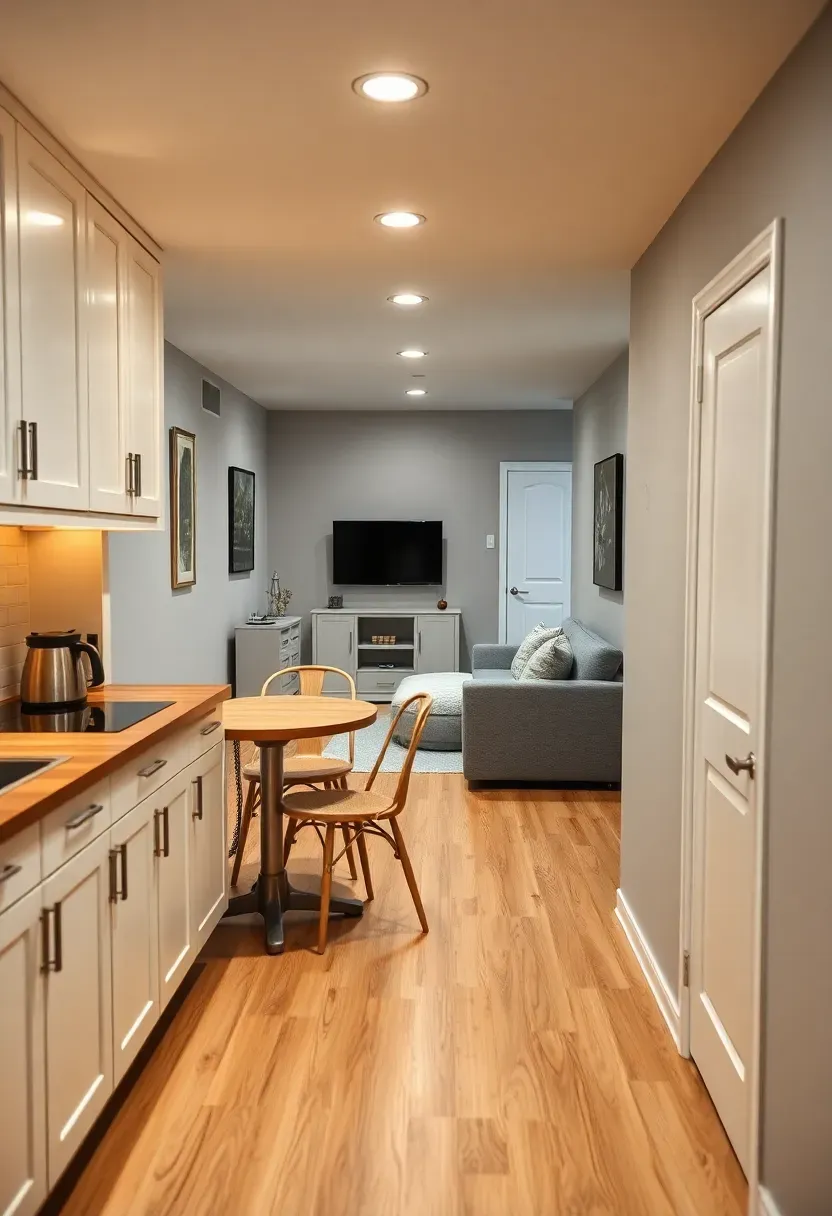
17. Full Basement Suite with Kitchenette
This is the most ambitious finishing project on the list and the one with the highest return. A legal basement apartment or in-law suite — bedroom, bathroom, kitchenette, and living area — can generate rental income, house aging parents, or give adult children independence without leaving the property. Costs range from $50,000 to $100,000 for a full build-out depending on finishes and local labor rates.
How to plan it
- Check zoning and building codes for accessory dwelling unit (ADU) regulations in your municipality — requirements for ceiling height, egress, parking, and separate entrance vary widely
- Plan the kitchenette around a 6- to 8-foot run of cabinets with a 24-inch range, compact dishwasher, and under-counter refrigerator
- Provide a separate exterior entrance if codes require it, typically through a walkout or a stairwell from the side of the house
Watch out for
- Electrical service to the basement suite may need its own subpanel or even a separate meter depending on local utility regulations
Quick FAQ
How much does it cost to finish a 1,000-square-foot basement? Budget $30,000 to $75,000 for a standard finish with drywall, flooring, lighting, and basic plumbing. The range depends heavily on whether you add a bathroom, the level of finish you choose, and local labor costs. DIY-friendly projects like painting the ceiling and installing vinyl plank can trim costs by 30 to 40 percent.
Do I need a permit to finish my basement? Almost always, yes. Any structural, electrical, plumbing, or HVAC work requires permits in most jurisdictions. Framing walls and adding egress windows also trigger inspections. Skipping permits creates liability issues, insurance complications, and problems at resale when buyers request documentation.
Which basement finishing project adds the most resale value? A legal bedroom with an egress window and a three-piece bathroom consistently produces the best return. Appraisers can then count the basement square footage as finished living area, which directly increases the home's appraised value per square foot.
Can I finish a basement that has moisture problems? Yes, but solve the moisture first. Exterior waterproofing, interior drainage systems, and dehumidifiers need to be in place before any framing or flooring goes down. Finishing over active moisture issues guarantees mold and material failure within a few years.
Is a painted open ceiling cheaper than a drop ceiling? Significantly. Painting an exposed ceiling costs $1.50 to $3 per square foot versus $4 to $8 for a drop ceiling system with LED panels. The tradeoff is access — a drop ceiling lets you reach plumbing and wiring easily, while a painted ceiling means disassembly for any future repairs.
A finished basement pays for itself in two ways: daily quality of life and long-term home value. Start with moisture control and insulation, then build from there. You do not need to tackle all 17 ideas at once. Many homeowners phase the work over two or three years — framing and electrical first, then flooring and ceiling, then finishing touches like a bar or media setup. Pick the two or three projects that match your budget this year, get the permits, and start reclaiming that square footage.
Pinterest cover for 17 Basement Finishing Ideas
About the author
OBCD
CGI visualization and interior design content. We create detailed 3D renders and curate practical design ideas for every room in your home.