17 Basement Wall Ideas Not Drywall
Drywall in a basement is a gamble. One slow pipe leak or a heavy rainstorm and you are ripping out soggy, mold-covered sheets that cost you time and money twice over. Basements sit below grade, which means moisture is a constant — not a maybe. The good news is that plenty of wall materials handle humidity better than paper-faced gypsum board, look more interesting, and install without the taping-and-mudding headaches that make drywall finishing such tedious work. Some of these options cost less than a full drywall job. Others cost more but last decades without maintenance.
Here are 17 wall covering alternatives organized from budget-friendly DIY options to higher-end professional installations.
Table of Contents
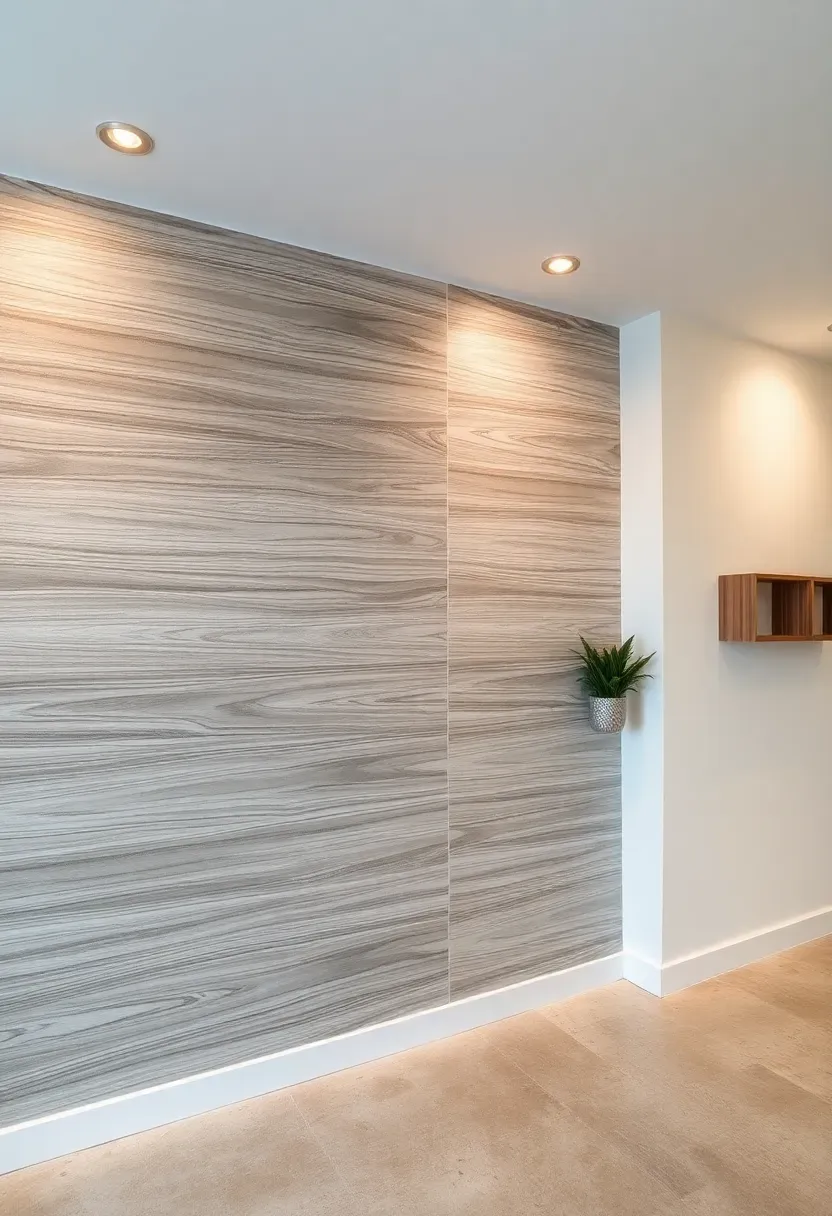
- Interlocking Vinyl Plank Walls
- Peel-and-Stick Reclaimed Wood Panels
- Painted Concrete with Masonry Sealer
- Shiplap Pine Boards
- PVC Wall Panels
- Corrugated Metal Sheeting
- Fabric-Wrapped Acoustic Panels
- Concrete Block with Lime Wash
- Faux Stone Veneer Panels
- Oriented Strand Board (OSB) Feature Wall
- Pegboard Utility Wall
- Fiberglass Reinforced Panels (FRP)
- Cork Wall Tiles
- Stacked Slate Ledger Panels
- Reclaimed Barn Wood Planks
- Cement Board with Skim Coat
- Modular Basement Wall System
1. Interlocking Vinyl Plank Walls
Luxury vinyl plank is not just for floors. The same click-lock planks you would use underfoot install horizontally on walls with construction adhesive and a few brad nails to hold them while the glue sets. LVP is 100% waterproof, which matters in a basement more than anywhere else in the house. A 200-square-foot wall costs roughly $150 to $400 in material depending on the brand. The planks cut easily with a utility knife — no saw dust, no mess. Most styles mimic wood grain convincingly enough that visitors will not realize it is vinyl unless they touch it.
Tips
- Apply a bead of construction adhesive in a zigzag pattern on the back of each plank
- Start from the bottom and work up so gravity helps while the adhesive cures
- Leave a quarter-inch expansion gap at corners and ceiling, covered by trim
We picked a few things that go well with this idea: Art3d Peel and Stick Vinyl Wood Plank (36-Pack) (★4.5), Luxdecor Real Wood Shiplap Wall Planks (10-Pack) (★3.9) and White Wood Peel and Stick Wallpaper Roll (★4.4). As an Amazon Associate we earn from qualifying purchases.
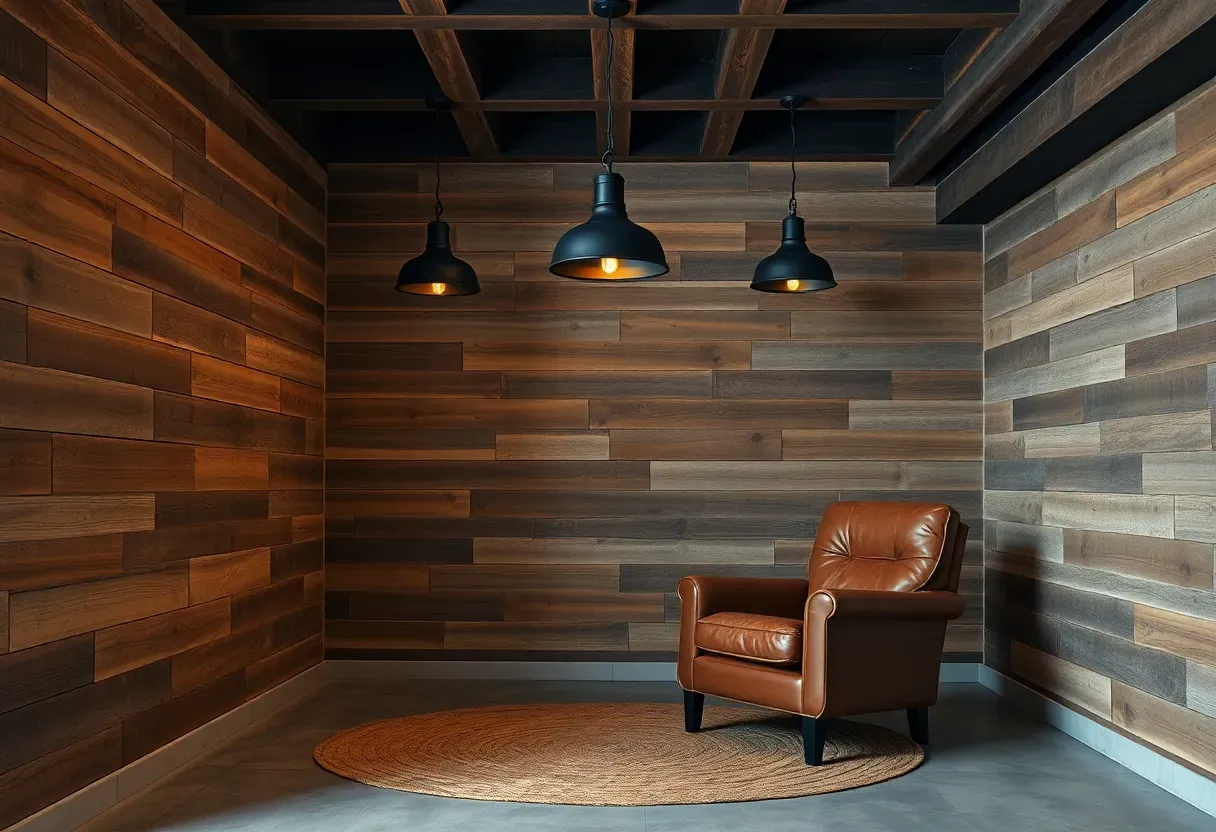
2. Peel-and-Stick Reclaimed Wood Panels
Why people pick this
Real wood texture, real wood smell, and an installation that takes a Saturday afternoon. Brands like Stikwood and Timberchic sell thin planks (about 3/16 inch thick) with adhesive backing that bonds directly to concrete, plywood, or even painted block walls.
How it works
Clean the wall surface, peel off the backing, press the plank in place. That is genuinely it. The planks are lightweight enough that the adhesive holds without mechanical fasteners on smooth surfaces. On rough concrete block, add a few dabs of construction adhesive for insurance. A 20-square-foot box runs $60 to $90. The wood is kiln-dried to below 8% moisture content, which reduces warping risk in damp environments.
Watch out for
- Adhesive fails on dusty or chalky surfaces — wire brush concrete and wipe with a damp rag first
- These panels are thin and dent easily, so avoid high-traffic stairwell walls
We picked a few things that go well with this idea: AirStone Spring Creek Stone Wall Covering (★4.5), Concord 3D Faux Stone Wall Panels (10-Pack) (★4.1) and ROOMTEC PU Faux Stone Veneer Panels (6-Pack) (★4.2). As an Amazon Associate we earn from qualifying purchases.
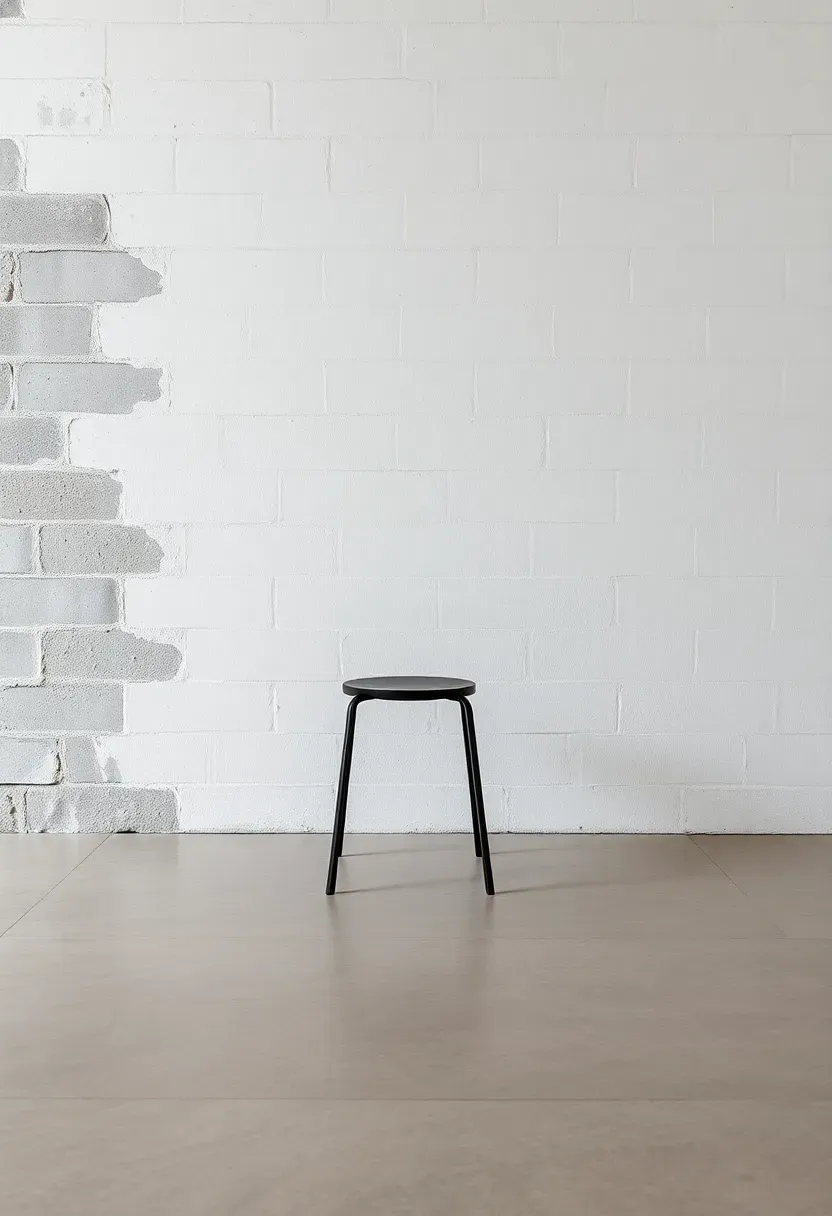
3. Painted Concrete with Masonry Sealer
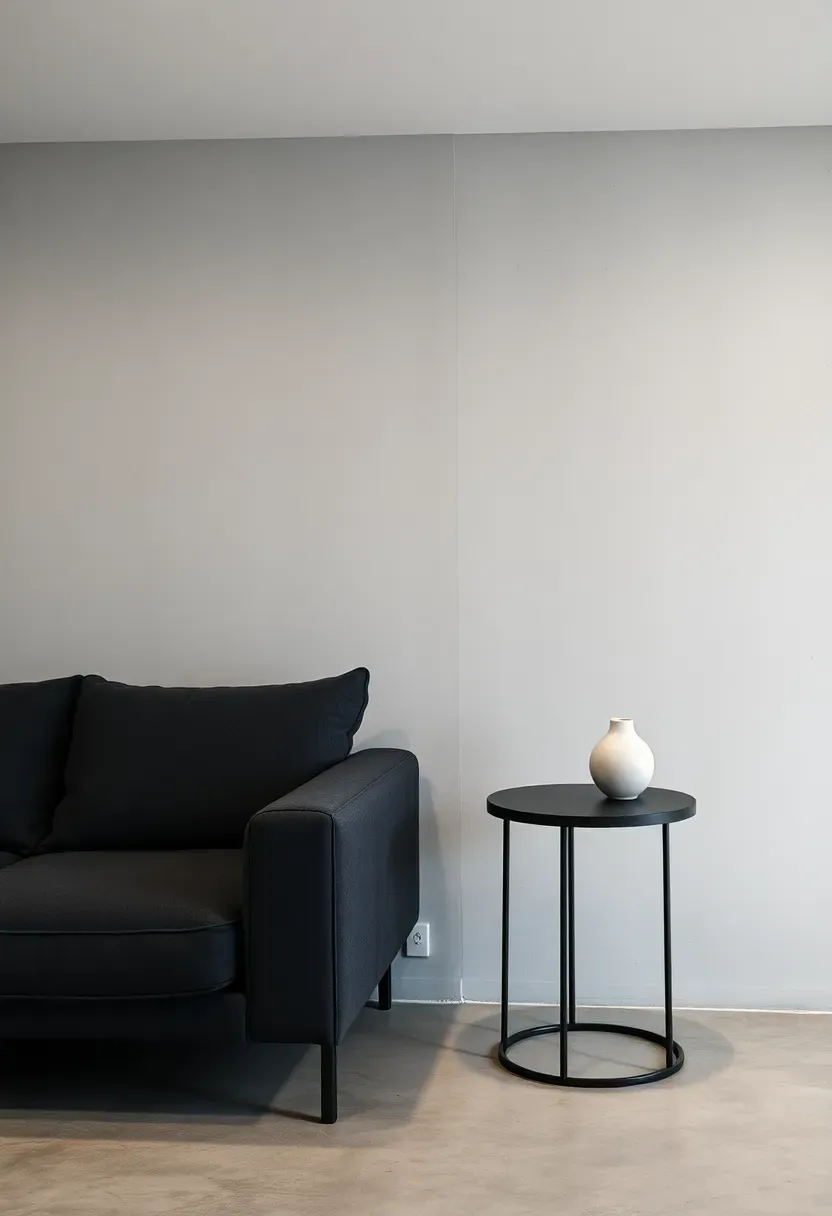
The cheapest option on this list and sometimes the best-looking one. A good masonry waterproofer like Drylok ($35 per gallon, covers 75 to 100 square feet) seals the pores in concrete block or poured walls against moisture penetration up to 10 PSI of hydrostatic pressure. Once sealed, you top-coat with regular latex paint in whatever color you want. The whole project for a 500-square-foot basement runs under $200 in materials. The finish has an honest, industrial quality that works well with exposed ductwork and pendant lighting. It does not pretend to be something it is not.
Tips
- Fill cracks wider than a hairline with hydraulic cement before sealing
- Apply Drylok with a thick-nap roller to push it into the block pores
- Two coats minimum with 24 hours between each
We picked a few things that go well with this idea: Art3d Slat Design 3D PVC Wall Panels (12-Pack) (★4.3), Art3d Decorative 3D White PVC Panels (20-Pack) (★4.6) and Marble Peel and Stick PVC Wall Panels (22-Pack) (★3.9). As an Amazon Associate we earn from qualifying purchases.
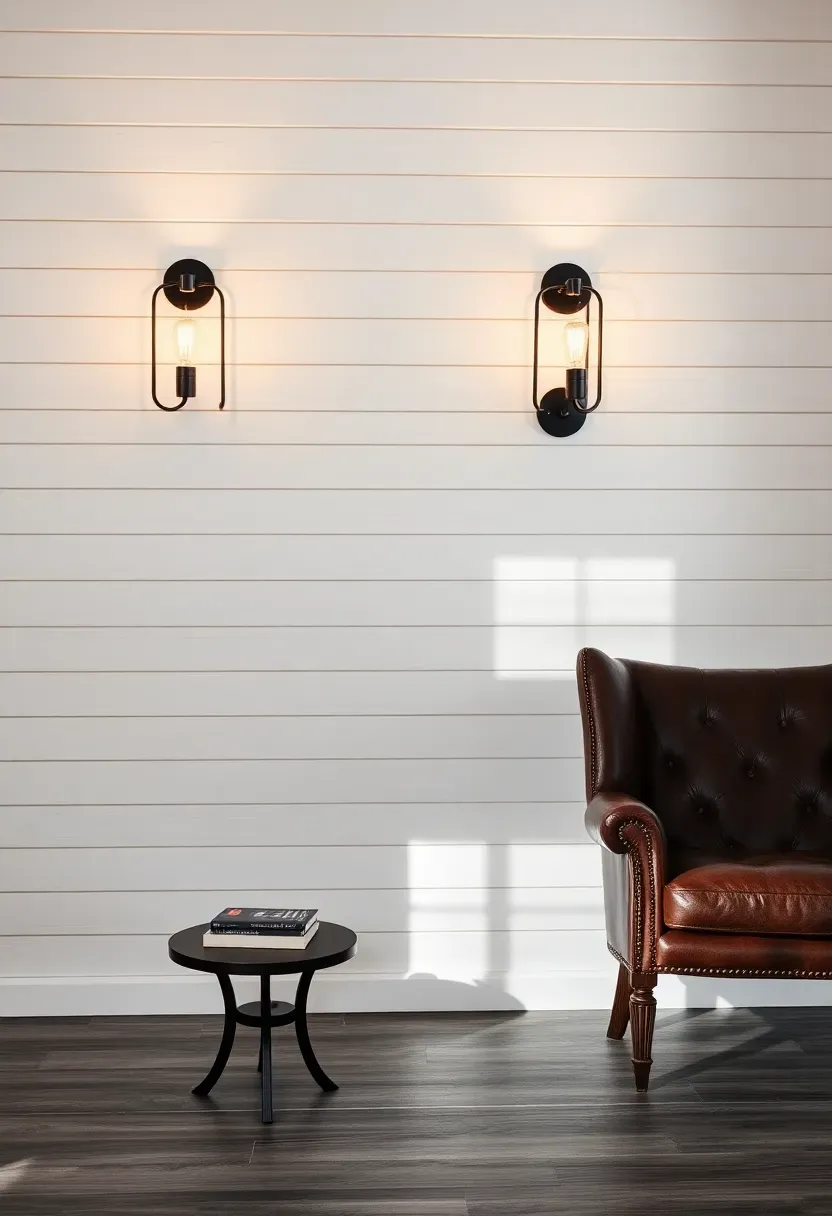
4. Shiplap Pine Boards
Step 1: Build the frame
Shiplap needs a flat nailing surface. Attach pressure-treated furring strips (1x3s) horizontally to the concrete wall at 16-inch intervals using Tapcon screws. Leave a half-inch gap between the strips and the floor for air circulation. This frame also creates a space to run electrical wiring before closing up the wall.
Step 2: Install the boards
Tongue-and-groove shiplap pine boards (typically 6 inches wide) nail to the furring strips with a brad nailer through the tongue at an angle. This hides the fasteners. Work from the bottom up and check level every fourth or fifth row. A 200-square-foot wall takes about 6 to 8 hours for one person.
Step 3: Finish
Prime and paint, or leave natural with a clear polyurethane coat. White-painted shiplap brightens dim basements and makes low ceilings feel taller when installed horizontally.
Watch out for
- Do not use untreated pine directly against concrete — moisture wicks through and causes rot
- Priming all six sides of each board before installation prevents cupping
Recommended
Items for this idea
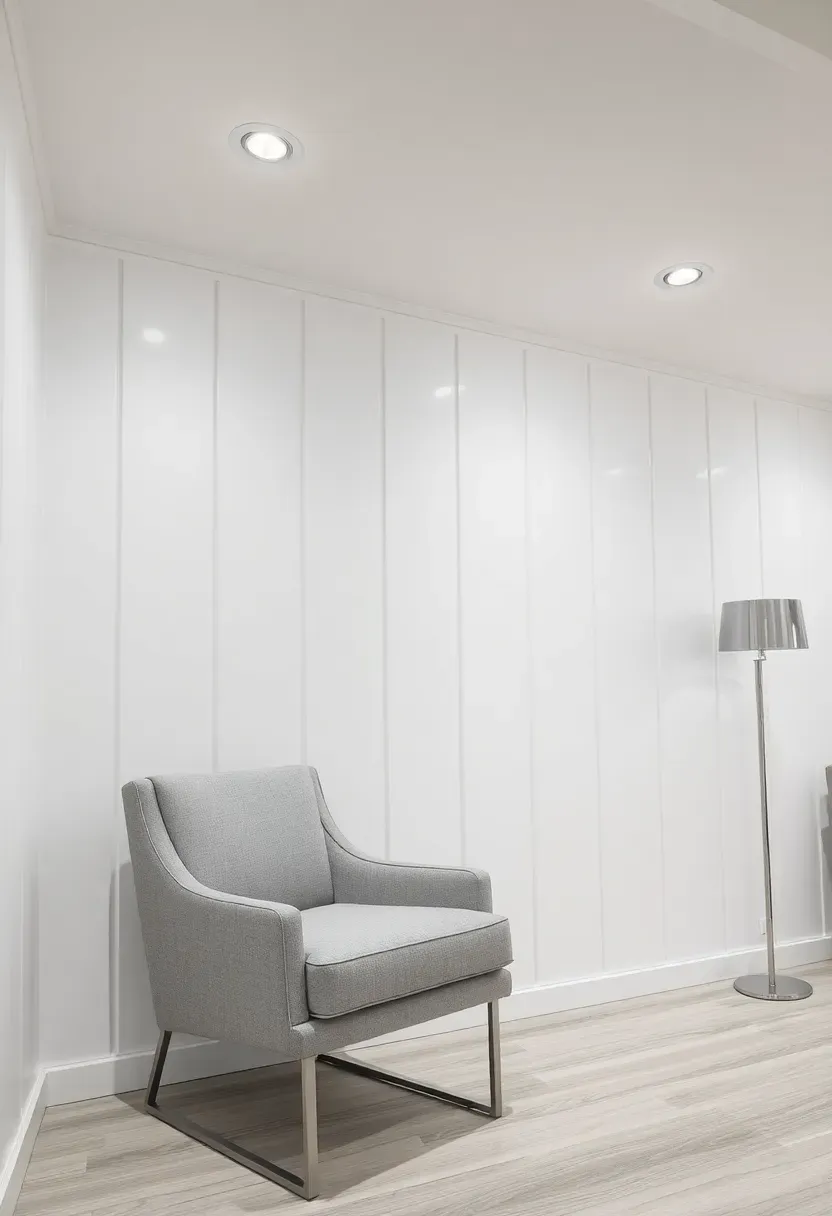
5. PVC Wall Panels
PVC panels will never absorb moisture, rot, or grow mold. They are made of the same material as plumbing pipes. Panels come in 4-foot-wide sheets or interlocking planks, often embossed to look like beadboard, tile, or smooth drywall. They glue or snap directly onto furring strips. Trusscore and Duramax are popular brands in the residential market, running $2 to $4 per square foot. The material wipes clean with a damp cloth, which makes it practical for basement workshop areas, laundry rooms, and anywhere that gets splashed. The trade-off: PVC panels look like PVC panels. They have a slight sheen that reads as plastic up close.
Pros and cons
- Pro: completely waterproof, mold-proof, and pest-proof
- Pro: lightweight, easy to cut with a circular saw or even heavy scissors
- Con: the plastic look bothers some people, and the panels dent under sharp impacts
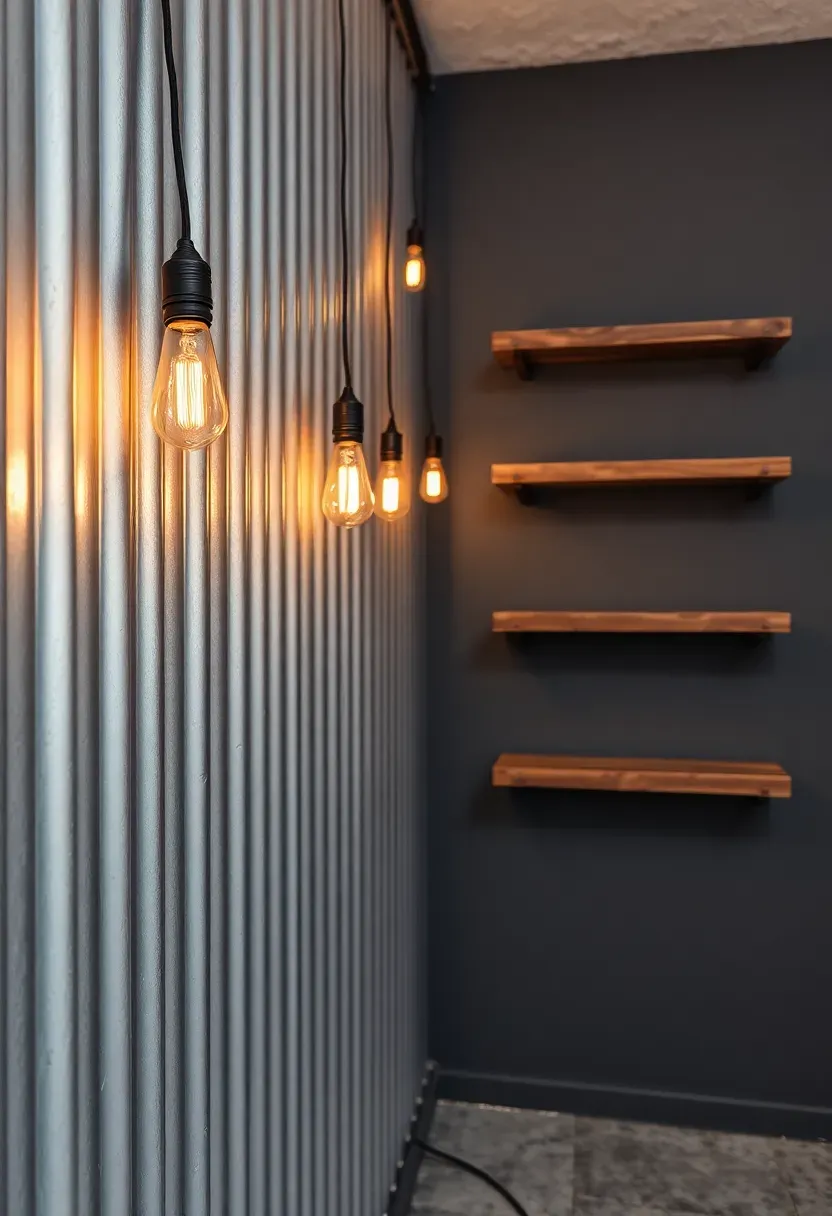
6. Corrugated Metal Sheeting
Barn tin on a basement wall brings industrial texture that no other material replicates. You can buy new galvanized corrugated panels at any home improvement store for about $15 per 8-foot sheet, or hunt for weathered panels from salvage yards if you want the rusted patina look. Screw the panels into furring strips with self-tapping metal screws. The corrugations create a natural shadow line that adds depth to the wall. Use it on one accent wall rather than the whole room — a full perimeter of metal makes a basement feel like a storage unit. Mix it with wood shelving or a warm-toned paint on adjacent walls.
Tips
- Wear heavy gloves during installation — cut metal edges are razor sharp
- Spray weathered panels with a clear sealer to stop rust from progressing
- Run the corrugations vertically for a taller visual effect in low-ceiling basements
Recommended
Items for this idea
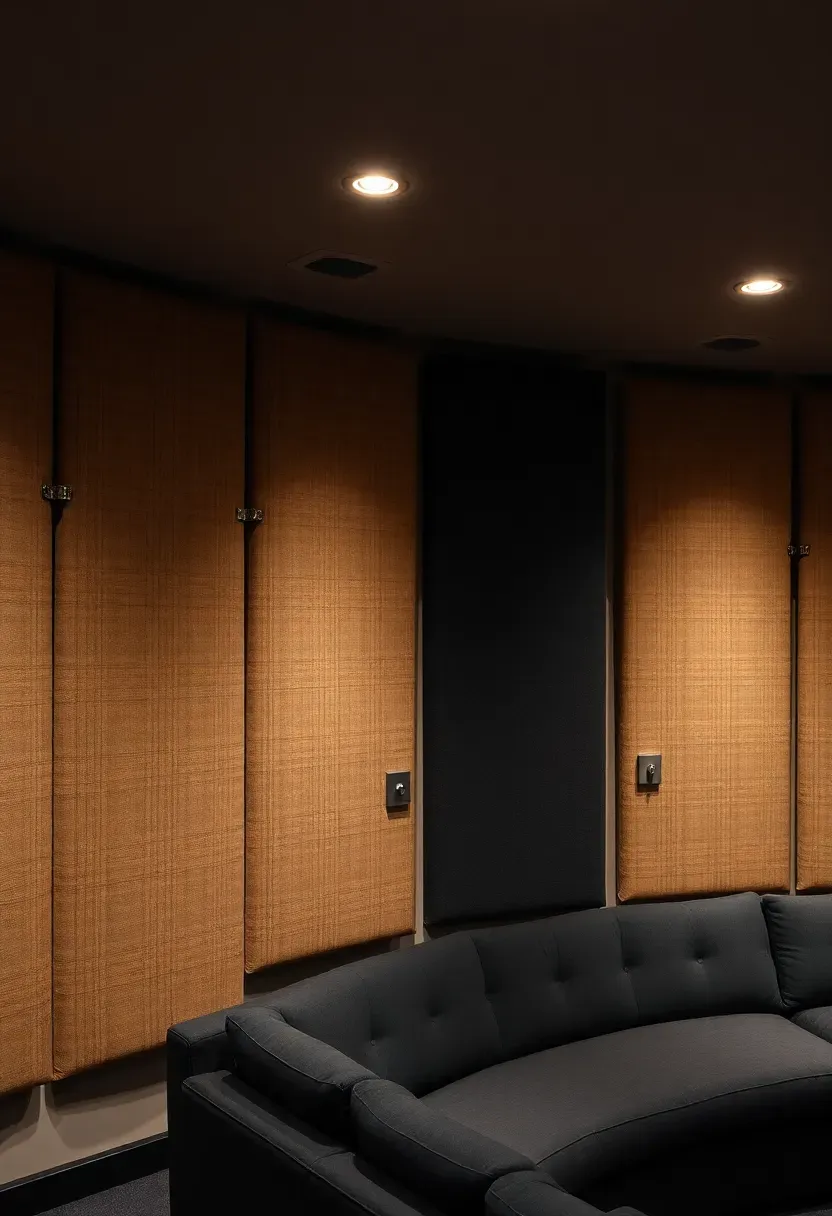
7. Fabric-Wrapped Acoustic Panels
The problem with bare basement walls
Concrete and block reflect every sound. Conversations echo, movie audio bounces around, and music sounds harsh. Drywall helps a little but not much.
The solution
Rigid fiberglass insulation boards (Owens Corning 703, 2 inches thick) wrapped in acoustically transparent fabric and hung on the wall absorb mid and high frequency reflections dramatically. A 2x4-foot panel costs $15 to $25 to build yourself — the fiberglass board is $8 to $12 and fabric is $3 to $6 per panel. Hang them with French cleats or Z-clips at ear height on two opposing walls for maximum effect. The fabric comes in hundreds of colors and textures, so they double as decor.
Pros and cons
- Pro: a noticeable acoustic improvement for home theaters, music rooms, and podcast recording
- Pro: lightweight, removable, and repositionable
- Con: fiberglass dust during construction requires a respirator and gloves
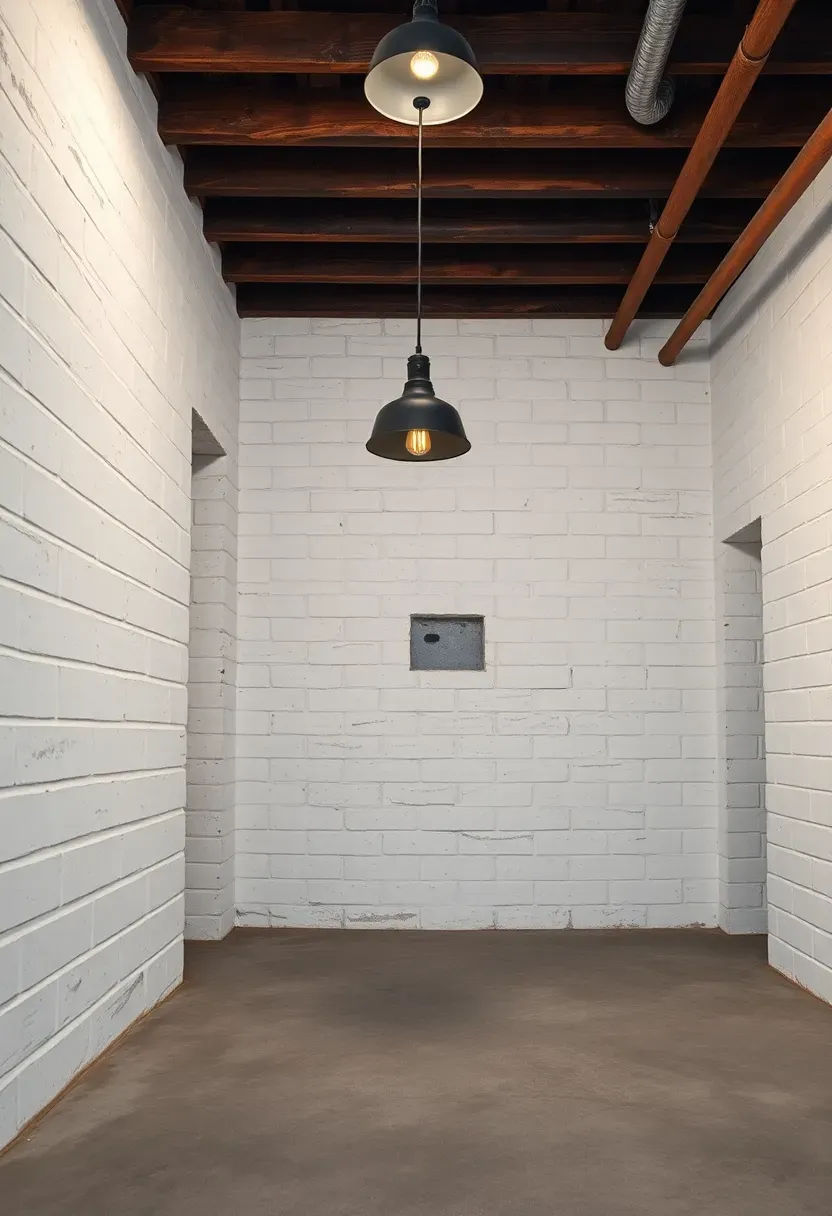
8. Concrete Block with Lime Wash
Lime wash is an ancient finish — literally. It has been used on masonry for thousands of years in Mediterranean and Northern European buildings. On concrete block, it creates a chalky, matte white surface with subtle variation and depth that flat latex paint cannot match. The look is somewhere between a Greek island villa and a Belgian farmhouse. Lime wash is naturally alkaline, which means it resists mold growth without additives. Romabio is the most accessible brand in the US at about $50 per gallon (covers 200 to 300 square feet). Apply it with a masonry brush in thin, overlapping strokes. The finish develops character over time as it carbonates and hardens.
Tips
- Dampen the wall with water before application so the lime does not dry too fast
- Two thin coats look better than one thick coat
- Lime wash is not a sealer — pair it with a penetrating silicate primer if moisture intrusion is a problem
Recommended
Items for this idea
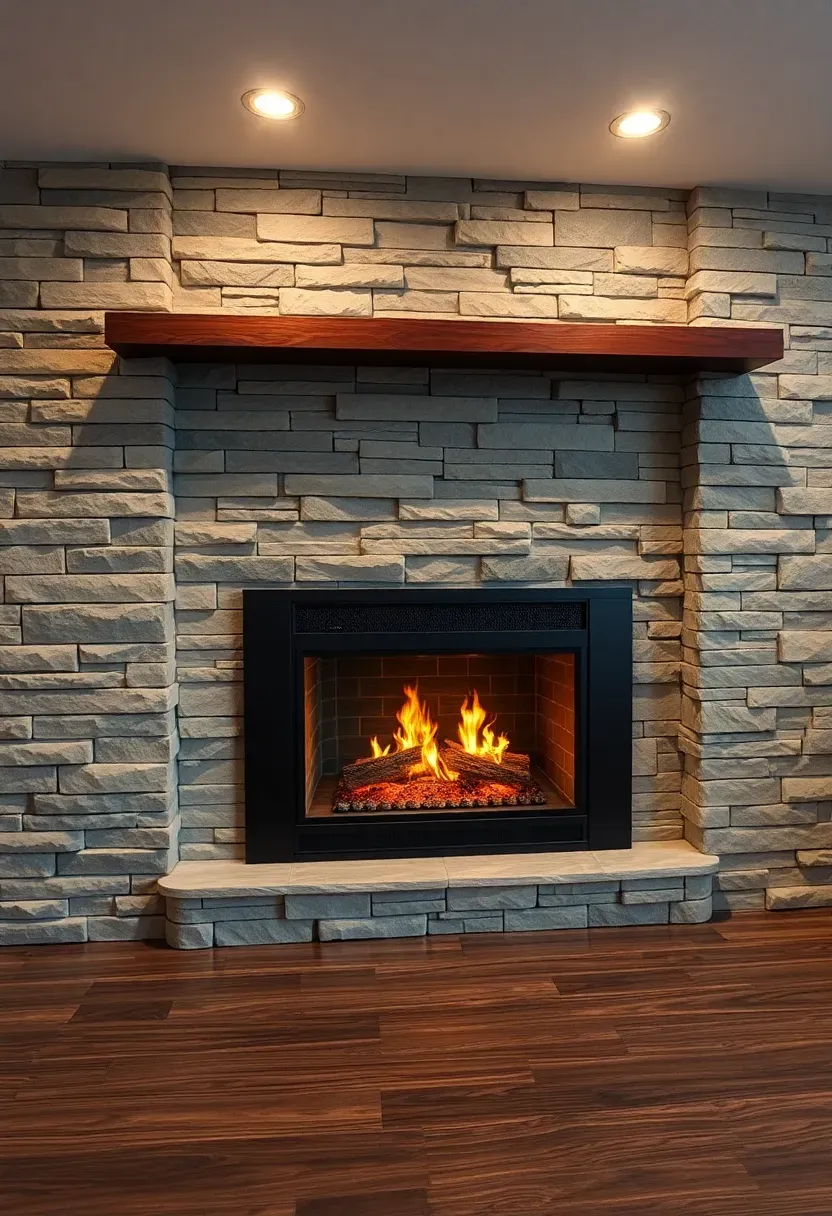
9. Faux Stone Veneer Panels
Real stone weighs 15 to 25 pounds per square foot and needs structural support. Faux stone veneer panels weigh 2 to 4 pounds per square foot and mount with screws and construction adhesive onto furring strips or directly onto plywood. GenStone, NextStone, and Barron Designs make molded polyurethane panels that interlock and overlap to hide seams. Up close they are convincing — the texture is cast from real stone. From 5 feet away they are essentially indistinguishable from natural stone. Budget $8 to $15 per square foot installed. The panels are completely impervious to water, which makes them a sensible choice for basement walls that occasionally weep.
Choose this if
- You want the look of a stone fireplace surround or accent wall without the weight
- Your basement has moisture issues that rule out organic materials
- You prefer a finished look that does not require painting or staining
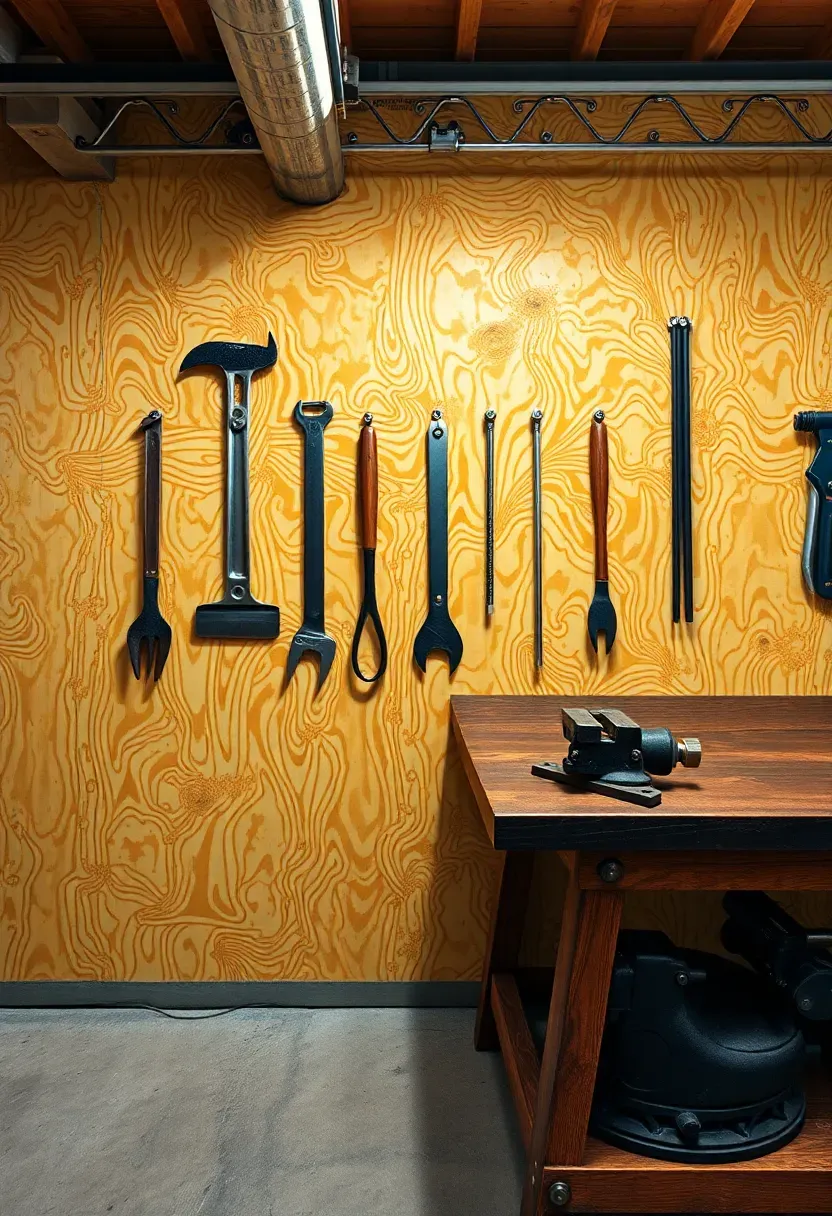
10. Oriented Strand Board (OSB) Feature Wall
OSB costs about $12 per 4x8 sheet — roughly a third of what plywood costs. Most people see it as a subfloor material, but sealed and lit properly, its random strand pattern creates a warm, textured surface with genuine visual interest. Screw the sheets into furring strips, sand the surface lightly with 120-grit paper, then seal with two coats of water-based polyurethane. The poly brings out the wood tones (golden amber to dark brown) and protects against moisture. This is a workshop or rec room wall — it will not suit a finished media room. But in the right context, it has an honest, raw appeal.
Tips
- Buy the smooth-face side of each sheet and install that facing out
- Stagger the seams between sheets for a cleaner look
- Do not skip the poly sealer — unsealed OSB swells when it absorbs humidity
Recommended
Items for this idea
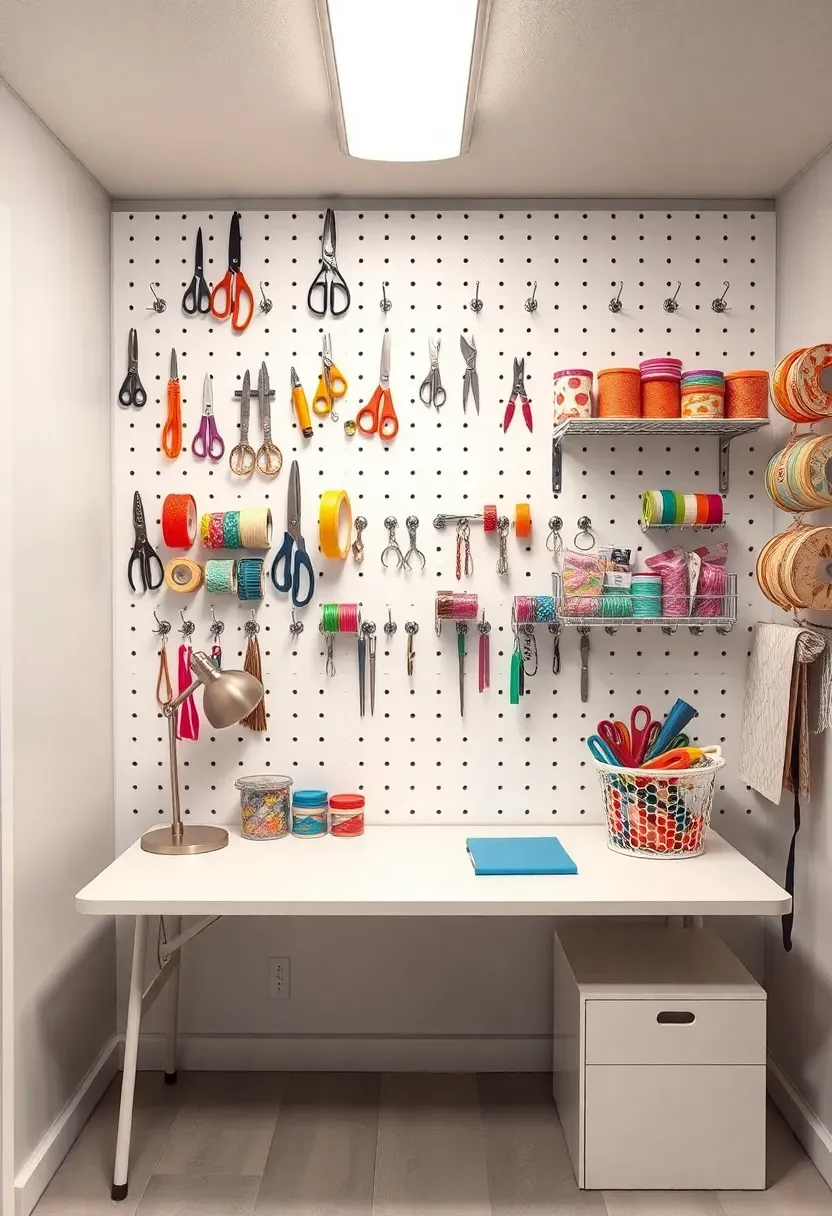
11. Pegboard Utility Wall
What it does best
Pegboard turns a wall into adjustable storage. Every hook, shelf, and bin repositions in seconds as your needs change. For basements used as workshops, craft rooms, or hobby spaces, this flexibility matters more than aesthetics.
Installing it
Standard 1/4-inch tempered hardboard pegboard comes in 4x8 sheets at $15 to $20 each. Mount it on furring strips with at least 3/4 inch of standoff space behind the board so hooks can insert fully. For a cleaner look, use metal pegboard panels from Wall Control ($40 to $60 per 16x32-inch panel) — they are powder-coated, rust-resistant, and available in colors. Arrange the panels at eye level and keep the lower wall open for bins or benches.
Watch out for
- Hardboard pegboard absorbs moisture and warps — use metal panels in damp basements
- Weight limits vary; heavy tools need metal pegboard rated for 80+ pounds per panel
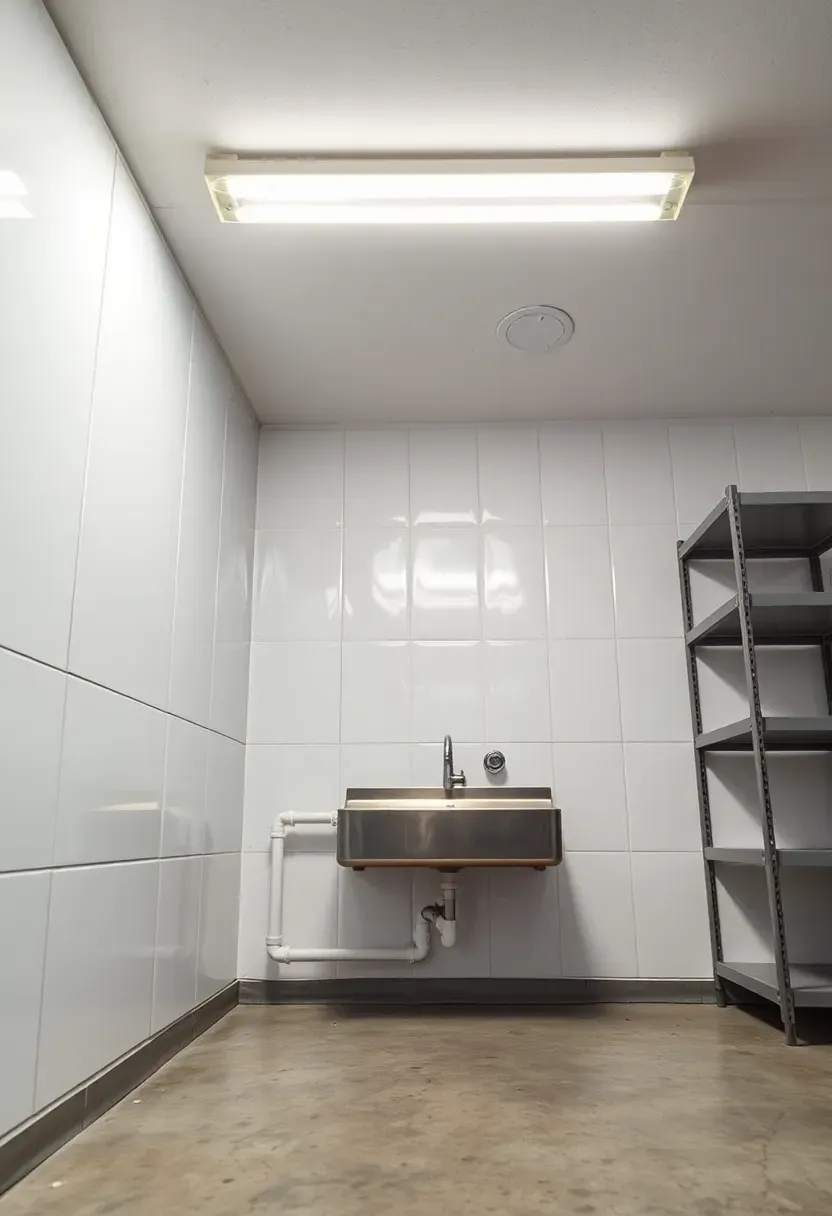
12. Fiberglass Reinforced Panels (FRP)
FRP is what you see on the walls of commercial kitchens, car washes, and hospital corridors. It is a thin fiberglass sheet with a smooth, glossy surface that water rolls right off of. In basements, it serves the same purpose — a completely waterproof, easy-to-clean wall surface that withstands abuse. Panels cost $25 to $40 per 4x8 sheet and attach with FRP adhesive directly to concrete or furring strips. The seams get covered with snap-in H-molding strips. It is not pretty in the way that wood or stone is pretty, but it is practically indestructible and wipes down with a sponge. Ideal for basement laundry areas, utility rooms, and anywhere function outranks form.
Tips
- Score and snap panels with a utility knife for straight cuts
- Use color-matched molding at inside and outside corners for a finished edge
- FRP also works as a waterproof backer behind open shelving
Recommended
Items for this idea
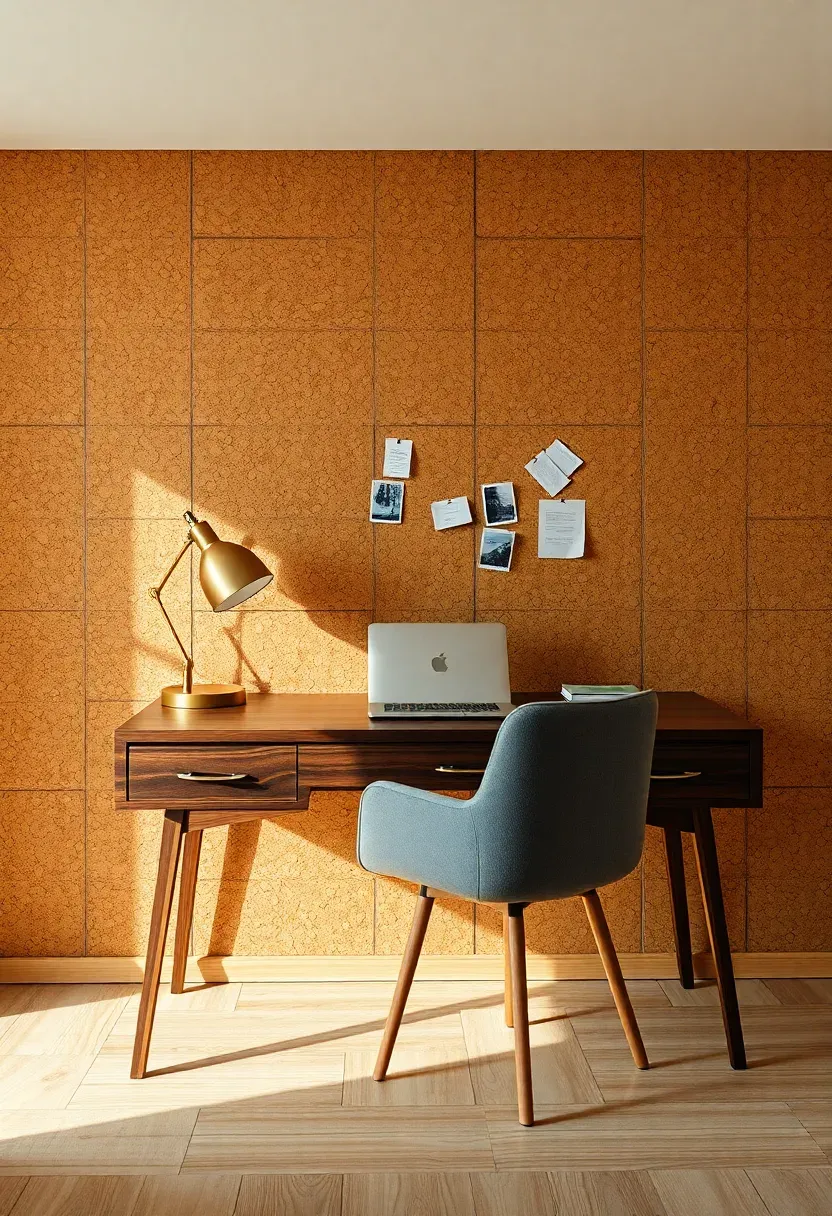
13. Cork Wall Tiles
Cork is naturally antimicrobial, insulating, and sound-absorbing — three things basements need. Self-adhesive cork tiles in 12x12 or 12x24 inch sizes install directly onto smooth walls. A box of 25 square feet runs $40 to $70 depending on thickness and finish. The material has a warm, earthy look and a soft texture that is surprisingly pleasant to touch. Cork also functions as a giant pinboard — tack notes, photos, and plans directly into it without damaging the surface. The main weakness is water. Cork handles humidity well, but standing water or direct splashing will degrade the adhesive and swell the tiles over time.
Best suited for
- Home offices, playrooms, and music practice rooms
- Walls that stay dry but benefit from sound dampening
- Renters who want a removable option (adhesive tiles peel off cleanly from painted surfaces)
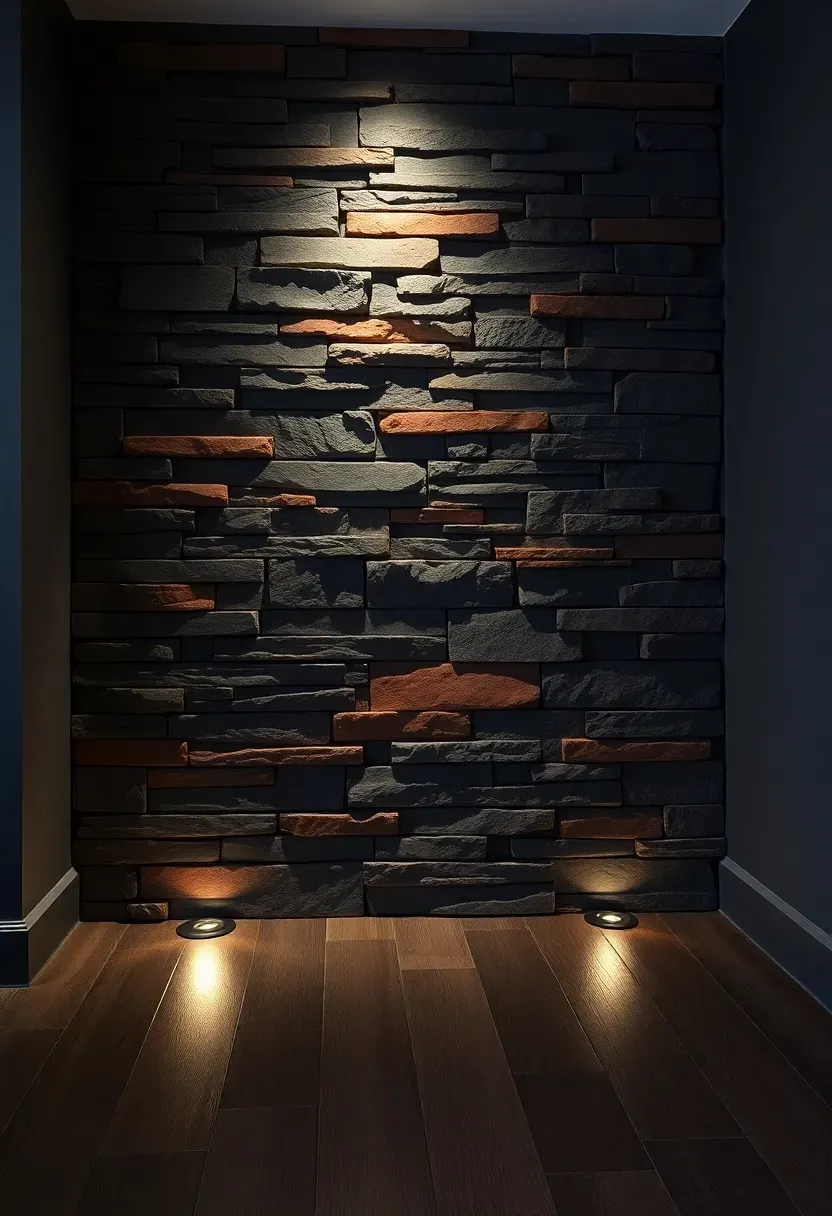
14. Stacked Slate Ledger Panels
How they differ from faux stone
These are real stone — thin strips of natural slate mounted on a mesh backing in interlocking panels. Each panel covers roughly 6x24 inches and weighs about 8 pounds per square foot. That is heavy enough to need proper support but light enough to install on furring strips with mortar or construction adhesive.
The result
A real stone wall with genuine texture variation, color depth, and the cool feel of natural material under your hand. Slate comes in charcoal, rust, copper, and multicolor blends. The cost is $7 to $12 per square foot for material plus another $5 to $10 per square foot for professional installation. It reads as high-end without explanation.
Choose this if
- You want real stone, not a molded imitation
- The wall is an accent feature, not the full perimeter (cost adds up fast)
- Your basement stays relatively dry — natural stone is porous and needs sealing in wet environments
Recommended
Items for this idea
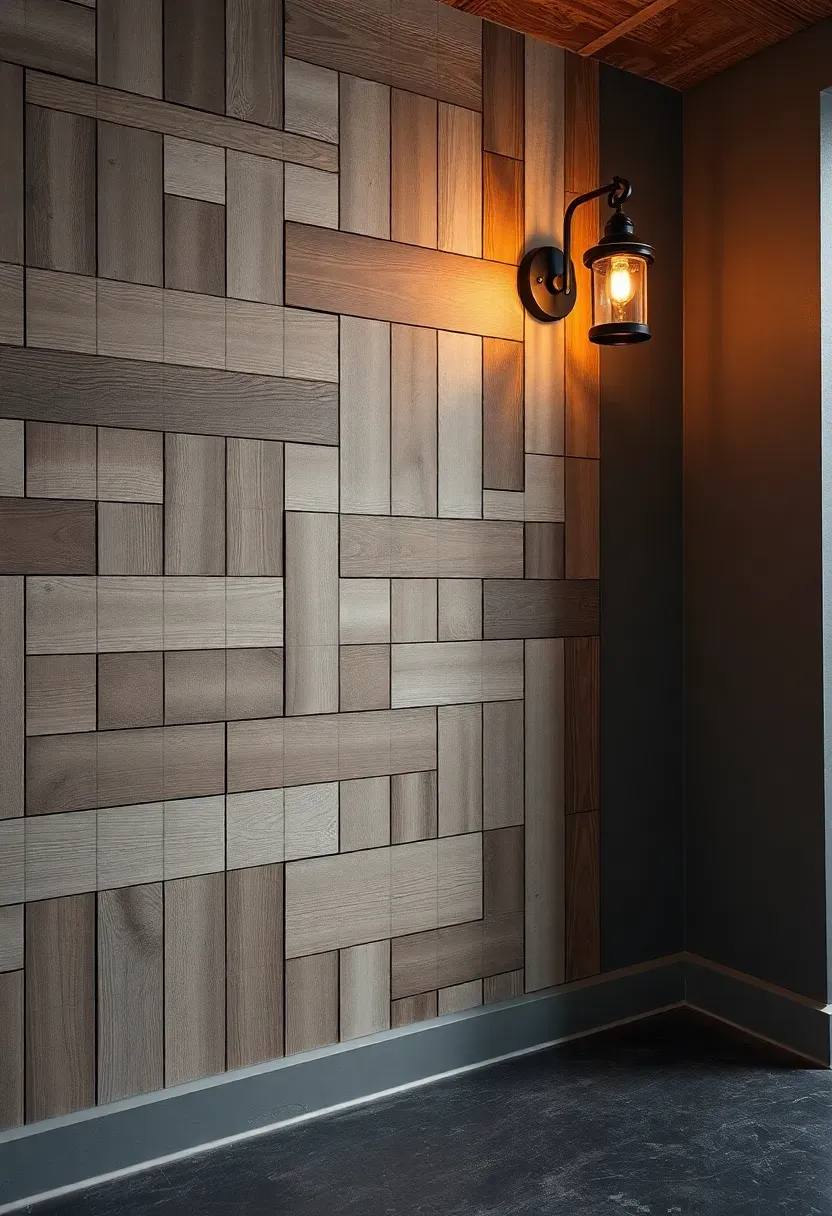
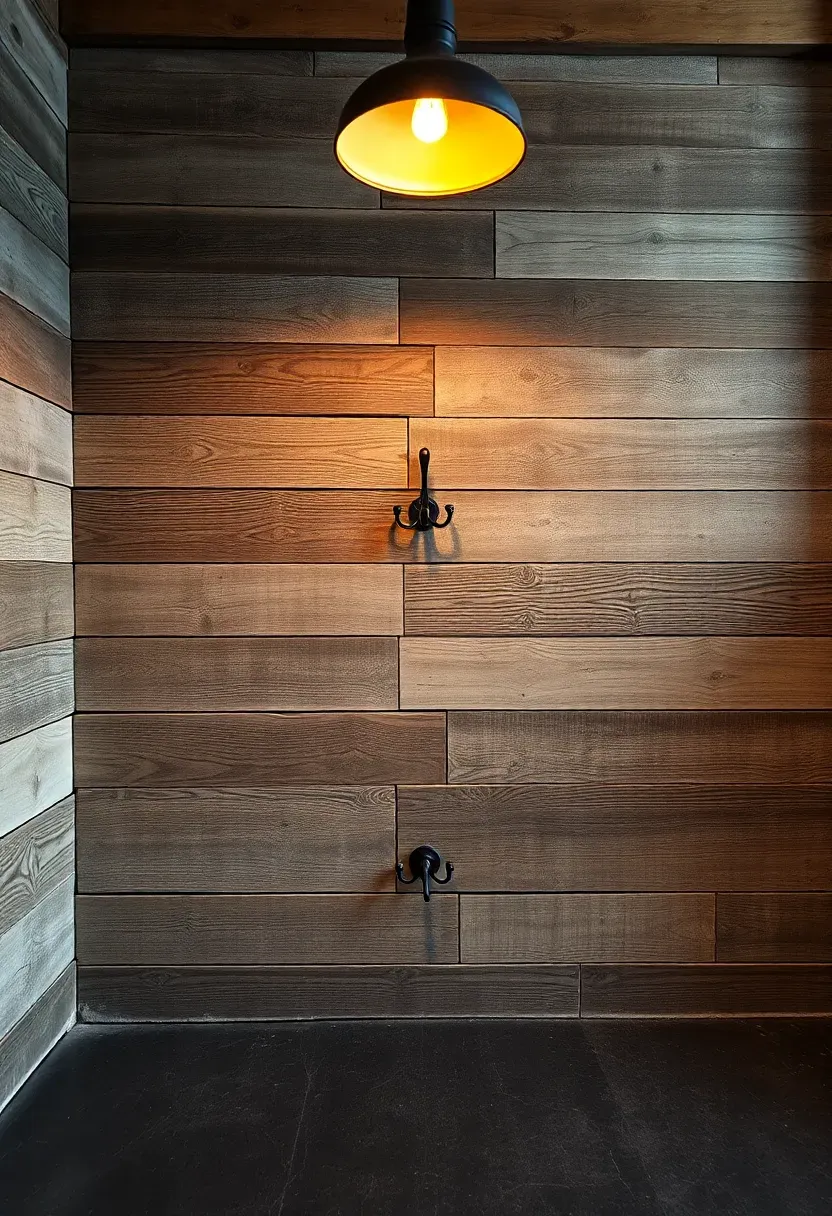
15. Reclaimed Barn Wood Planks
Barn wood carries 80 to 150 years of weather, sunlight, and use in its grain. No factory finish reproduces that. Reclaimed planks run $8 to $15 per square foot from salvage dealers, or less if you source them yourself from demolition sites (with permission). The boards need to be kiln-dried or heat-treated to kill insects and reduce moisture content before indoor use — any reputable dealer does this. Install on furring strips with a nail gun, mixing widths and tones for a natural patchwork effect. The character marks — nail holes, saw marks, weathered gray streaks — are the whole point.
Tips
- Ask the dealer for a certificate of heat treatment (ISPM 15 stamp)
- Sand lightly to remove splinters but keep the patina
- Seal with a matte water-based poly to preserve the color without adding shine
16. Cement Board with Skim Coat
Why not just use drywall
Cement board (Hardie Backer, Durock) is made of portland cement and fiberglass mesh. It does not absorb water, does not grow mold, and does not fall apart when it gets wet. It costs more per sheet ($10 to $15 for a 3x5-foot panel versus $8 for a 4x8 drywall sheet), but in a basement the longevity argument wins.
The process
Screw cement board to metal studs or furring strips. Tape the seams with alkali-resistant mesh tape and thin-set mortar. Then apply a skim coat of joint compound or microcement over the entire surface for a smooth, plaster-like finish. Sand lightly and paint. The result looks identical to a well-finished drywall surface, but the substrate behind the paint can handle water without catastrophic failure.
Watch out for
- Cement board is heavy and brittle — score and snap carefully, and wear a dust mask when cutting
- Use a diamond blade if you need curved or complex cuts
Recommended
Items for this idea
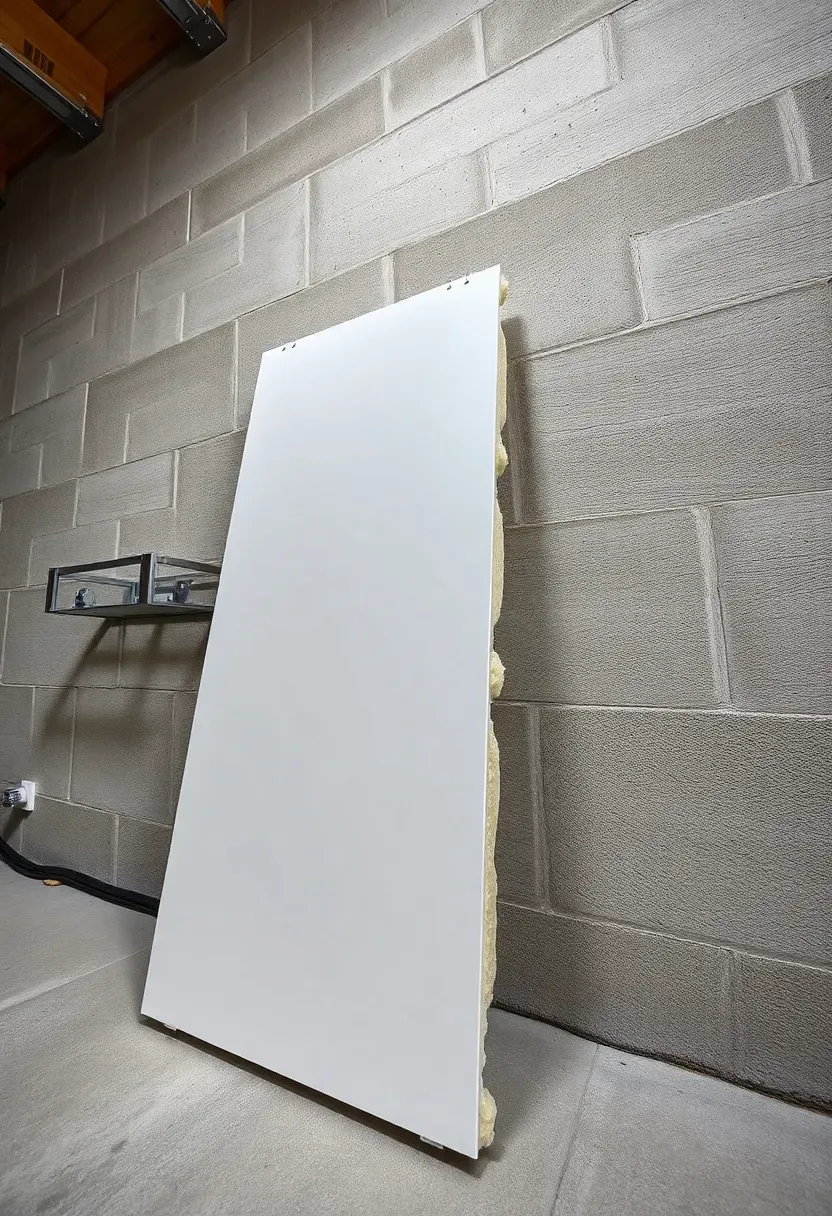
17. Modular Basement Wall System
Owens Corning Basement Finishing System, Wahoo Walls, and similar products are engineered specifically for below-grade installation. They combine insulation, vapor barrier, and finished surface into a single panel that clips into a metal track system. No furring strips, no separate insulation, no vapor barrier to staple up. A full system runs $7 to $12 per square foot installed by a dealer, or $3 to $5 per square foot for DIY-friendly versions like ZenWall. The finished surface accepts paint and can look indistinguishable from drywall. The real advantage is speed — a professional crew can finish a 1,000-square-foot basement in two to three days. If your main objection to drywall is moisture vulnerability but you still want that clean, flat wall look, this is the direct upgrade.
Pros and cons
- Pro: integrated moisture management, fast installation, clean finished appearance
- Pro: panels remove individually for access to wiring or plumbing behind the wall
- Con: proprietary systems mean you are locked into one manufacturer for replacement parts and panels
Quick FAQ
Does exposed concrete count as a finished wall? It depends on your local building code and your own standards. Sealed and painted concrete is perfectly functional and many modern interiors use it intentionally. For habitable space per most building codes, you may need insulation behind the wall surface regardless of the finish material.
Which of these options handles flooding best? PVC panels, FRP, and painted concrete with masonry sealer recover from water contact with zero damage. Vinyl plank walls also survive flooding since the material is waterproof. Wood, cork, and fabric panels all suffer in standing water.
Can I install these materials directly on concrete block? Some can — peel-and-stick wood, cork tiles, paint, and lime wash go directly on masonry. Most others need furring strips to create a flat, plumb nailing surface and an air gap behind the finish material.
Are these alternatives cheaper than drywall? Painted concrete is much cheaper. Vinyl plank, pegboard, and OSB are roughly comparable. Shiplap, stone veneer, and modular systems cost more. The math changes when you factor in mold remediation from a future water event — drywall replacement in a basement easily runs $3,000 to $8,000.
Do I need a vapor barrier behind these wall coverings? In most climates, yes. Even waterproof surface materials benefit from a vapor barrier (6-mil poly sheeting or a dimple mat) between the concrete and the furring strips. This prevents condensation from forming on the back side of your finished wall.
Basements do not have to look like basements. Every option on this list handles moisture better than standard drywall, and several of them cost less. Start by figuring out what your basement is for — a workshop, a living space, a gym — and let the function drive the material choice. The walls that will look best in five years are the ones that match how you actually use the room, not the ones that looked most impressive on the day you installed them.
Pinterest cover for 17 Basement Wall Ideas Not Drywall
About the author
OBCD
CGI visualization and interior design content. We create detailed 3D renders and curate practical design ideas for every room in your home.