19 Backyard Paver Ideas That Actually Look Good
I ripped out my old poured concrete slab three years ago after the third crack split across it. Replacing it with pavers was one of those projects where the research phase nearly paralyzed me — there are hundreds of paver shapes, materials, and patterns, and most of the inspiration photos online look nothing like what a normal person can pull off on a weekend. So I kept notes on what worked, what failed, and what actually held up through freeze-thaw cycles and heavy foot traffic. The 19 ideas below come from that process, plus conversations with two landscape contractors who gave me brutally honest feedback on cost and durability.
Here are 19 backyard paver layouts organized by complexity, starting with straightforward patio surfaces and moving through walkways, borders, and multi-zone designs.
Table of Contents
- Running Bond Brick Patio
- Large-Format Concrete Slab Patio
- Herringbone Pattern Driveway Extension
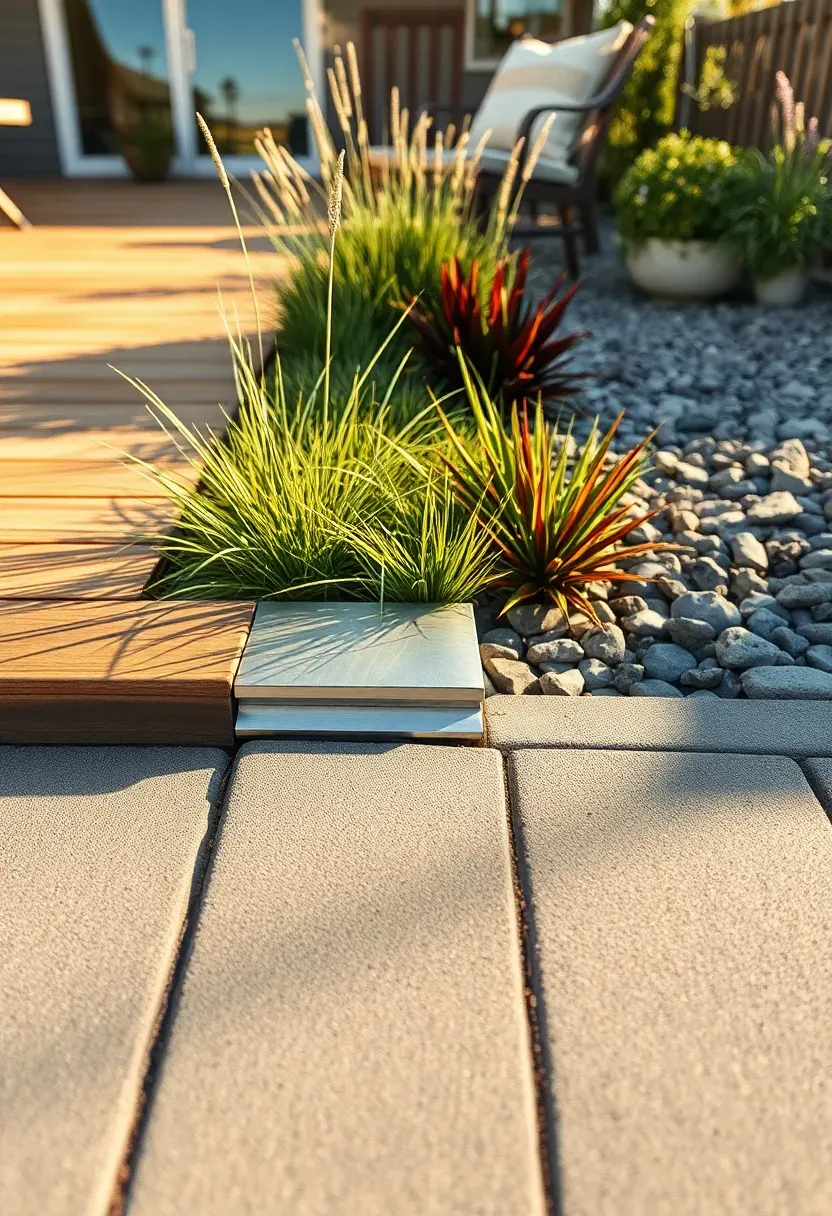
- Dry-Laid Flagstone with Gravel Joints
- Circular Paver Fire Pit Surround
- Basket Weave Brick Courtyard
- Stacked Bond Modern Walkway
- Permeable Paver Patio with Drainage
- Travertine Pool Deck Pavers
- Mixed-Material Patio with Wood and Pavers
- Cobblestone Border with Gravel Center
- Fan Pattern Paver Dining Area
- Stepping Stone Path Through Ground Cover
- Bluestone Paver Patio with Thermal Finish
- Curved Paver Walkway with LED Edges
- Porcelain Paver Outdoor Kitchen Floor
- Tumbled Paver Retaining Wall Patio
- Multi-Level Paver Terrace
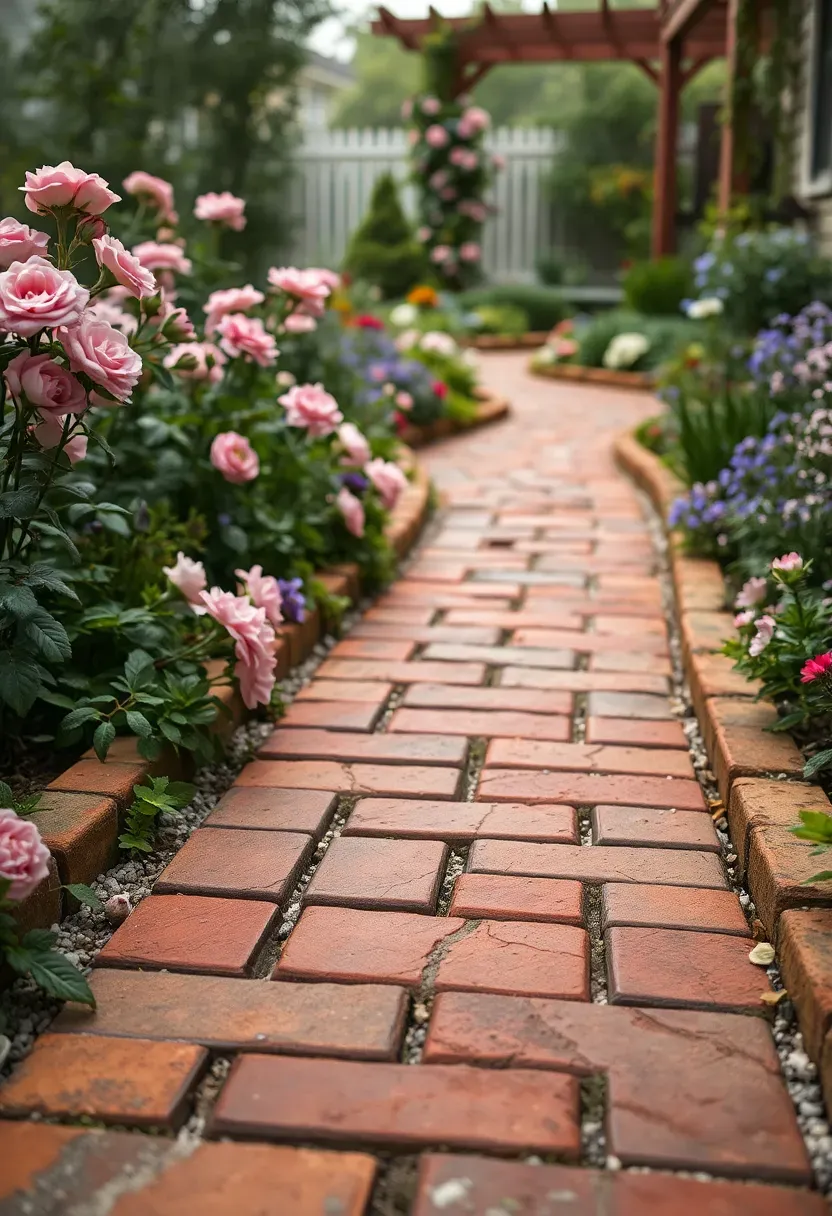
- Reclaimed Brick Paver Garden Path
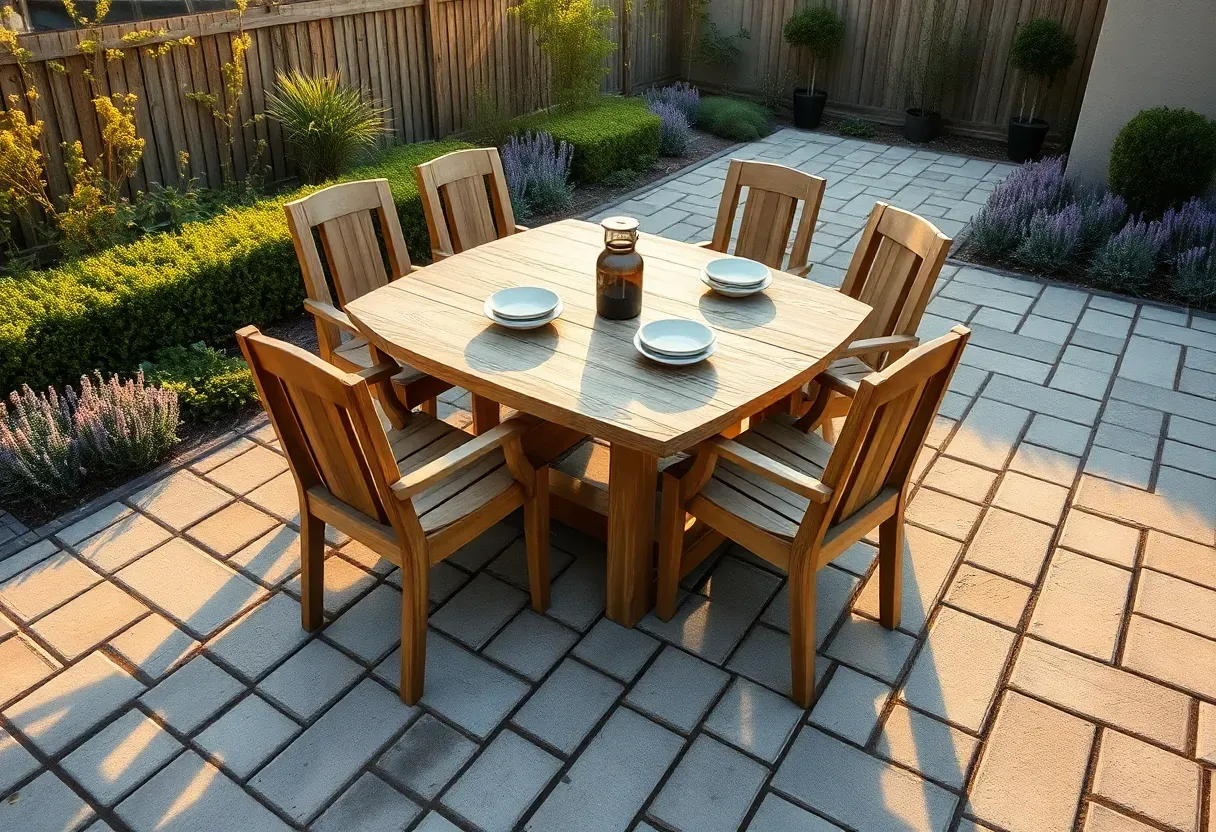
1. Running Bond Brick Patio
Running bond is the simplest brick pattern — each row offsets by half a brick, like a wall turned sideways. It works because the staggered joints distribute load evenly and hide minor spacing inconsistencies. Clay brick pavers in a standard 4x8 inch size cost between $3 and $7 per square foot for materials alone. The warm red-orange color weathers into a muted tone over two or three seasons, which most people prefer to the fresh-from-the-factory look. Mortar joints are optional; polymeric sand keeps things locked without the cracking risk.
Tips
- Compact your gravel base to at least 4 inches before laying sand — skipping this causes settling within the first year
- Use a string line for your first row; even a half-inch drift compounds across the full patio
- Seal with a matte sealant if you want to keep the original color longer, but expect to reapply every 2 years
We picked a few things that go well with this idea: Goovilla Interlocking Patio Deck Tiles (9-Pack) (★4.1), Playsafer Brick Rubber Interlocking Tiles (20-Pack) (★4.1) and Playsafer Brick Rubber Interlocking Tiles (10-Pack) (★4.1). As an Amazon Associate we earn from qualifying purchases.
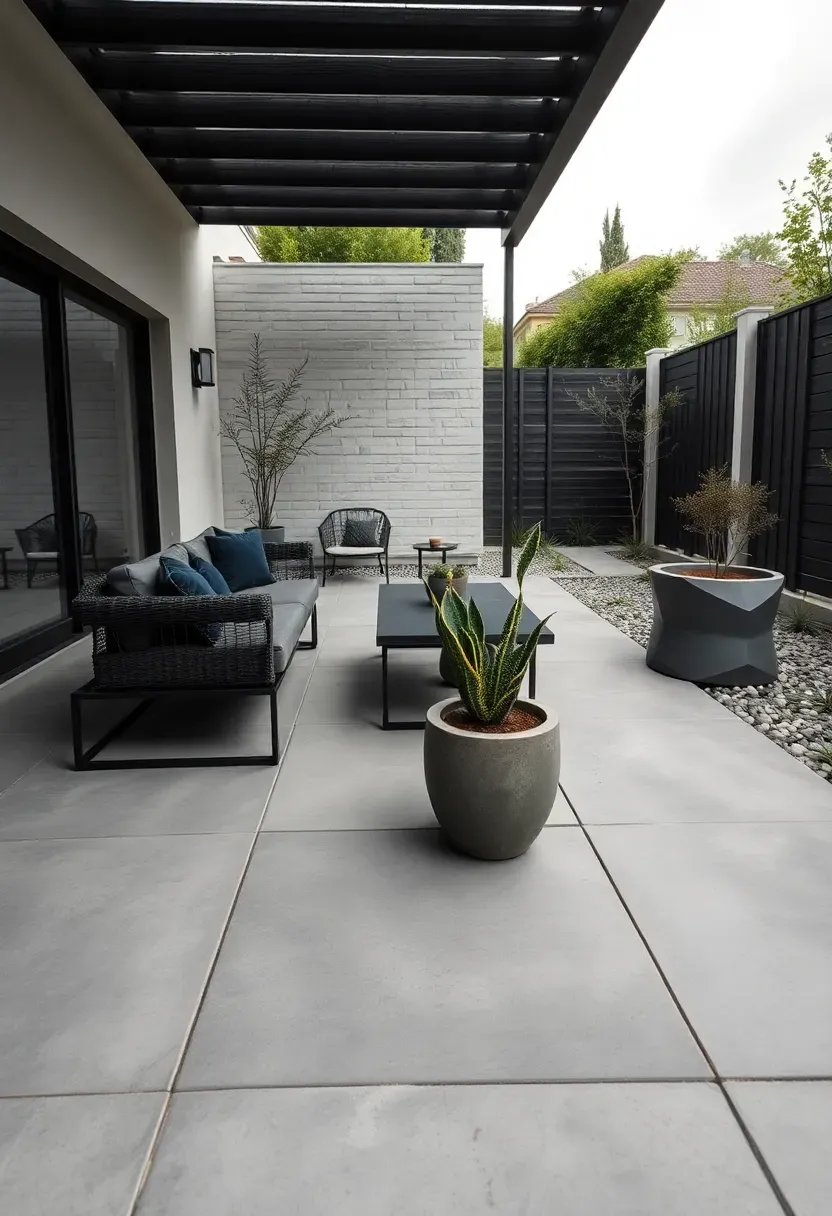
2. Large-Format Concrete Slab Patio
Why go big?
Standard pavers measure around 6x9 inches. Large-format slabs — 24x24 or even 24x36 — cut the number of joints dramatically, which gives a cleaner look and fewer places for weeds to push through. The downside is weight: a single 24x24 concrete paver weighs about 80 pounds, so installation is a two-person job minimum.
The tradeoff
You get a contemporary, almost indoor-floor feel outdoors. But large slabs are less forgiving on uneven ground. If your base settles unevenly, a big paver rocks instead of just sinking slightly like a small one would. Budget roughly $8 to $14 per square foot for materials, more for textured or colored options.
Choose this if
- You want minimal joint lines and a modern look
- Your yard is relatively level or you are willing to invest in proper base preparation
- You prefer low-maintenance surfaces over rustic character
We picked a few things that go well with this idea: Christopher Knight Natural Stone Fire Pit (★3.0), Real Flame Scottsdale 40" Propane Fire Pit (★5.0) and SoulMate 40-Inch Smokeless Fire Pit Ring (★4.4). As an Amazon Associate we earn from qualifying purchases.
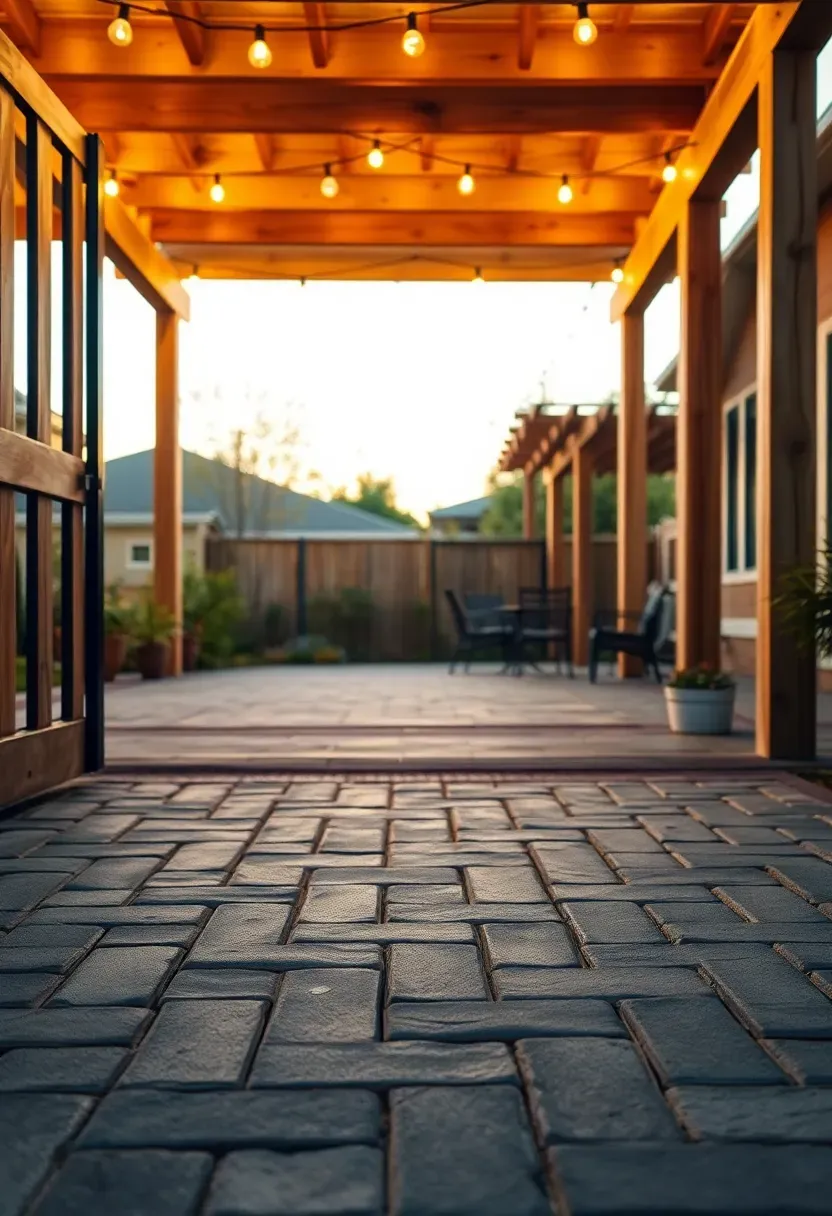
3. Herringbone Pattern Driveway Extension
Herringbone is the strongest interlocking pattern for pavers because the 45 or 90-degree zigzag resists lateral shifting under load. That makes it ideal for areas that see vehicle weight or heavy foot traffic. Extending a herringbone paver driveway into your backyard creates visual continuity between the front and back of the house. Most contractors charge a 10-15% premium for herringbone over running bond because it requires more cuts at the edges. Use concrete pavers rated for vehicular loads (minimum 8,000 PSI compressive strength) in the driveway portion.
What to watch for
- Edge restraints are non-negotiable — without them the pattern creeps outward over time
- A 45-degree herringbone wastes more material on edge cuts than a 90-degree version
- Color variation between batches is common; order all your pavers at once from the same lot
We picked a few things that go well with this idea: EDISHINE Low Voltage LED Path Lights (4-Pack) (★4.7), SUNVIE Anti-Glare LED Pathway Lights (8-Pack) (★4.5) and SUNVIE Aluminum LED Bollard Path Lights (12-Pack) (★4.5). As an Amazon Associate we earn from qualifying purchases.
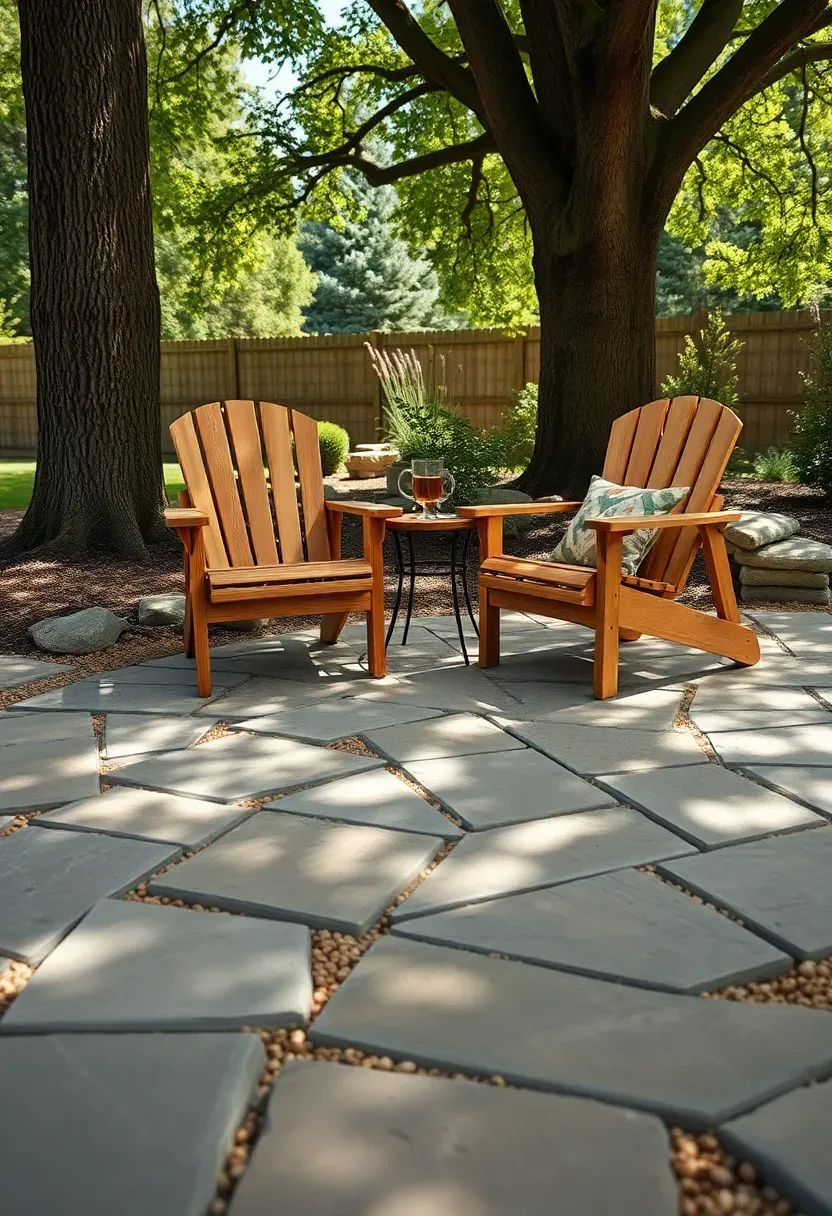
4. Dry-Laid Flagstone with Gravel Joints
Flagstone looks expensive, and it can be — natural stone runs $15 to $30 per square foot depending on the type. But dry-laying on a compacted gravel base instead of setting in mortar cuts labor costs by roughly 40%. The gravel joints (pea gravel or decomposed granite) allow water to drain naturally, which eliminates the need for slope grading in most situations. Irregular shapes mean you spend time fitting pieces together like a puzzle, but the result has a natural, unforced quality that manufactured pavers cannot replicate. Thickness matters: go with slabs at least 1.5 inches thick to avoid cracking.
Tips
- Lay out all pieces dry before committing — rearranging after setting the base is miserable work
- Mix stone from two or three pallets for more natural color variation
- Fill joints to within a quarter inch of the surface to keep gravel from scattering onto adjacent lawn
Recommended
Items for this idea
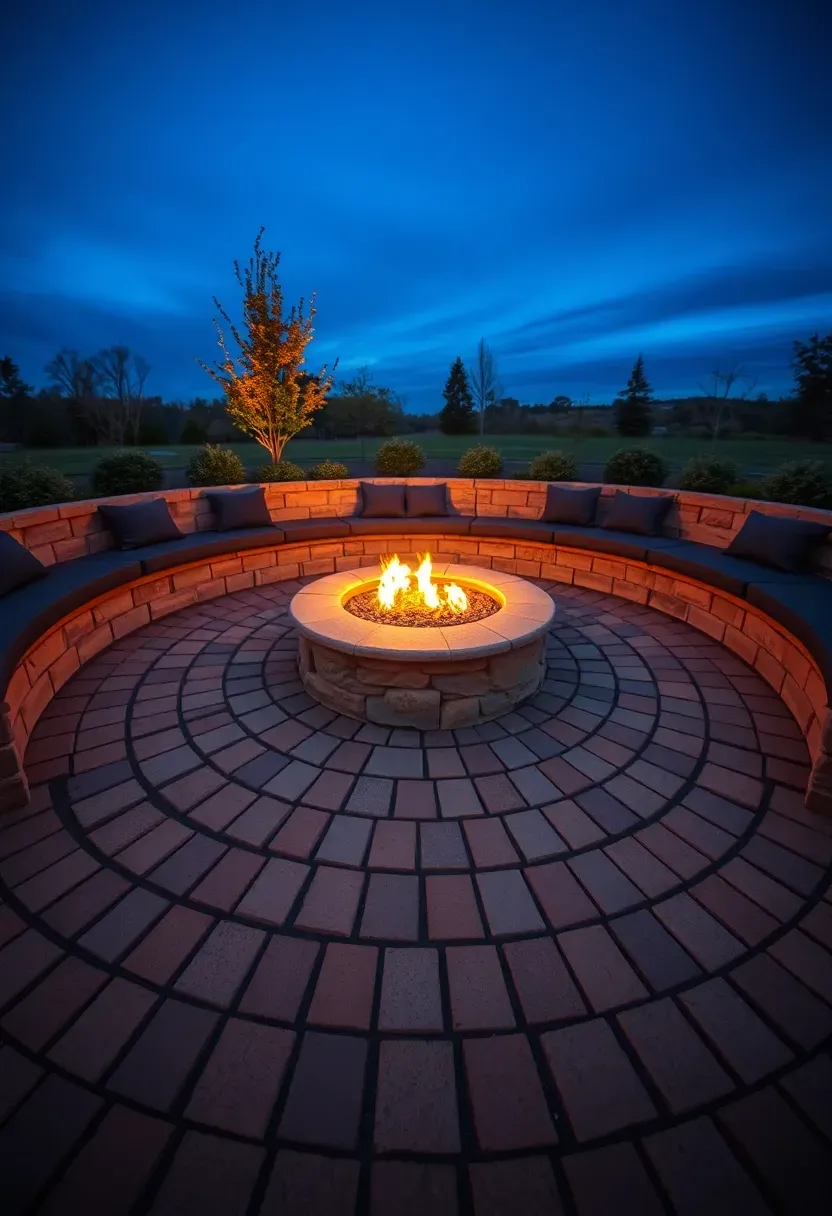
5. Circular Paver Fire Pit Surround
The problem with square fire pit patios
Most fire pit areas are square or rectangular, which works but feels predictable. A circular paver layout draws the eye inward and creates a natural gathering ring where everyone faces the fire. The challenge is that standard rectangular pavers do not curve well — you need wedge-shaped or tumbled pavers specifically designed for radius work.
How to get it right
Start with the fire pit as center point and work outward in concentric rings. Each ring uses slightly larger pavers or wider joints to accommodate the increasing circumference. A 12-foot diameter circle around a 36-inch fire pit gives enough room for chairs without crowding. Budget $500 to $1,200 for the fire pit kit itself, plus $6 to $10 per square foot for curved pavers. Use heat-resistant pavers within 18 inches of the flame.
Pros and cons
- Creates a dedicated gathering zone with clear visual boundaries
- Requires specialty pavers that cost 20-30% more than standard rectangles
- Snow removal and furniture placement are trickier on curved surfaces
6. Basket Weave Brick Courtyard
Basket weave alternates pairs of horizontal and vertical bricks in a grid, creating a woven texture without any offset. The pattern dates back centuries in European courtyards and still works in contemporary settings because it reads as both structured and decorative. Unlike herringbone, basket weave does not interlock mechanically — it relies on edge restraints and tight joints for stability. That makes it better suited for patios than driveways. Material costs are the same as running bond since you use standard rectangular bricks. The installation speed is actually faster because there is no offset to track row by row.
Tips
- Works best with pavers that have a 2:1 length-to-width ratio (like 4x8 inches)
- Add a contrasting border course — a single row of soldiers (bricks on end) frames the pattern cleanly
- Polymeric sand is essential here since the straight joints are wider and more visible than in staggered patterns
Recommended
Items for this idea
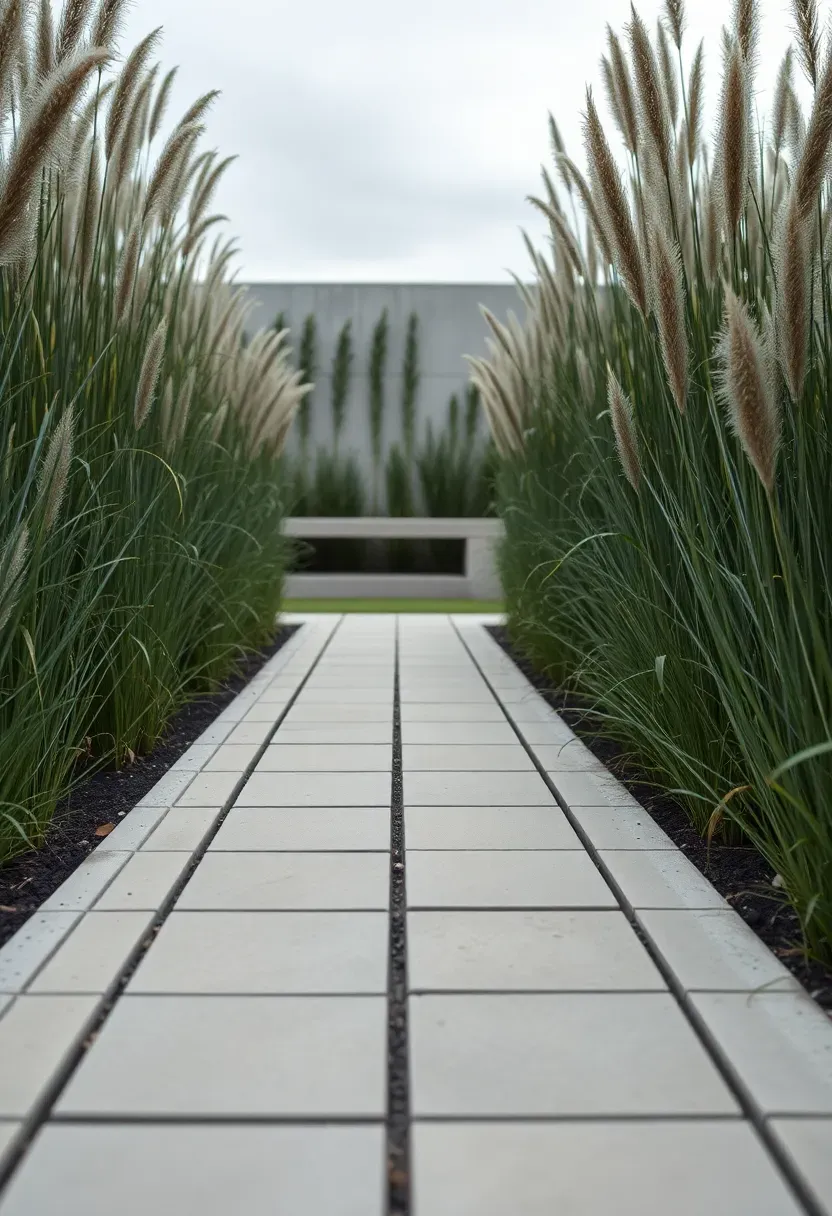
7. Stacked Bond Modern Walkway
Step 1: Pick your slab size
Stacked bond means all joints align — no offset. It works best with rectangular pavers at least 12 inches long. Larger slabs (12x24 or 16x24) emphasize the grid pattern and reduce the number of joints. Choose a color with minimal variation for the cleanest result.
Step 2: Prepare a precise base
Because aligned joints telegraph every imperfection, your base needs to be dead level. Use a screed rail on compacted gravel, then a 1-inch sand bed screeded to an even plane. Any dip or hump shows as a misaligned joint line.
Step 3: Install with spacers
Use 3mm plastic spacers between pavers for uniform joints. Fill with polymeric sand and compact with a plate vibrator on a rubber pad to avoid chipping edges.
Watch out
- Stacked bond has zero mechanical interlock — edge restraints and a solid base do all the work
- This pattern shows cracking or settling more obviously than offset patterns
- Best limited to walkways and light-use patios, not areas with heavy rolling loads

8. Permeable Paver Patio with Drainage
If your yard pools water after rain or your municipality requires stormwater management, permeable pavers solve the problem at the surface level. These pavers have widened joints or built-in channels that let water pass through into a gravel reservoir underneath. A properly installed permeable paver system handles about 6 inches of rainfall per hour — far more than most storms produce. The catch is that the sub-base is thicker (12 to 18 inches of open-graded gravel), which means more excavation and material cost upfront. Long-term, you may avoid needing a separate drainage system or French drain, which can offset the added expense.
Tips
- Vacuum or power-wash joints annually to prevent sediment from clogging the drainage channels
- Do not use polymeric sand — it defeats the purpose by sealing the joints
- Check local codes; some areas offer tax credits or rebates for permeable hardscape installations

Recommended
Items for this idea
9. Travertine Pool Deck Pavers
Travertine vs. concrete around a pool
Concrete pool decks absorb and radiate heat — barefoot in July, you feel it. Travertine stays noticeably cooler because of its porous structure and light color. It also has a naturally textured surface that provides grip when wet, which matters around a pool. The material costs $10 to $20 per square foot, roughly double what standard concrete pavers run, but the comfort and appearance difference is significant.
What to consider
Travertine is softer than granite or concrete. It scratches more easily and can stain from pool chemicals if not sealed. Apply a penetrating sealer before use and reapply every 3 to 5 years. The tumbled finish hides wear better than a polished or honed surface. Stick with French pattern (a mix of four sizes) for pool decks — it looks organic and hides imperfect cuts at the pool edge.
Choose this if
- You prioritize comfort underfoot over minimum cost
- Your pool area gets direct sun for most of the day
- You are willing to seal and maintain natural stone periodically
10. Mixed-Material Patio with Wood and Pavers
Pairing pavers with wood decking breaks up a large patio into distinct zones — dining on the pavers, lounging on the wood section. The contrast in texture and color creates visual depth without needing different elevation levels. Practically, the wood section is softer underfoot and warmer in cool weather, while the paver section handles grills, heavy planters, and furniture legs better. Use pressure-treated lumber or composite decking for the wood portions since they sit at ground level where moisture contact is constant. Leave a 1-inch gap between wood and paver sections filled with gravel or a metal edge strip to allow for wood expansion.
Tips
- Match the paver color to the cool tones of the wood for cohesion — warm gray pavers work well with weathered cedar
- Keep the wood section slightly raised (half an inch) to prevent water from pooling against the end grain
- Plan for different lifespans: pavers last 25+ years, wood decking needs replacement or resurfacing in 10 to 15
Recommended
Items for this idea
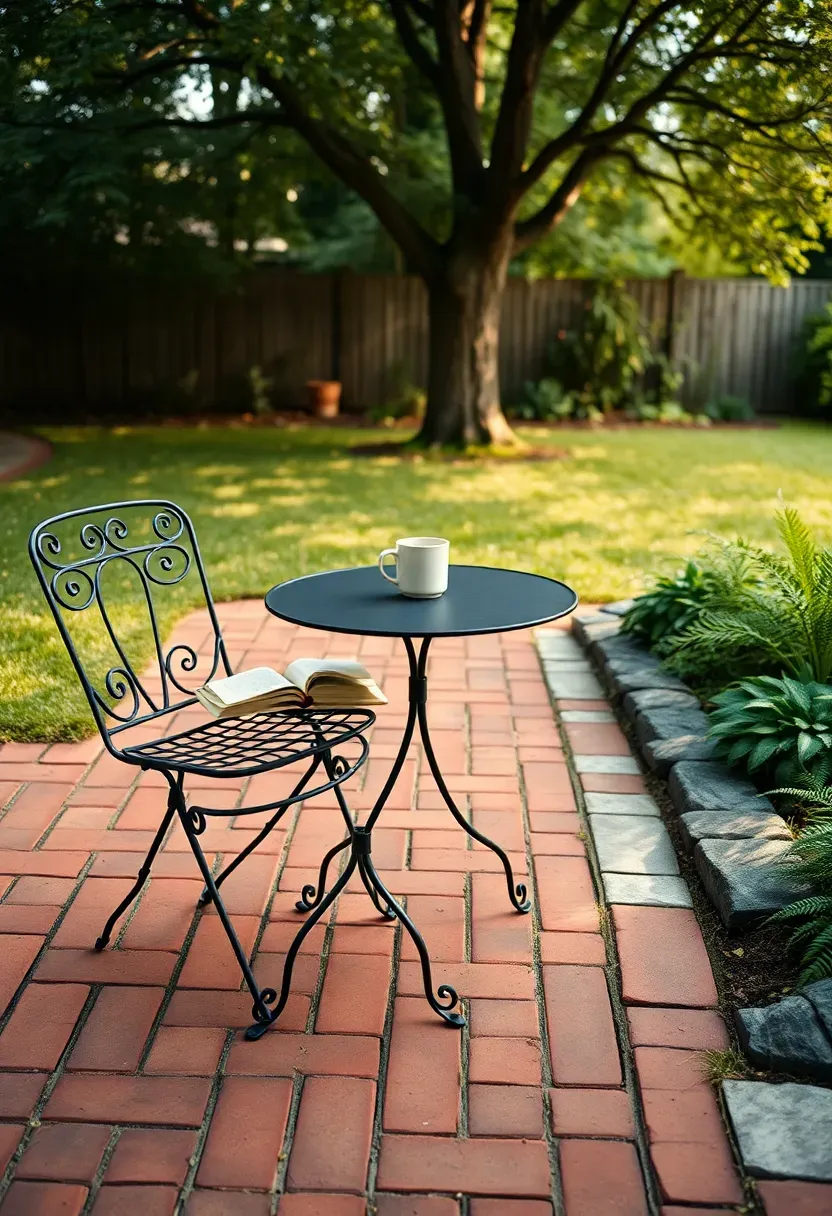
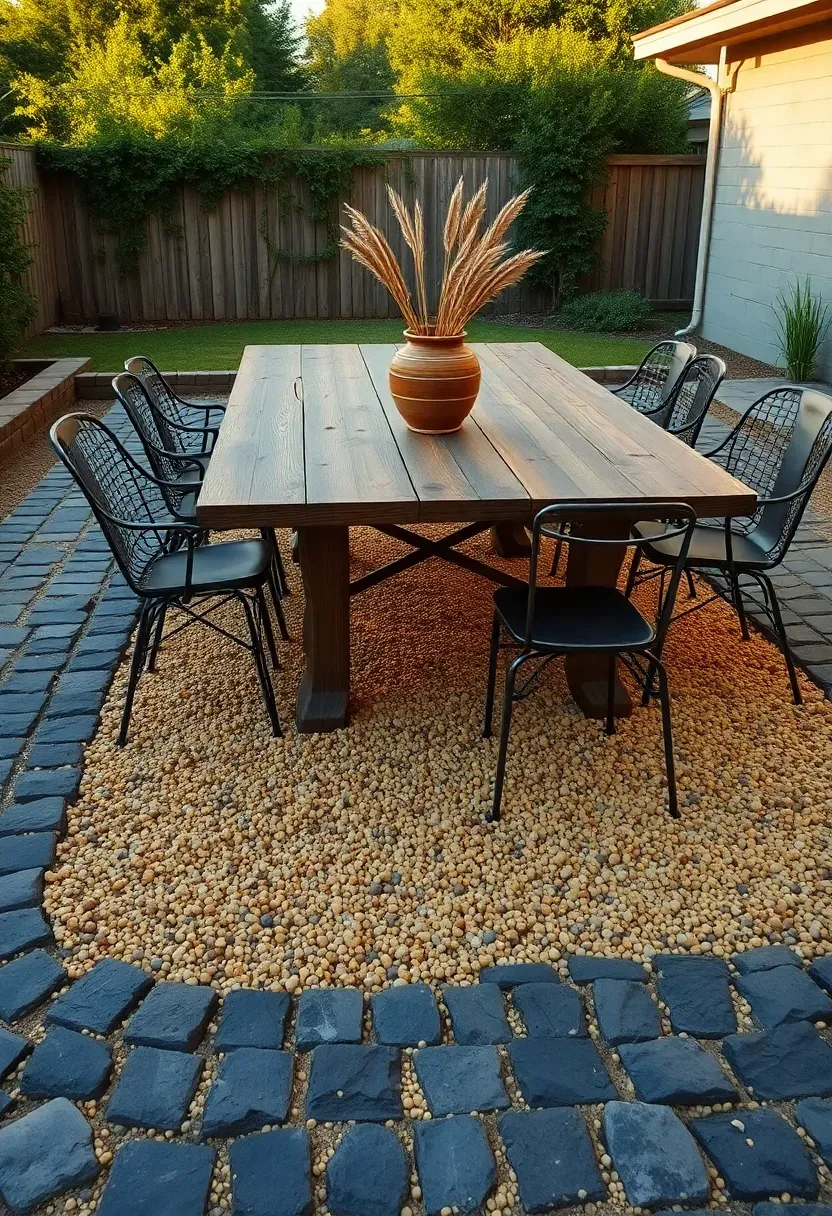
11. Cobblestone Border with Gravel Center
The origins
Cobblestone borders trace back to Roman road construction, where cut stone edges contained packed gravel or earth in the center. The principle hasn't changed: a rigid border holds a loose fill material in place while providing a defined walking surface along the edges.
Modern application
Use granite or concrete cobblestones (4x4 or 6x6 inches) set in a concrete haunching along the perimeter. Fill the center with compacted decomposed granite or pea gravel over landscape fabric. The gravel center is permeable, inexpensive, and easy to refresh. Total material cost runs $4 to $8 per square foot — about half the price of a fully paved patio.
How to apply this at home
- Works well for casual dining areas, garden paths, and transitional zones between lawn and hardscape
- Replace loose gravel with stabilized gravel (resin-bound) for a firmer walking surface that still drains
- Add a second interior border of flat pavers to define a central feature like a fire bowl or planter
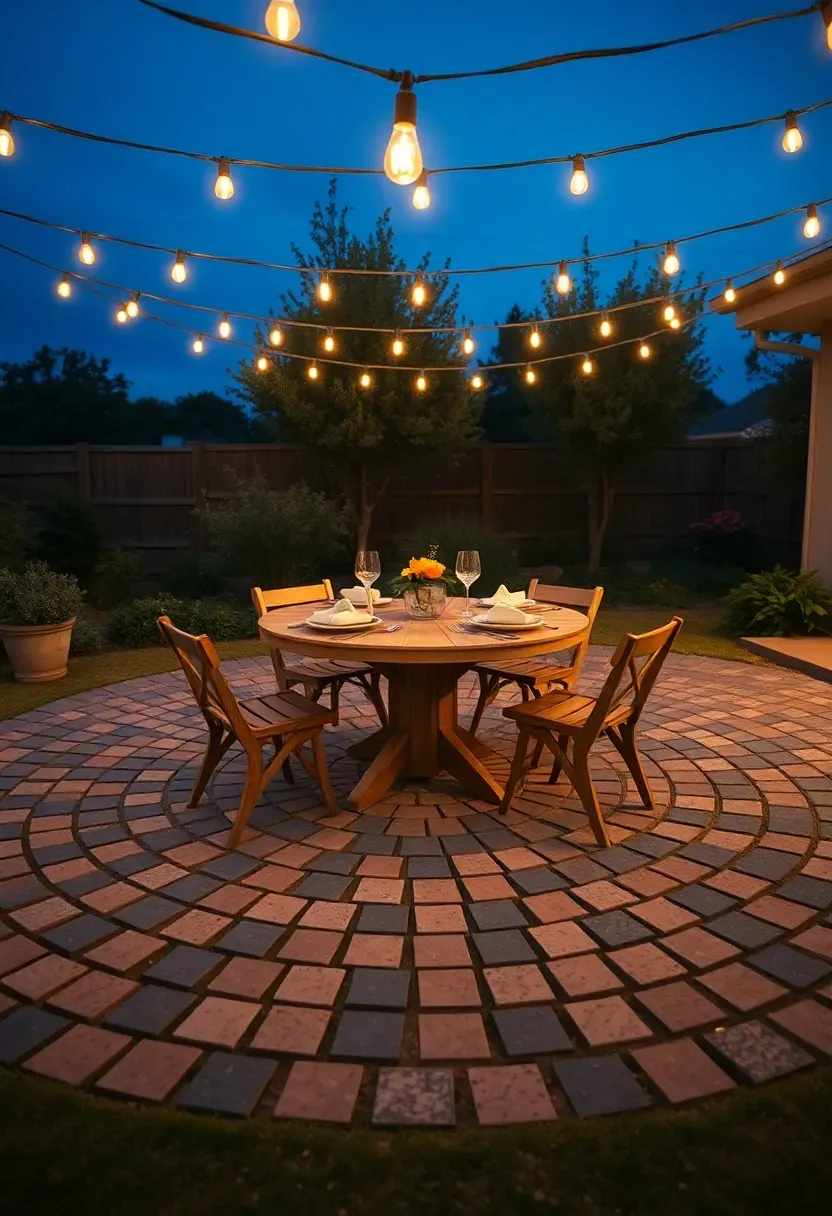
12. Fan Pattern Paver Dining Area
Fan pattern (also called European fan or peacock tail) arranges small cube pavers in arcing rows that radiate outward from a central point. The result is one of the most visually dynamic paver layouts — it immediately signals intentional design rather than basic coverage. The pattern uses cube-shaped pavers (typically 4x4 inches), which are set at varying angles within each arc. Installation takes roughly twice as long as running bond because each paver needs individual positioning. Expect to pay $12 to $18 per square foot installed. Size the fan to match your dining table footprint: a 10-foot diameter fan comfortably holds a round table for six.
Tips
- Start from the focal point (table center or a feature stone) and work outward
- Mix two paver colors — one for the fan arcs and one for the background — to make the pattern pop
- Keep the fan area slightly recessed below surrounding surfaces so chair legs sit stable on the curved layout
Recommended
Items for this idea
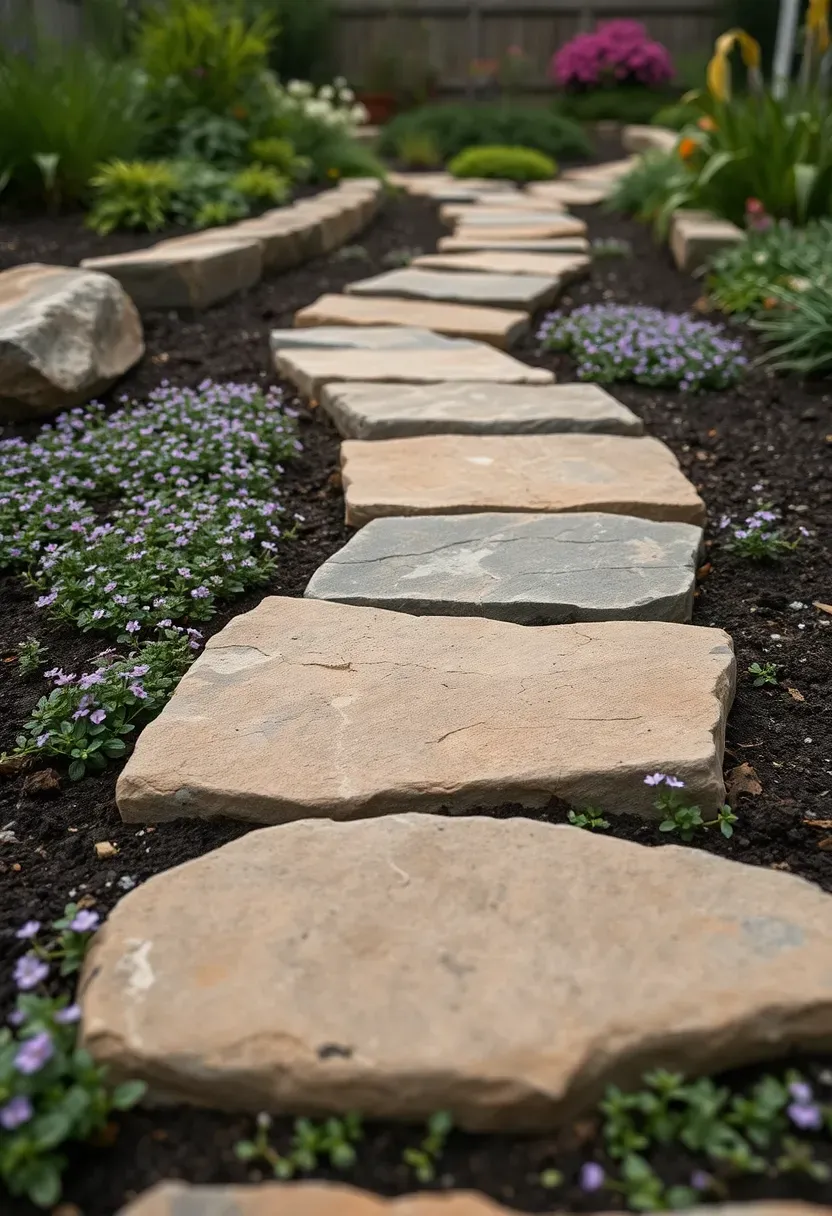
13. Stepping Stone Path Through Ground Cover
Step 1: Choose your stone
Natural flagstone, cut bluestone rounds, or cast concrete rounds all work. Pick slabs at least 18 inches across and 2 inches thick — anything smaller forces an awkward stride. Irregular shapes look more natural; geometric shapes read as more formal.
Step 2: Set the spacing
Average adult stride is about 24 to 26 inches center to center. Walk the path first and mark each footfall with spray paint before digging. Stagger left-right slightly for a natural feel rather than a rigid straight line.
Step 3: Plant between
Creeping thyme, dwarf mondo grass, or Irish moss fill gaps and handle light foot traffic. Plant plugs 6 inches apart and water consistently for the first season. The ground cover fills in fully by year two in most climates.
Watch out
- Stepping stones shift if not bedded properly — set each one on 2 inches of compacted sand with the top flush to the surrounding grade
- Avoid smooth-polished surfaces in shaded areas where moss makes them slippery
- Mow ground cover with a string trimmer set high, not a rotary mower
14. Bluestone Paver Patio with Thermal Finish
Bluestone is a dense sandstone quarried primarily in Pennsylvania and New York. Its blue-gray color with occasional brown and rust veining gives it a distinctive look that concrete cannot replicate. A thermal finish (achieved by passing a flame across the surface) creates a slightly rough texture that is slip-resistant without feeling coarse underfoot. Full-range bluestone — pieces with color variation — costs $18 to $28 per square foot. Select blue, which has a more uniform color, runs higher. Bluestone holds up well in freeze-thaw climates and does not fade significantly over time. Thickness of 1 to 1.5 inches is standard for patio applications on a sand-set base.
Tips
- Dry-lay bluestone on a sand bed for easier replacement of cracked pieces — mortar-set makes future repairs expensive
- Seal with a natural-look impregnating sealer to prevent staining without changing the color
- Mix rectangular and square cuts in a random pattern (ashlar) for the most natural result

Recommended
Items for this idea
15. Curved Paver Walkway with LED Edges
A straight walkway gets you from point A to point B. A curved one makes the trip worth looking at. Curving a paver path requires either flexible edge restraints (aluminum strips that bend to shape) or tapered cuts on the outside pavers. Adding recessed LED strip lighting along one or both edges turns a daytime feature into a nighttime one. Low-voltage LED strips rated for outdoor burial cost $2 to $5 per linear foot. Install the strip in a shallow channel beneath the edge restraint, facing upward, so the light washes across the paver surface without glaring. The total effect — a softly lit, curving path through landscaping — is the kind of detail that makes a backyard feel like a destination.
Tips
- Use warm white LEDs (2700K to 3000K) for a natural look; cool white feels institutional outdoors
- Run wiring before laying pavers — retrofitting is possible but means lifting edge stones
- Gentle curves (radius of 4 feet or more) are easier to execute than tight bends and look more natural
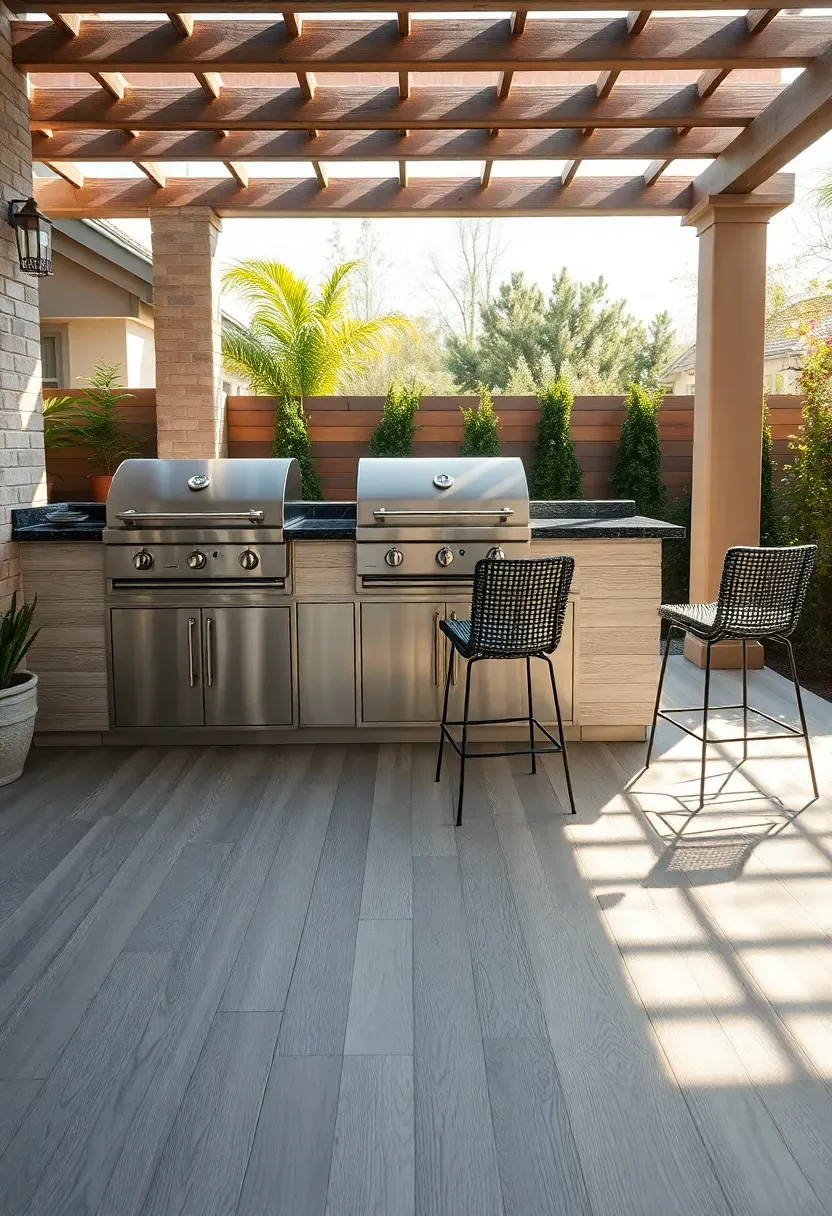
16. Porcelain Paver Outdoor Kitchen Floor
Why porcelain for a cooking zone
Outdoor kitchens deal with grease splatters, food spills, and constant foot traffic. Porcelain pavers (20mm thick, rated for outdoor use) absorb virtually no moisture (less than 0.5% absorption rate), resist staining, and clean up with a hose. They look like natural stone or wood but behave like tile. Standard outdoor porcelain pavers cost $8 to $15 per square foot.
Installation notes
Porcelain can be dry-laid on pedestals, set on compacted gravel with sand, or mortar-set on a concrete slab. For kitchen areas, mortar-set provides the most stable surface for heavy appliances and prevents grout lines from collecting food debris. Use a rectified (precision-cut) paver for tight joints.
Choose this if
- Your outdoor kitchen includes a grill, smoker, or pizza oven that produces grease and ash
- You want a surface that looks refined without constant maintenance
- You plan to match interior flooring that extends outside through a patio door
Recommended
Items for this idea
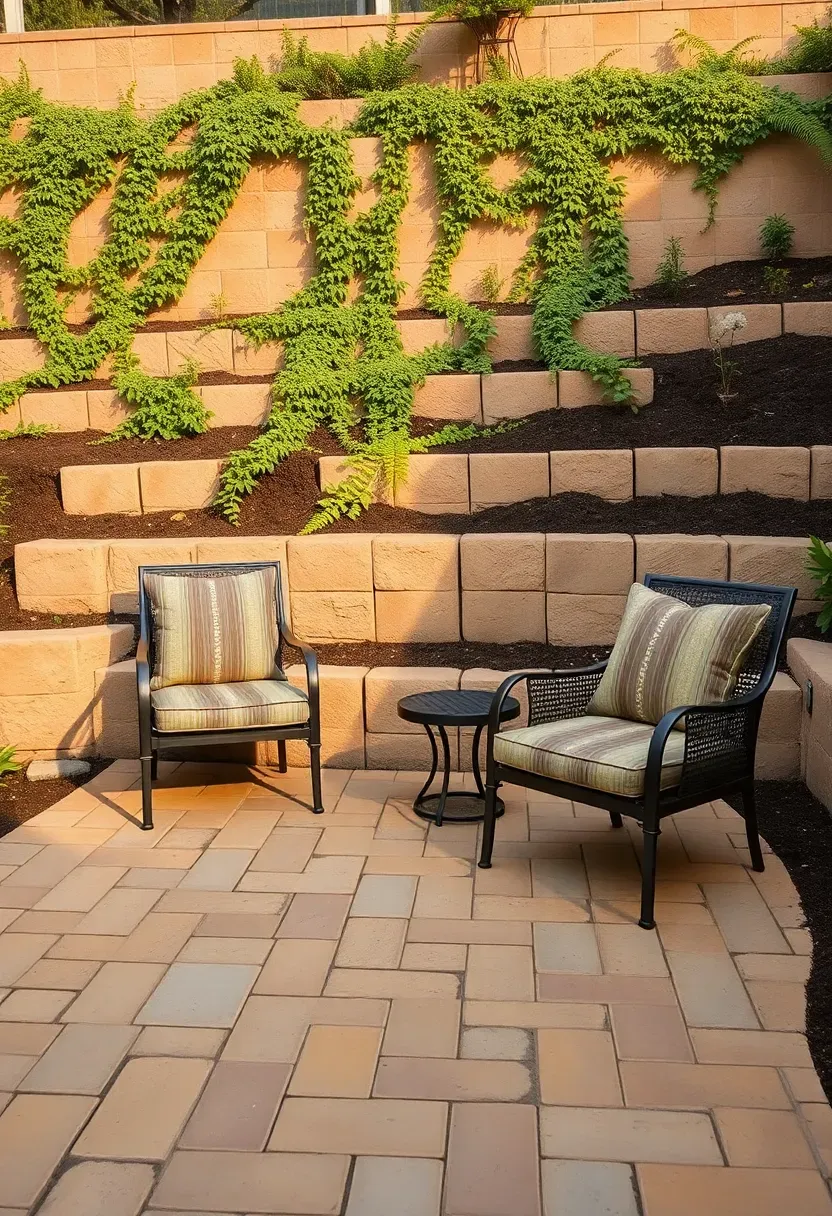
17. Tumbled Paver Retaining Wall Patio
Sloped backyards waste space unless you cut a level area and hold back the earth. A retaining wall patio does both: the wall creates a flat terrace and the pavers provide the surface. Tumbled pavers — machine-aged to look like old stone — pair naturally with retaining wall blocks since both share that weathered aesthetic. The retaining wall itself needs proper engineering if it exceeds 2 feet in height: geogrid reinforcement, drainage behind the wall, and compacted backfill. Budget $20 to $40 per face-foot for the wall and $7 to $12 per square foot for the tumbled paver surface. This is not a weekend project; most homeowners hire a contractor for the wall portion and DIY the paver surface.
Tips
- Include a 4-inch perforated drain pipe behind the wall base to prevent hydrostatic pressure buildup
- Step the wall back at a 1-inch setback per course for structural stability without reinforcement (up to 2 feet)
- Plant the wall face with trailing plants like creeping jenny to soften the hardscape
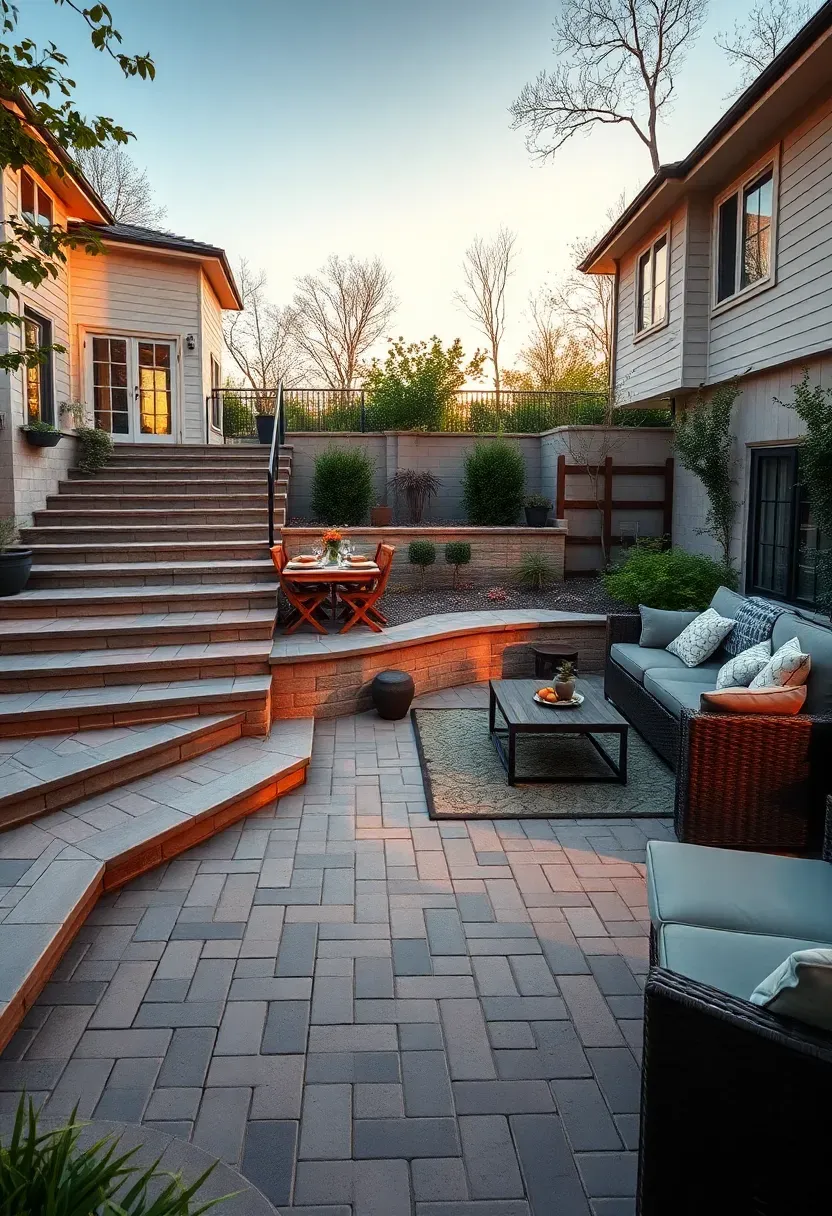
18. Multi-Level Paver Terrace
The problem with flat patios
A single-level patio works, but on larger properties it can feel like a parking lot — just a flat expanse of pavers without definition. Breaking the space into two or three levels connected by steps creates distinct functional zones: cooking area up top, dining in the middle, lounging at the lowest level.
The solution
Each terrace level needs its own compacted base, edge restraints, and drainage plan. Step heights between 6 and 8 inches feel comfortable and meet most building codes. Use the same paver throughout all levels for visual unity, but vary the pattern — herringbone on the dining level, running bond on the lounge area — to subtly distinguish zones. A two-level terrace adds $3,000 to $6,000 over a single-level patio of the same total area, depending on the height change and wall requirements.
Pros and cons
- Creates architectural interest and natural separation between activity zones
- Requires more excavation, materials, and planning than a flat patio
- Accessibility can be limited — consider including a gentle ramp on one side if needed
Recommended
Items for this idea
19. Reclaimed Brick Paver Garden Path
Reclaimed bricks carry a history that new pavers cannot fake. The irregular coloring, chipped edges, and old mortar residue give them a character that works particularly well in cottage-style and informal garden settings. Salvage yards sell reclaimed bricks for $0.50 to $2.00 per brick depending on condition and quantity. Not all old bricks are suitable for paving — test hardness by tapping with a hammer (a clear ring means dense enough; a dull thud means too soft) and check for excessive spalling. Lay in running bond or a casual random pattern on a sand base. Accept the imperfections: slightly uneven surfaces and color variation are the entire point.
Tips
- Soak reclaimed bricks in water before laying to reduce moisture absorption from the sand bed, which improves settling
- Sort bricks by size before starting — old bricks are not standardized and vary by up to half an inch
- Fill joints with decomposed granite instead of polymeric sand for a look that matches the aged material
Quick FAQ
How thick should a paver base be for a backyard patio? For most residential patios, plan for 4 to 6 inches of compacted gravel topped with 1 inch of leveling sand. Areas with heavy clay soil or freeze-thaw cycles benefit from a full 6-inch base. Driveways and areas supporting vehicle weight need 8 to 12 inches.
Can I install backyard pavers myself or do I need a contractor? A simple running bond or stacked bond patio on level ground is a solid DIY project for someone comfortable with physical labor and basic tools. Curved patterns, retaining walls, and multi-level terraces usually warrant professional help due to the engineering and precision required.
Do backyard pavers increase property value? A well-installed paver patio typically returns 50 to 75 percent of its cost in added property value, according to landscape industry estimates. The visual impact matters for appraisals and buyer interest. Poorly installed pavers that settle or shift can actually decrease perceived value.
What is the lowest-maintenance backyard paver option? Porcelain pavers require the least ongoing care — they resist stains, do not need sealing, and clean with water. Concrete pavers are a close second if sealed every few years. Natural stone varies widely; dense stones like bluestone are low-maintenance while softer stones like travertine need periodic sealing.
How long do backyard pavers last before needing replacement? Concrete and brick pavers typically last 25 to 50 years with proper installation and base preparation. Natural stone can last indefinitely. The base fails before the pavers do in most cases — settling, drainage issues, and root intrusion cause problems long before the paver material itself wears out.
Picking a paver layout is a commitment that literally sits under your feet for decades. Start with what your yard actually needs — drainage management, a cooking zone, a place to sit around a fire — and let that function drive the pattern and material choice. The best-looking backyard patios are the ones designed around how people actually use the space, not the ones copied from a catalog. If you are on the fence between two options, buy a single pallet of each and lay a small test section. Living with it for a week tells you more than any photo gallery can.
Pinterest cover for 19 Backyard Paver Ideas That Actually Look Good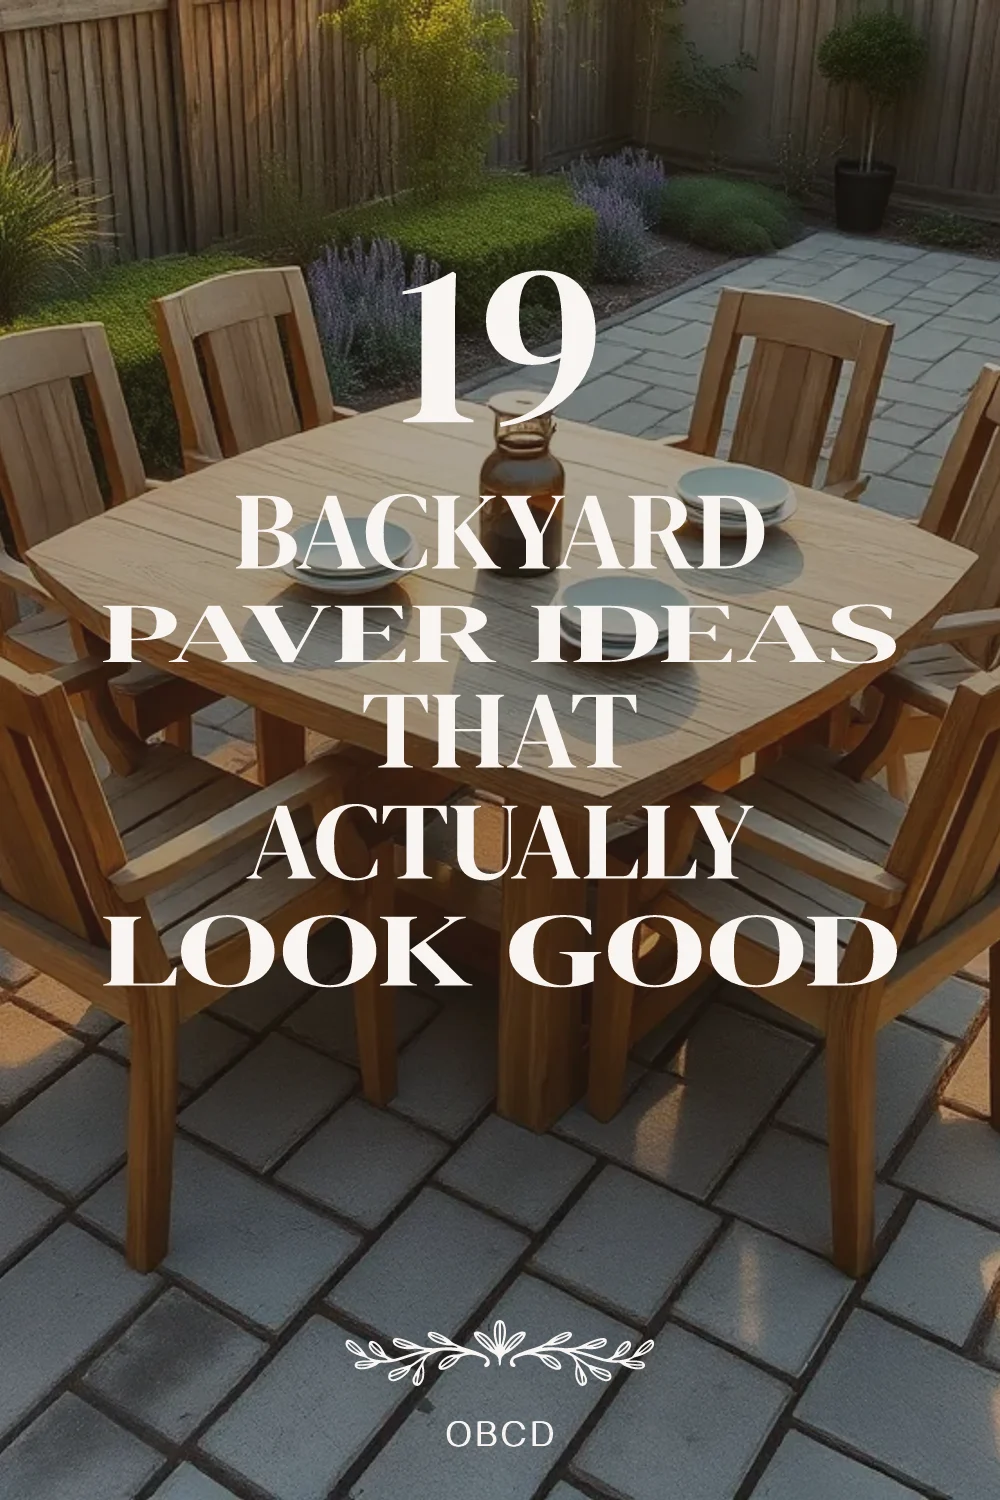
About the author
OBCD
CGI visualization and interior design content. We create detailed 3D renders and curate practical design ideas for every room in your home.